
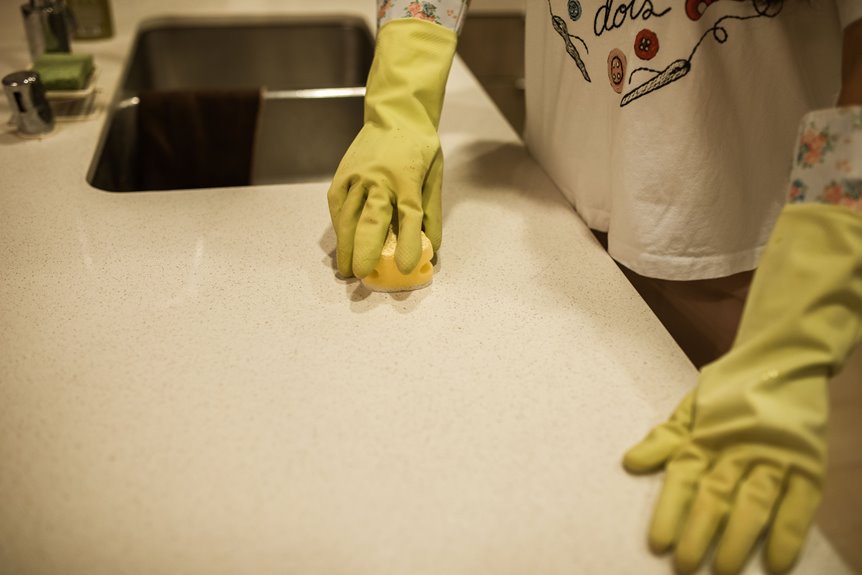
I’ve cleaned countertops that looked beyond saving. Marble gets etched by lemon juice, and granite dulls from vinegar “hacks.” Most damage is preventable with the right routine.
Start with microfiber cloths, mild dish soap, warm water, and stone-specific cleaners for natural surfaces. Dry wipe crumbs first, then damp clean, rinse thoroughly, and dry immediately to prevent spots. Skip acidic cleaners like vinegar on stone, always use cutting boards, wipe spills the same day, and reseal granite every six months. Treat stains early and test new products in hidden corners first.
Keep surfaces pristine by following these steps. I’ll show you exactly how to fix what’s already gone wrong.
What You Need to Clean Kitchen Countertops
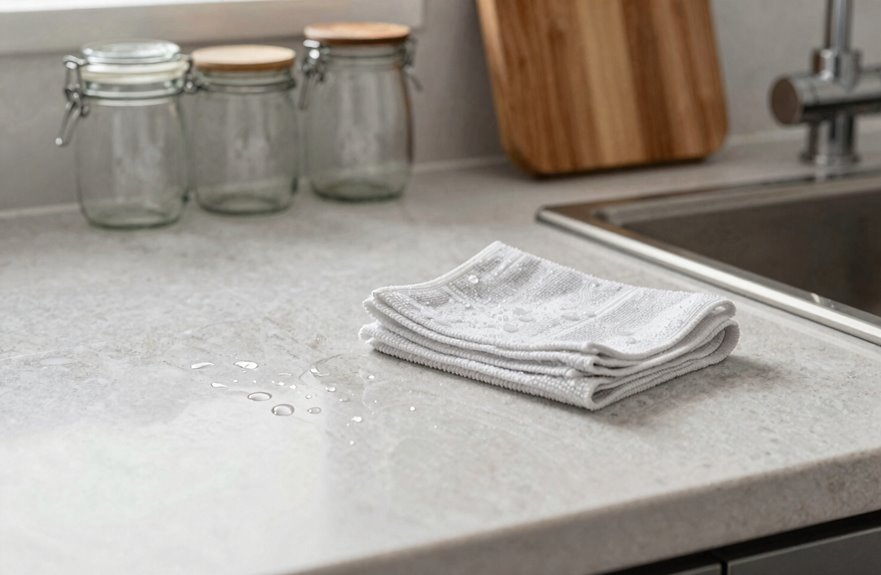
Where do I even begin? Having the right kitchen cleaning supplies makes all the difference between dreading cleanup and actually enjoying it.
I always reach for microfiber cleaning cloths first. They’re gentle, effective, and don’t leave streaks. I pair them with dish soap for daily wiping, and keep baking soda ready for stubborn spots that need extra attention. For stone countertops, I’m careful to avoid acidic cleaners like vinegar or lemon, which can damage the sealer over time. Instead, I use stone-specific products that protect my investment.
I stock up on sponges, check expiration dates on disinfectants, and replace worn cloths regularly. Having everything within arm’s reach means I’m prepared, not scrambling. This small ritual of readiness transforms cleaning from chaos into an efficient process.
Clean Kitchen Countertops Step by Step
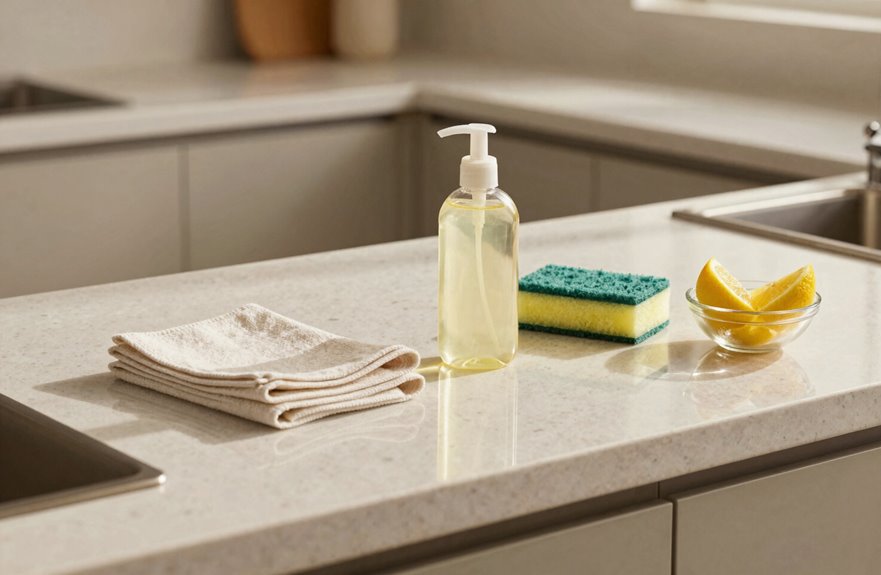
I’ll walk you through how I tackle this, because I’ve learned the hard way that skipping steps just means doing it twice. First, I grab my supplies: paper towels, gloves, a non-abrasive sponge, CLR Brands cleaner, warm water, and microfiber cloths for drying. Then I always do a dry cleanup, swiping away crumbs and dust with a paper towel before any liquid touches the surface; wet crumbs turn into paste that requires extra scrubbing. Finally, I rinse thoroughly with a clean damp cloth, dry with microfiber or let it air dry. The result is clean counters with no streaks or residue, ready for food preparation.
Gather Your Supplies
Preparation is the quiet hero of any good cleaning job. Nothing derails momentum like hunting for a sponge mid-scrub. Before touching kitchen countertops, gather everything needed: paper towels, rubber gloves, a non-abrasive sponge, CLR cleaner, and warm water. These cleaning supplies should sit within arm’s reach, ready for action. This simple ritual transforms cleaning from chaos into calm. The right tools matter. A non-abrasive sponge protects surfaces while still tackling grime removal effectively. Warm water helps activate the CLR cleaner for deeper cleaning. Don’t start scrubbing technique or rinsing and drying yet; that comes next. For now, set yourself up for success. Your future self will benefit when dry cleanup flows seamlessly into the next steps.
Dry Surface First
With supplies lined up and ready, I’m moving straight into the actual cleaning. Drying the surface first is my non-negotiable first step in countertop cleaning. Skipping dry cleanup just pushes crumbs around and creates paste.
I grab a dry paper towel for debris removal, sweeping up crumbs, dust, and visible grime. This initial dry wipe prevents spreading mess when liquids hit. I do a quick surface inspection, hunting for sticky spots that’ll smear if dampened. For dust removal, I switch to a dedicated dry cloth; no cross-contamination with my wet supplies. Moisture-free prep matters because wet cleaners dilute on damp surfaces, leaving streaks.
| Dry Step | Tool | Purpose |
|---|---|---|
| Crumb sweep | Paper towel | Debris removal |
| Dust pass | Dry cloth | Dust removal |
| Sticky check | Eyes, fingers | Surface inspection |
| Final confirm | Visual scan | Moisture-free prep |
A dry surface is ready to clean effectively.
Rinse and Dry
Why does soap residue feel like the ghost that refuses to leave. I grab a fresh, damp cloth and rinse the surface with clean water, repeating until suds disappear. Proper soap removal matters because streaky film ruins countertop cleanliness. For stubborn spots, I follow up with a disinfecting wipe, letting it sit for the full contact time before another quick rinse. Then comes the next step: surface drying. I immediately wipe everything down with a dry microfiber cloth, preventing water spots and mineral buildup. Skipping this step invites dull stains. Once the entire counter feels bone-dry, I return my coffee maker and cutting board. These extra seconds prevent water spots and mineral deposits that dull your kitchen’s appearance.
Treat Stains on Laminate, Granite, Quartz, and Marble
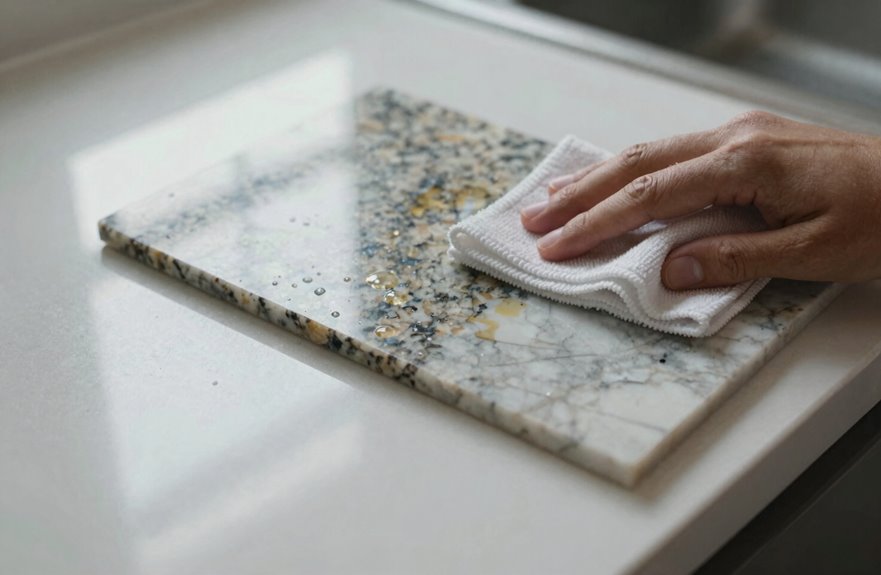
How do you tackle a stubborn spot without wrecking your countertop?
I’ve dealt with a coffee ring on marble and hard water stains clouding laminate. For laminate, skip abrasive scrubbers and excessive moisture. Instead, use CLR Brands Calcium, Lime, and Rust cleaner on buildup. Granite requires more care: use stone-safe cleaners that protect your sealant and prevent etching. Quartz is non-porous, making it easier to maintain. Daily wiping with mild cleaners usually works, though deeper grime needs CLR Brands Granite, Marble, and Stone. Marble requires the most caution; avoid acids entirely and stick to pH-neutral cleaners. Whichever surface you’re treating stains on, test any new product in a hidden area first.
Reseal Natural Stone at the Right Intervals
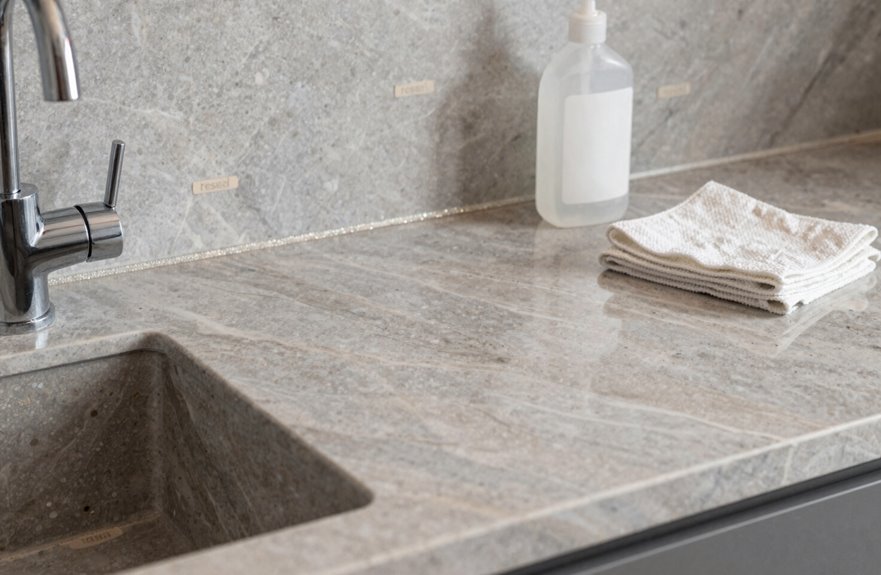
When exactly should you break out the sealer again? For most of us with natural stone, the sweet spot is every six months, though your particular stone and sealant product might require different timing. Countertop maintenance isn’t one-size-fits-all.
Here’s my quick stone care reference:
| Situation | What I Do |
|---|---|
| Standard use | Stick to the 6-month reseal interval |
| Heavy traffic, kids, red wine | Reseal sooner |
| Water beads up | Relax, you’re good |
| Water soaks in darkly | Panic slightly, then reseal |
| Post-reseal | Test a hidden spot first |
Always grab a pH-neutral sealer, as harsh chemicals damage your investment. Proper resealing restores the stain resistance you need. Follow manufacturer guidelines and apply evenly to maintain your kitchen’s durability and appearance.
Maintain Kitchen Countertops Daily
Resealing buys you protection, but what happens between those twice-a-year sessions matters just as much.
The real protection isn’t in the resealing—it’s in what you do every single day between those twice-a-year appointments.
I wipe surfaces after every meal prep. Crumbs, grease, residue all disappear. For daily cleaning, I use a damp cloth with mild soap, rinse, then dry surfaces immediately. Water spots are persistent, especially around the faucet where mineral buildup accumulates.
Spills require immediate attention. Wine, tomato sauce, coffee will stain stone quickly. I clean spills the second they happen. Same-day rule, no exceptions.
My countertops stay clear because clutter-free countertops mean I can actually clean them. Mugs, mail, random avocado halves get relocated. Every evening takes three minutes. Without daily clutter removal, your Saturday deep-cleaning becomes a time-consuming task rather than simple maintenance.
Deep Clean Kitchen Countertops Weekly
Even with daily maintenance, grime still finds its hiding spots. I clear everything off my counters weekly and tackle what daily wipes miss.
Here’s my three-step ritual:
- Prep and test. I check my heavy-duty cleaner on a hidden corner first. Granite, quartz, marble. They’re all particular, and I’ve learned the hard way.
- Attack mineral buildup. Around the sink, I let my cleaner dwell per the label, then scrub with a non-abrasive sponge. This step requires patience.
- Rinse and dry thoroughly. Water spots require attention, so I don’t skip this. Then I hit high-touch zones with stone-safe disinfectant, respecting contact time.
This weekly reset keeps my kitchen feeling genuinely mine. It stays clean and cared for, ready for whatever comes next.
Prevent Damage to Kitchen Countertops
How do I keep my countertops looking as good as they did on day one? I treat them like the investment they are.
For everyday protection, I never skip cutting boards. Your knives will thank you, and so will your surfaces. I wipe spills the moment they happen, especially acidic substances like lemon juice or vinegar that threaten etching and staining. Heat protection matters too; I always grab a trivet before setting down hot pots.
| Daily Habit | What I Use | Why It Saves My Countertops |
|---|---|---|
| Chopping veggies | Cutting boards | Prevents scratches, grooves |
| Hot pans | Trivets, thick cloths | Stops heat damage, warping |
| Tomato splatter | Immediate wipe | Blocks staining, etching |
| Post-clean rinse | Soft cloth, drying | Avoids mineral buildup |
| Stone surfaces | Stone-safe cleaners | Protects seal, finish |
Skip harsh chemicals. Stick to stone-safe cleaners, dry thoroughly after washing, and your countertops will maintain their quality over time.
Fix Stains, Etching, and Surface Damage
I’ve learned that no matter how careful I am, my countertops still occasionally collect battle scars—wine rings, lemon etch marks, mysterious dark spots that appear overnight. Here’s how I’ve brought mine back to life without making things worse:
- Stone countertop stain removal: I stick to stone-safe cleaners like Granite Gold, never touching abrasive pads that strip away sealant protection. For etching, I grab a pH-neutral cleaner and work fast.
- Granite/stone care basics: I reseal every six months. Mark your calendar, set a phone reminder, whatever works. It’s tedious but prevents costly damage later.
- Butcher-block rescue: I’ve revived mine with lemon half and kosher salt, then wiped dry immediately. Water damage spreads quickly.
Skip vinegar, skip bleach, skip shortcuts. Sealant protection requires consistent maintenance to remain effective.