
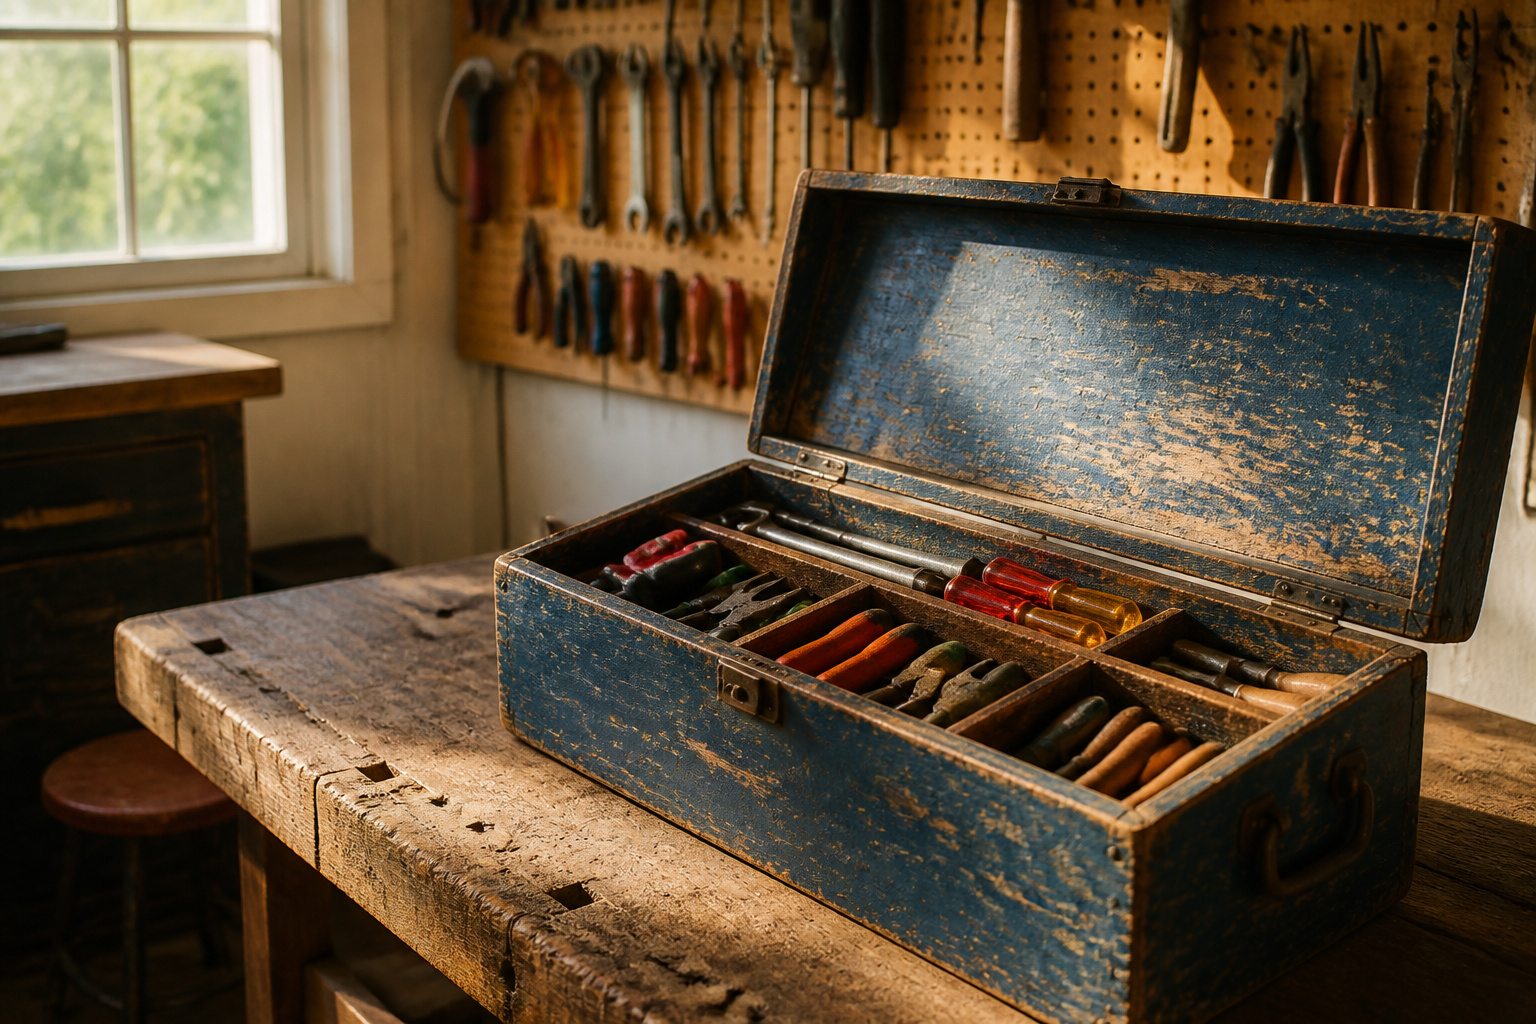
The right tool storage idea depends on whether you rent, own, or simply refuse to drill another hole in drywall. Cheap pegboard hooks pull clean out if you miss the stud; a French cleat lets you lift the whole holder off when your collection shifts. Rails rated for 300 pounds per four-foot section cost more upfront, but they survive two humid summers without sagging where lighter cousins bow.
1. Pegboards
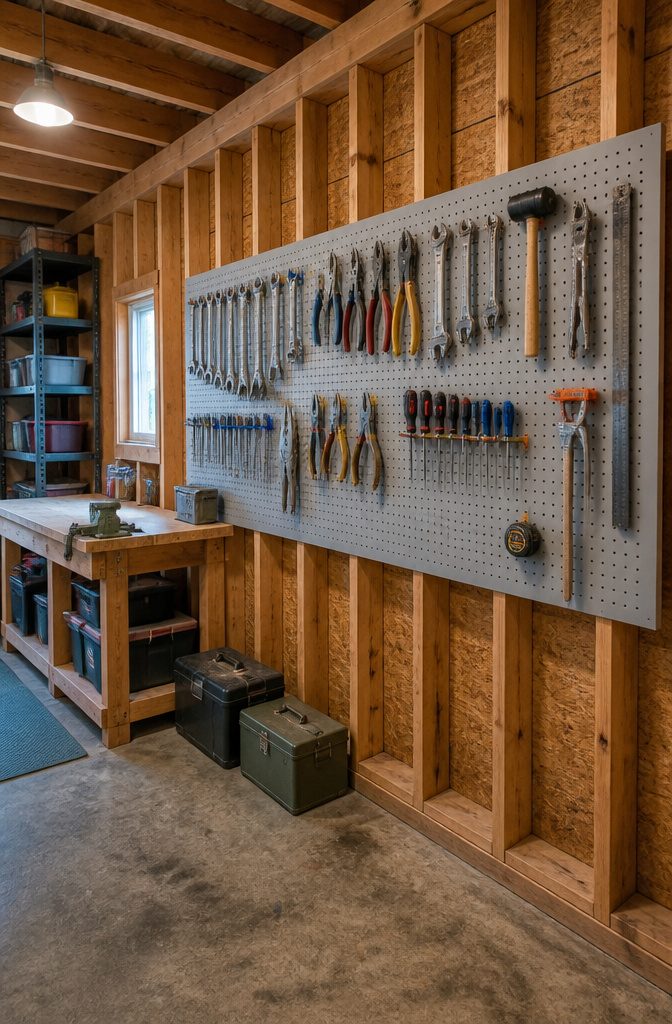
A standard 4 x 8 sheet of pegboard gives you enough real estate for a full hand-tool layout if you plan it right. The 1/4-inch hole spacing works with the cheap hooks from any hardware store, and that spacing matters more than people think: too wide and your smaller wrenches crowd each other, too tight and you’re buying specialty pegs for no good reason.
Mount it directly to studs, or use toggle anchors rated for real weight, not the little plastic sleeves that come in the hook kit. The first board I hung went straight into drywall with those anchors, looked fine for a month, then pulled loose when I hung a sledgehammer on a double hook. The top row ripped out clean and left a fist-sized crater in the wall. Studs are 16 inches on center; mark them, or spend the three dollars on proper anchors.
Spacing hooks for reach means keeping daily drivers between shoulder and hip height. Put the mallet and the dead blow where your hand falls naturally; the torque wrench and the pipe cutter can live higher, where you’ll spot them but won’t need them fast. Leave a blank zone at the bottom for the odd-shaped stuff that always shows up later.
2. Rails and Tracks
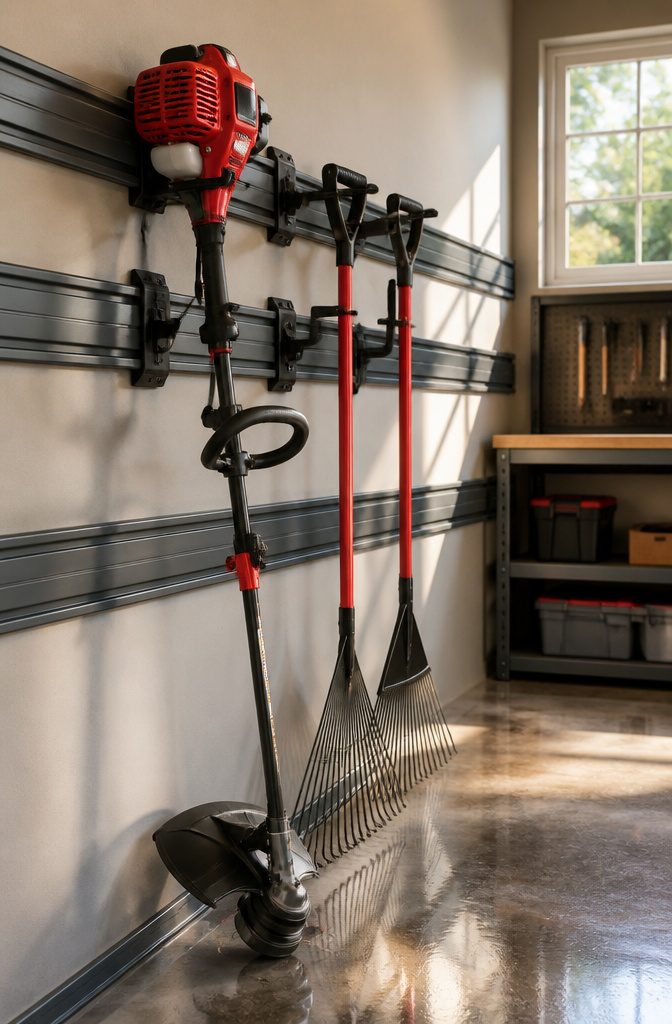
Wall-mounted rail systems earn their keep in tight garages where every square foot of floor space matters. The thin steel channels bolt to studs and accept hooks, bins, and brackets that slide anywhere along the run. Most hardware stores stock light-duty versions that look nearly identical to the heavy tracks, but the difference shows up fast. Picture-rail cousins rated for 30 or 40 pounds start to bow once you load on a leaf blower or a full garden-tool lineup. Rubbermaid and Gladiator both sell tracks tested to 300 pounds per four-foot section, and that capacity is not marketing padding; it is the margin that keeps the wall from slowly peeling away.
My own garage has two ten-foot runs meeting in a corner, holding a weed whacker, two rakes, and an extension ladder through two humid summers now. Nothing has sagged, and nothing has rusted where the powder coating meets the bracket hooks. The upfront cost runs higher than pegboard or a basic shelf kit, but the flexibility pays back the first time you rearrange without drilling new holes.
3. French Cleats
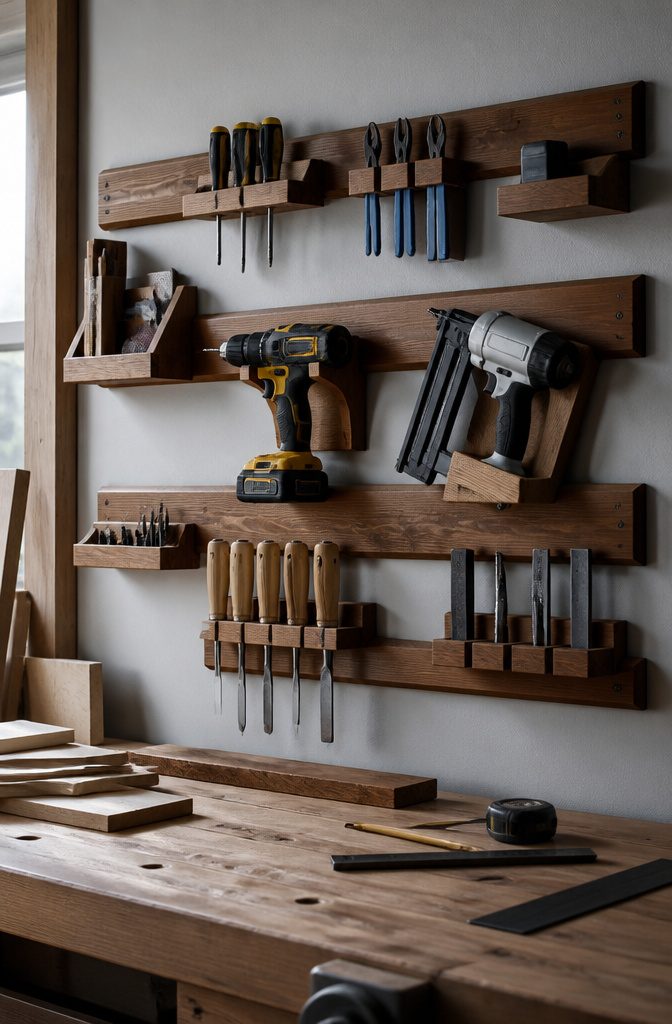
A French cleat system starts with a wall-side strip cut at a 30-degree angle, mating with matching brackets on whatever holder you build. The interlock lets gravity do the holding; lift up and the piece comes free, no screws to back out. That same angle works whether the strip runs the full wall or just a short patch above a workbench.
Custom brackets are where this pays off. A drill holster needs two contact points, not one. I learned that routing a single slot for a DeWalt driver left it rocking on one cleat until I added a second strip below. Two cleats, six inches apart, and the weight sat flat. The holders can be as simple as a scrap of plywood with a lip, or as specific as a cradle for a brad nailer.
The real value is adaptability over permanence. As the collection shifts, the wall shifts with it. A bracket for a sander becomes a shelf for glue bottles with one afternoon’s work. No patched drywall, no new holes in the garage. The system rewards someone who would rather build for Saturday’s problem than buy for a theoretical someday.
4. Magnetic Strips
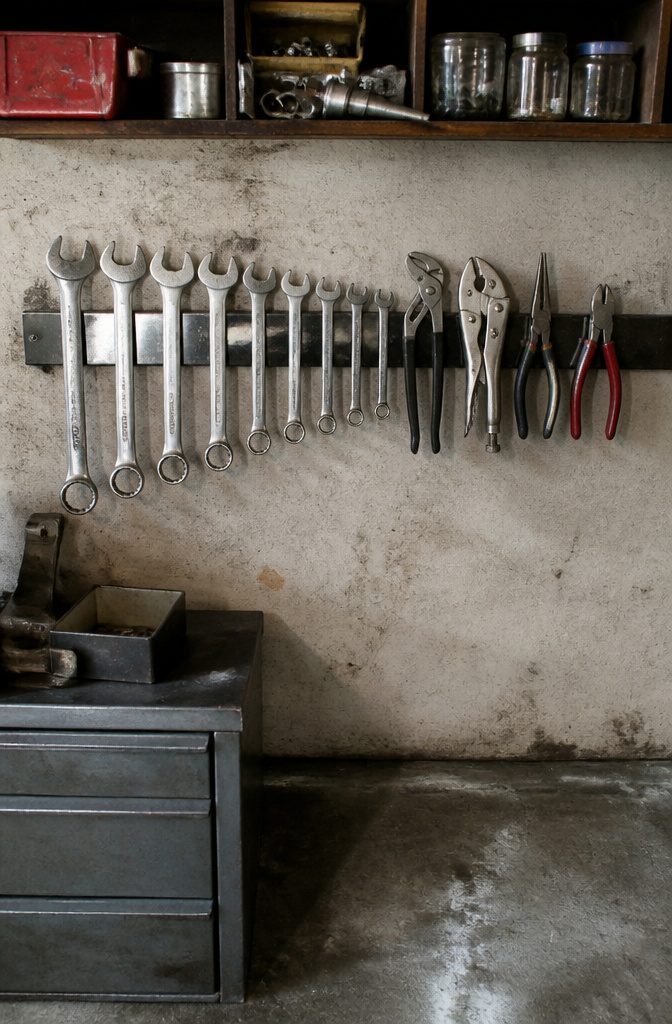
Neodymium strips rated for at least ten pounds per inch hold pliers and wrenches without the slow slide that sends tools clattering at 2 a.m. Cheap ferrite magnets, the kind that come in three-packs for twelve dollars, lose grip the moment you bump them with a hip; I learned that after chasing a socket set across the concrete.
The kitchen magnetic knife holder I tried for hex keys seemed clever until every tool rust-locked to the bar within two months. Kitchen-grade stainless looks sealed, but the mounting slot behind the magnet traps humidity against bare steel. I now run a bead of clear silicone along the top and bottom edges before screwing any strip to a garage wall, even the ones labeled for workshop use. Five minutes of sealing beats an hour of scrubbing oxidation off precision-ground tips.
For renters, strips on plywood backers screw to studs like any shelf and leave only four small holes to patch later.
5. Screwable Jars
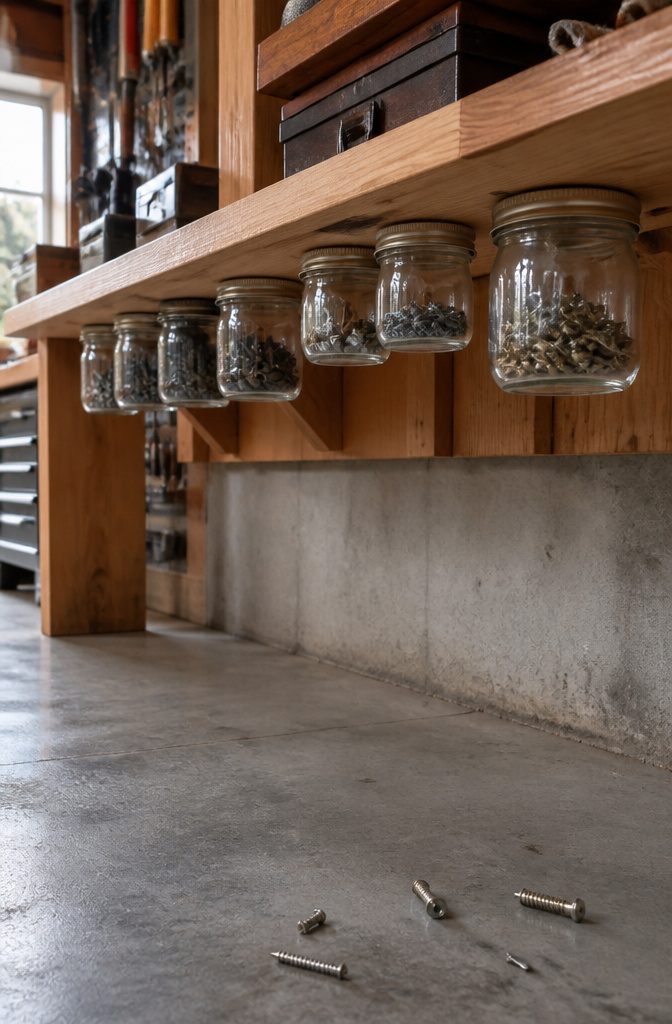
Screwable jars turn the dead zone under a shelf into storage for fasteners and small parts without eating an inch of surface area. The lid gets fixed to the underside, the jar twists up into it, and the contents hang there ready to grab.
An 8 oz mason jar holds screws and nails well; 4 oz works better for wire nuts and electrical connectors, where a full pint just means digging. Clear glass lets you see stock levels at a glance, which is the main reason the idea stuck around long enough for me to over-tighten one and fight it back off with pliers. That same brittleness ended the affair. One dropped jar in the driveway scattered two hundred #8 screws and left glass dust in the gravel for a month. Plastic peanut butter jars screw onto the same lids, survive the same over-tightening, and bounce instead of shatter.
6. Rolling Carts
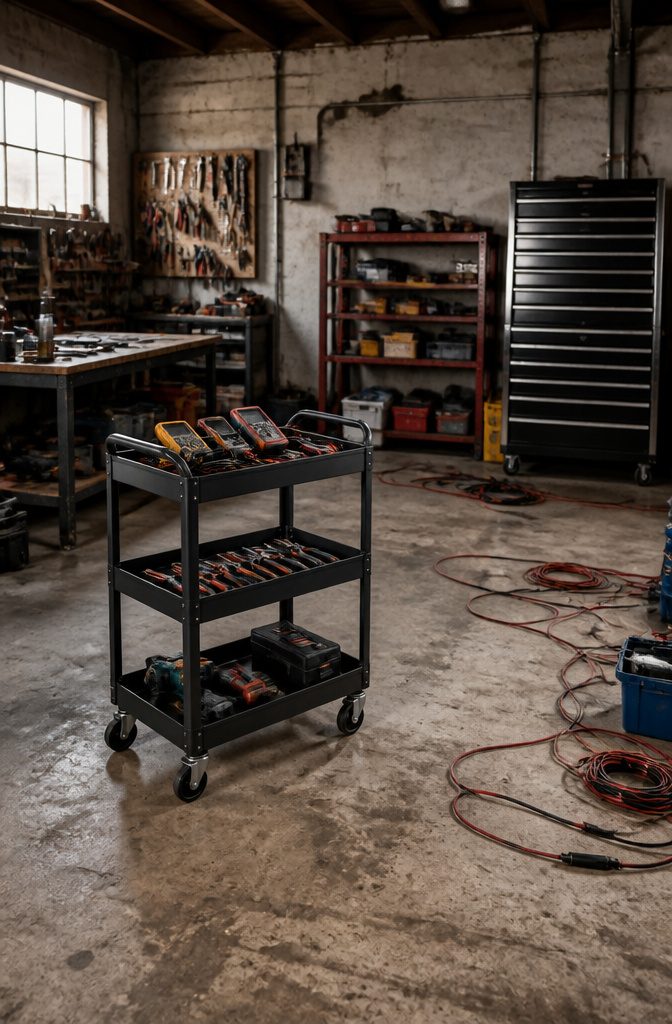
A three-tier steel cart from Harbor Freight carries my electrical kit from outlet to outlet across the garage. The U.S. General line runs $100–$500 depending on depth and drawer count, and the open shelves let me sort by task: testers top, strippers and pliers middle, fish tape and spare romex on the bottom.
Casters matter more than I expected. My garage slab has the hairline cracks that come with age, and hard wheels catch and chatter while softer polyurethane rolls over the gaps. The difference is whether you push once or fight the cart every foot.
Weight distribution is what I got wrong. I loaded the top with a heavy cable reel, pushed past a garden hose, and the high center let the whole thing pivot and tip. The fix was simple: dense items low, light items high, same as loading a truck. The cart still travels with me, but now it stays upright when it meets an obstacle.
7. Back-of-Door Organizers
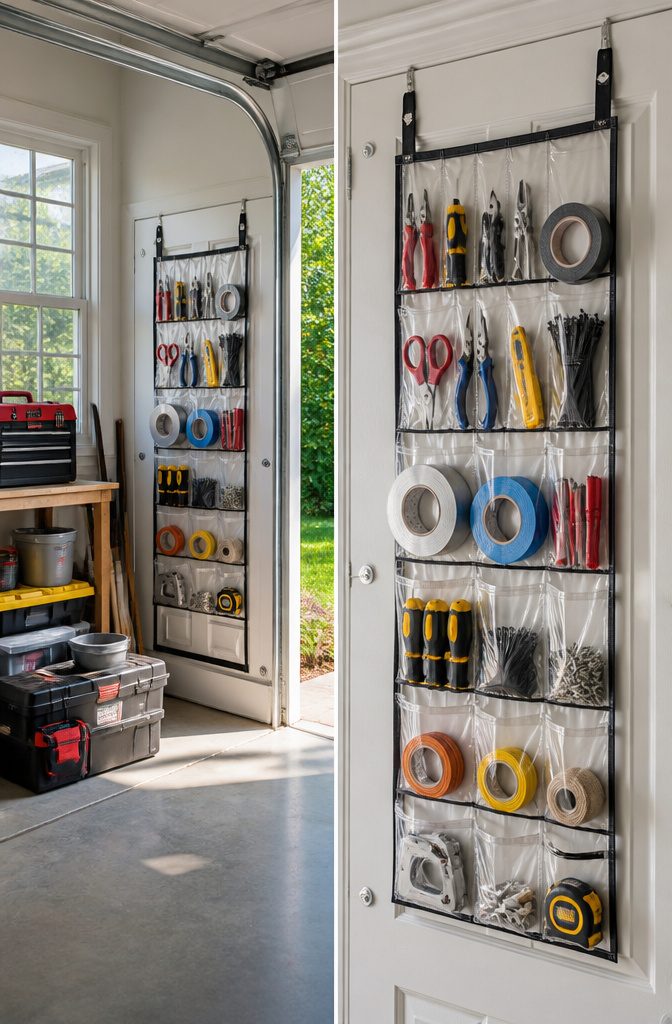
Clear pockets on a door-back organizer turn a 30-second hunt into a glance, which matters when you are halfway through a project and need a tape measure now. I started with a $12 clear-pocket shoe organizer from a big-box store, hung it on the interior garage door, and loaded the top rows with gloves, scissors, and small hand tools. The see-through plastic meant I could spot the 16-foot tape without unzipping anything. That part worked.
The mesh backing on that same organizer tore through in about six months where the tape measure’s clip rubbed every time I pulled it free. Canvas tool-specific versions hold up better to pointed or clipped items, though you lose the instant visibility. I moved the clear pockets to a basement door that stays open most of the time, where it only holds soft items like work gloves and sanding sponges. The garage entry door, which swings shut with some force and carries more weight, got the heavier canvas version instead. A door that already feels heavy when you push it will feel worse with three pounds of steel hanging on the back.
8. Small Part Holders
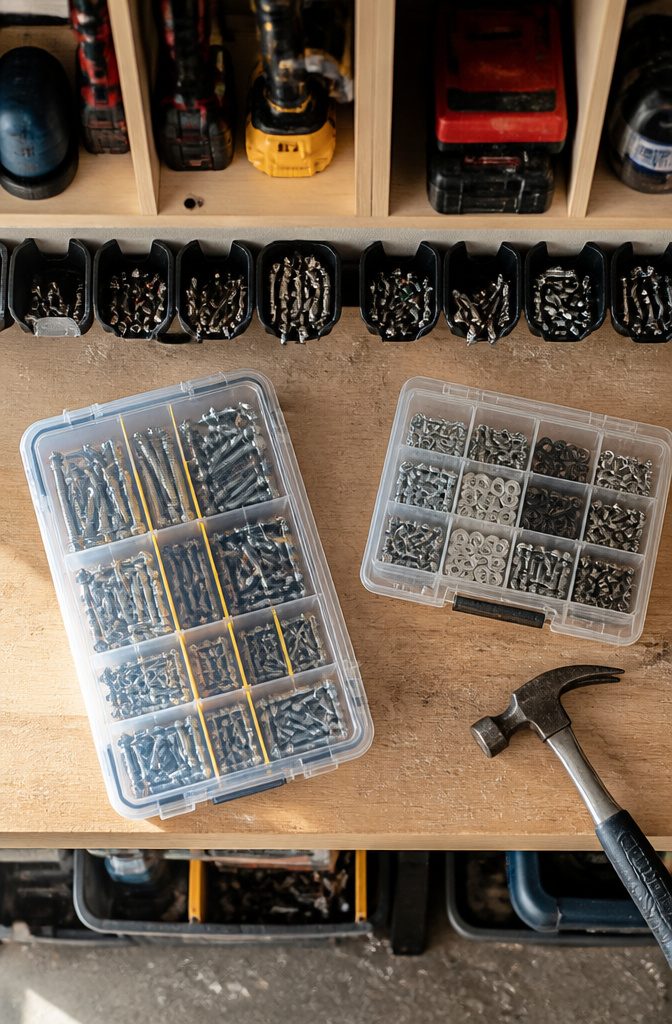
Small parts wander off faster than anything else in a shop. A 5×7 inch Plano box, labeled with a label maker, keeps my sorted hardware from mixing into useless soup. The adhesive on that style of label sticks better to plastic than thermal tape, so the names stay readable past the first dusty summer.
For driver bits, flexible plastic holders work best for the longer screwdriver bits, or any bit without a hex bottom to snap into a rail. Shorter driver bits sit tighter in a multi-bit organizer. I learned the hard way that not all plastic survives a garage. A Milwaukee bit holder I left in a closed car one July came out warped and useless, the body melted into something that no longer held anything. Now anything that stays in the truck gets parked in the shade, or stays home in the Plano box where the temperature stays steady.
9. Broom Holders for Long Tools
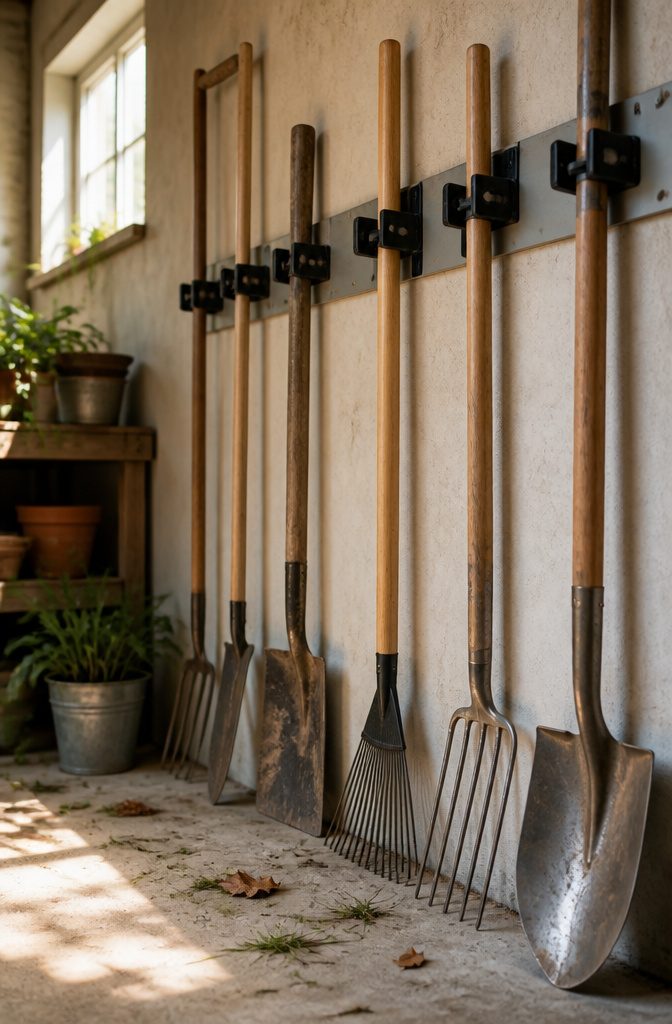
Wall-mounted spring grippers built for brooms and mops handle shovels, rakes, and long-handled garden tools with almost no modification. The standard grip opening runs about 1.25 inches, which covers most wood and fiberglass handles but clamps down hard on anything thinner. I learned that the wrong way when a garden fork handle cracked right at the grip line after a humid summer; the rubber had compressed the wood grain so tight that moisture pooled underneath and the handle split when I pulled it free.
Now I leave roughly four inches between each gripper so handles hang without touching, and I check the tension every spring. The gap matters more than I expected. Tools packed too close rub finish off each other and trap enough moisture to grow mold spots on unfinished wood, especially in sheds without much airflow. Spacing them out costs nothing extra and saves the handles.
10. Umbrella Stands for Garden Tools

Freestanding umbrella stands work better for garden hand tools than most people expect, until center of gravity proves otherwise. A ceramic stand I borrowed from the porch looked elegant and held trowels neatly, but one dropped hand fork chipped the rim badly enough that water collected and the thing cracked through the winter freeze. Steel mesh seemed smarter after that, letting soil fall through, except the mesh itself rusted where I kept it against the shed wall. The stand that lasted was a plastic weighted base, though only after I stopped loading tools handle-first. Trowels and hand forks head-down keep the weight low; flip them and the whole assembly tips on uneven ground. Load long handles downward, short handles upward, and the same cheap base stays put through raking and shoveling seasons without complaint.
11. Shoe Boxes and Racks
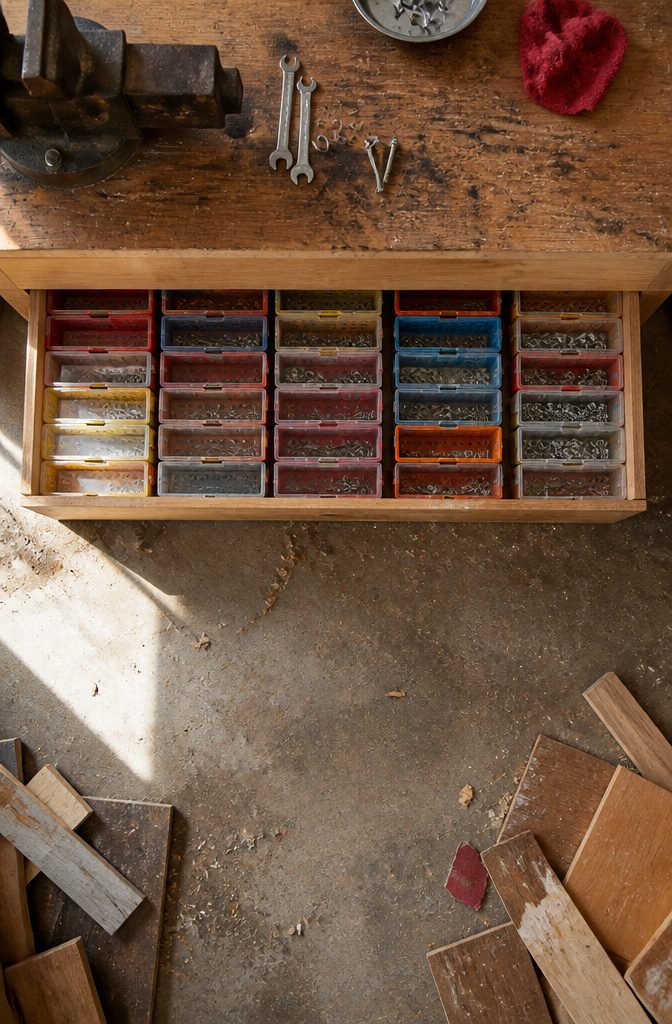
The space beneath a workbench is dead real estate until something slides in and claims it. A 13 by 8 by 5 inch bankers box fits that gap like it was measured for it, and the standard size means you can replace or add without rethinking the whole layout. I keep fasteners and hardware in those, labeled on the narrow end so the contents show from the front.
For anything that rusts or rots, ventilated plastic shoe boxes beat cardboard every time. Mine hold respirator filters and sanding discs, the kind of small stock that turns to trash if moisture gets in. Cardboard failed fast in my damp basement: boxes softened, sagged, and eventually dropped their contents onto the concrete. The switch to plastic was less about neatness than about stopping that slow decay.
A shoe rack underneath a shelf or bench gives that same grab-and-go order to larger containers: toolboxes, tackle boxes full of fasteners, paint trays. The rack keeps them off the floor and means one pull gets the whole box out, not a shuffle through a stack.
12. Office Bins for Small Tools
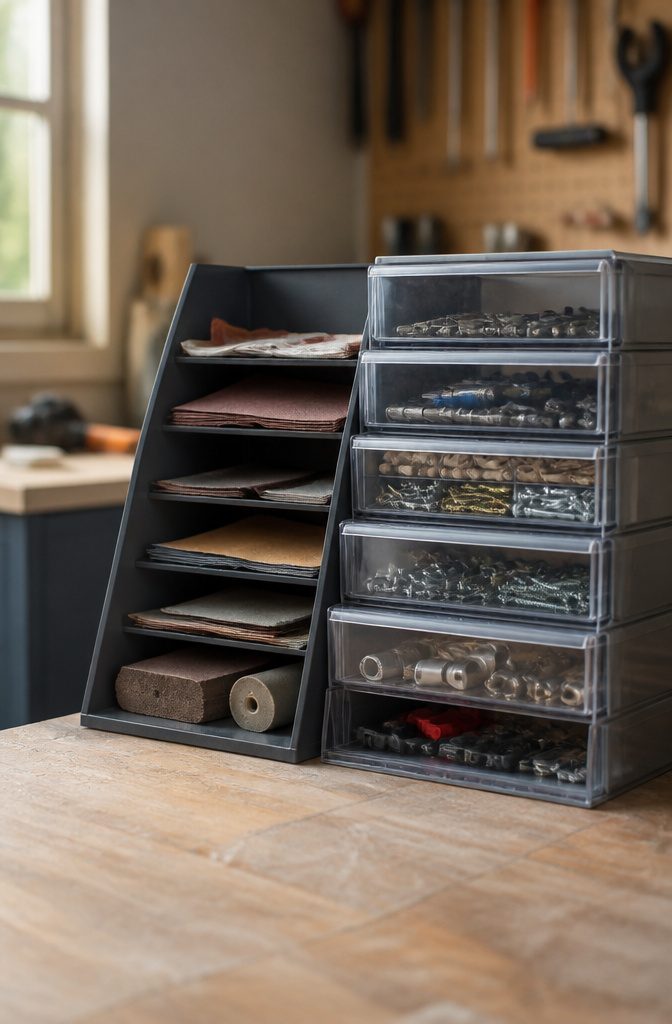
The office supply aisle is where I look first for small tool storage that does not look like it belongs in a mechanic’s bay. A standard letter tray, the kind meant for manila folders, holds sandpaper sheets upright so I can flip to the grit I need without unstacking a pile. Desktop sorters with angled compartments keep pliers and wrenches separated by size, and the clear plastic drawer towers sold for paper clips and push pins work surprisingly well for drill bits, driver sets, and the fasteners that otherwise migrate to coffee cans.
I no longer buy anything with a thin plastic hanging tab if it holds more than two pounds. The $4 Sterilite drawer pull I mounted last spring snapped clean off when the drawer caught on my sleeve, dumping hex keys across the concrete. The tub itself survived; the molded loop did not. For anything that leaves the workbench, a bin with a proper rim or a stackable lid locks in place and travels without drama.
The Core Toolkit
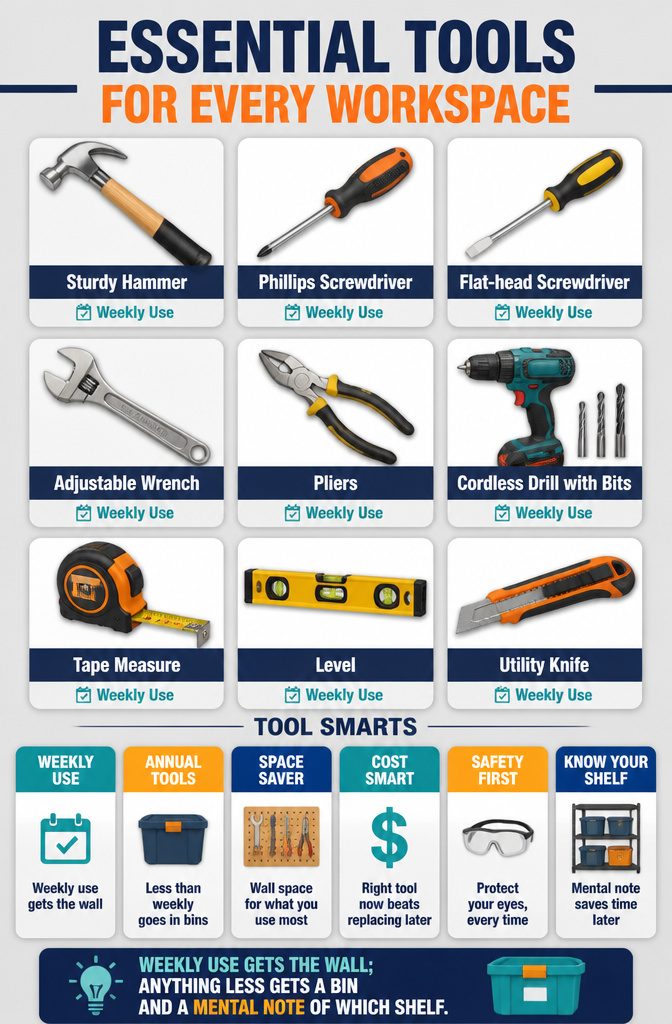
Every storage system starts with the same nine tools: a sturdy hammer, Phillips and flat-head screwdrivers, adjustable wrenches and pliers, a cordless drill with bits, a tape measure, a level, a utility knife, and safety glasses. Those are the weekly users, the ones that earn wall space where my hand finds them before my eyes do. Annual tools, the Allen keys and socket sets and that handsaw, live in bins. I learned that distinction the hard way. A miter saw once burned six square feet of pegboard real estate for four cuts a year. The wall space it hogged could have held every wrench I own. Weekly use gets the wall; anything less gets a bin and a mental note of which shelf.
Cabinet Systems for Finished Look
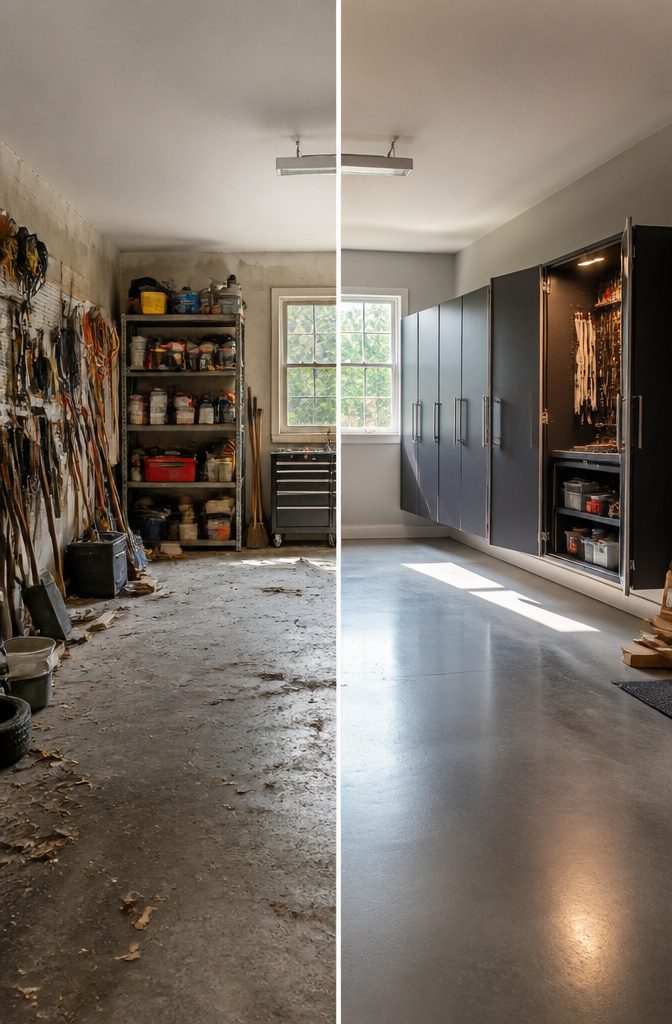
Closed cabinets give a garage the finished look that open racks never quite manage, and the dust protection is real. Three years ago I spent a weekend bolting a wall-mounted steel cabinet set to the studs, and the tools inside still come out clean. The gap around the door seals was my mistake: I did not check closely enough during assembly, and fine sawdust still sneaks into the drawer with the random-orbit sander. For anything wet or gasoline-smelling, I keep open storage. Trapped fumes in a closed box are not worth the neatness, and a damp rag will mold where you cannot see it.
Custom systems start around $1,500, and after three years the value depends on how much you value the look. The steel has held up, the powder coat has not chipped, and I would buy in again for a space I use as a workshop. For a renter or someone storing a single toolkit, that price buys a lot of pegboard and bins instead.
Wall Storage Logic
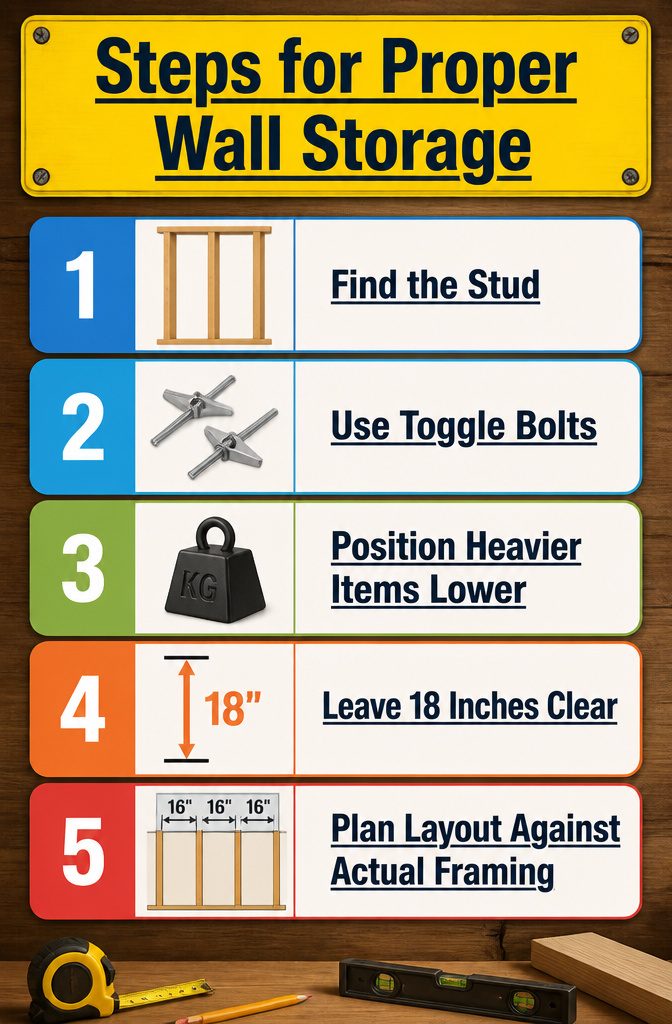
The wall above a workbench looks like free real estate until you try to hang a miter saw cradle on drywall with no stud behind it. That plaster wall in my old rental taught me the cost of guessing: six holes, a fist-sized crater, and a landlord who kept my deposit. Find the stud, or use toggles rated for the actual weight. No exceptions.
Heavier items belong lower, both for the load path and for your back. A full cordless drill rack at eye level looks organized for about a week, then the shoulder strain moves it down anyway. I leave eighteen inches clear above the bench back edge so a board can stand upright while I mark it, and so the wall storage stops being something I bump into.
Stud spacing drives what fits where. Sixteen inches on center is standard, but old sheds run twenty-four, and garage additions sometimes frame at nineteen point two to save lumber. A rail system that needs a fastener every eight inches will land half its mounts in air unless you plan the layout against the actual framing, not the ideal.
Safety Stored in Reach

A fire extinguisher rated for electrical and chemical fires belongs on the wall by the door, not tucked inside a cabinet where smoke already has you fumbling. Mine hangs there in open view, and the difference is the ten seconds you do not have during a flare-up from a grinder or a battery charger.
The first aid kit is another story. For six months I walked past a wall-mounted box with a broken hinge, telling myself the contents were still fine. The latch finally gave completely, and the whole thing dumped onto the concrete one Tuesday. A first aid kit that will not open is a first aid kit that does not get used; the broken hardware costs more than the replacement.
Eyewash stations and protective gear follow the same rule. Goggles, ear protection, gloves, and face masks stored on a shelf across the shop stay on that shelf. The ones that live within arm’s reach of the bench are the ones that go on.
Organization by Category
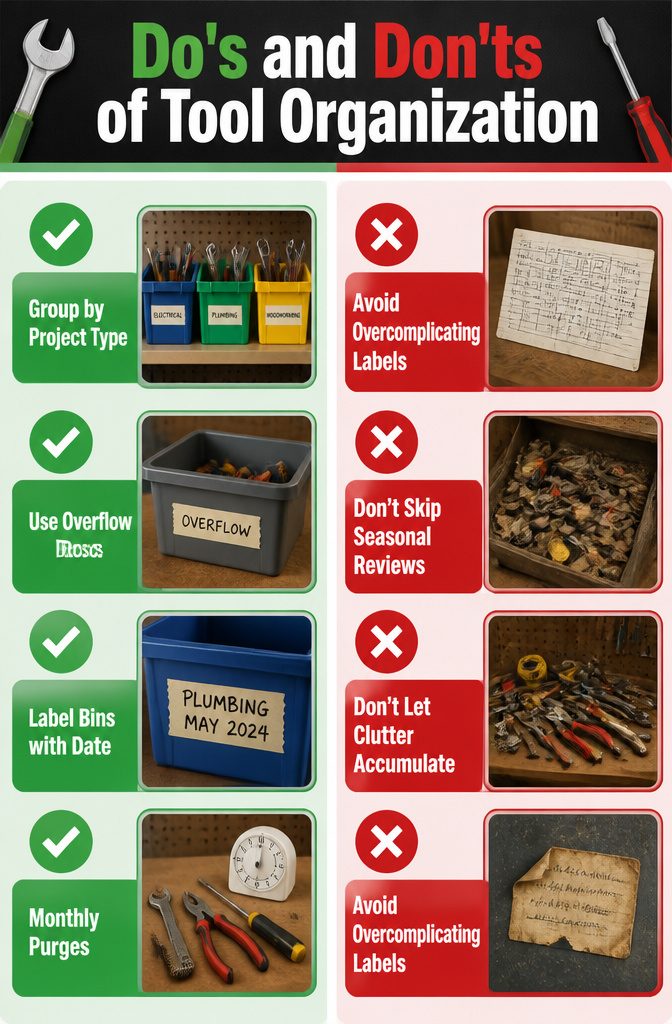
Grouping tools by project type beat my first attempt at a Dewey decimal system for the garage. I tried numbering every drawer and cross-referencing a spreadsheet; the lookup time killed any speed advantage by week two. Electrical, plumbing, and woodworking bins now sit on a single shelf, each with what I need for a typical Saturday repair. The system needs a safety valve: one overflow box catches the uncategorized odds and ends, and I force myself to empty it on the first weekend of each month before the pile becomes a second junk drawer.
Masking tape labels work fine if you write the date on them. I learned that after finding a yellowed, curled label I couldn’t read and couldn’t peel off without solvent. Fresh tape comes off clean in about a year; past that, you’re scraping. Label the bin, add the month and year, and replace before the adhesive turns — cheaper than a label maker if you already own a marker, and faster to update when a wrench migrates from plumbing to general use.
Quarterly purges run about ten minutes. I set a timer and pull anything I borrowed, duplicated, or outgrew. The multiple-bin approach only wins if you can grab and go; ten minutes of seasonal honesty keeps the grab from becoming a hunt.
Frequently Asked Questions
What are some good tool storage ideas?
Pegboards, rail systems, French cleats, magnetic strips, rolling carts, and screwable jars all earn their keep in a garage or workshop. Wall-mounted options like pegboard and rail tracks keep floor space open, while French cleats let you rearrange without drilling new holes. The right choice depends on whether you need daily access, portability, or a finished look.
How can I organize my garage tools?
Mount daily drivers like hammers and screwdrivers on the wall between shoulder and hip height where your hand finds them first. Store anything used less than weekly in labeled bins or cabinets. Keep project-specific kits together on a single shelf so you can grab and go without cross-referencing a list. Leave eighteen inches clear above your workbench so boards can stand upright while you mark them.
What is the best way to store small tools?
Magnetic strips rated for at least ten pounds per inch hold pliers and wrenches within arm’s reach. For bits and fasteners, small labeled bins or screwable jars under shelves keep parts visible and off the work surface. Office supply trays and drawer towers work surprisingly well for sandpaper, drill bits, and driver sets. Seal magnetic strips with silicone to prevent rust from trapped humidity.
How do I prevent my tools from rusting?
Control humidity with proper ventilation and a dehumidifier if your garage runs damp. Dry vehicles after driving in rain or snow before parking indoors. For wall-mounted storage, run a bead of clear silicone along the top and bottom edges of magnetic strips to keep moisture from trapping against bare steel. Store anything that rusts in ventilated plastic bins rather than cardboard, which softens and fails in damp conditions.