

I always start with a weatherproof outdoor outlet and a low-voltage transformer. No permits, no digging deep trenches, just plugging in and planning my layout at dusk when shadows reveal where light is actually needed. I run wire along pathways, push stakes into soft ground by hand, and connect everything before burying cables six inches under mulch or tucking them beneath ground cover. Testing after dark is essential; angles always shift once you see the actual glow. When a fixture flickers, I check connections first, swap matching LEDs, and trace power with a cheap voltage tester until I isolate the culprit. Each project takes under four hours, and there’s a knack to hiding wires so they vanish completely. The details that separate amateur work from professional-looking installations come down to careful planning and execution.
Why Low-Voltage Lights Make DIY Installation Simple
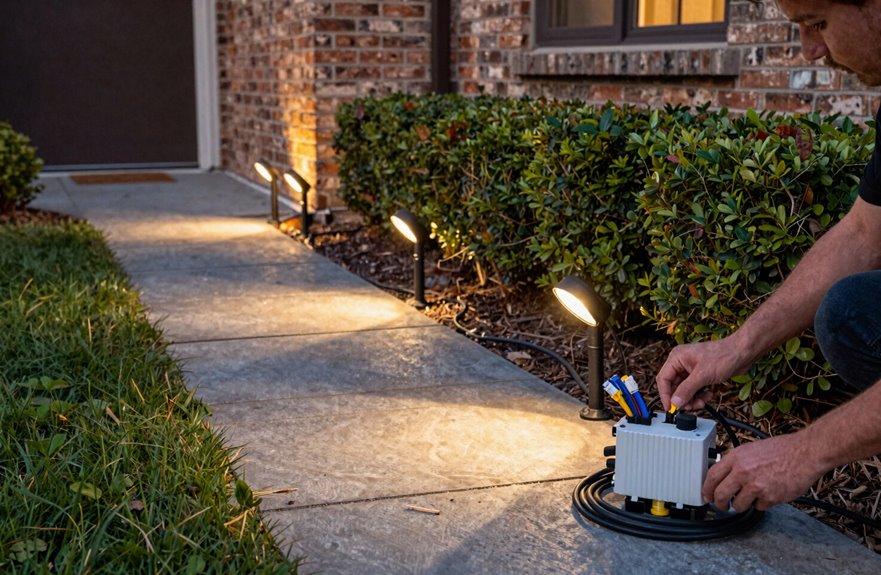
When I first tackled outdoor lighting, I pictured myself trenching through the yard like some kind of context archaeologist, knees deep in mud, permits in hand, questioning every life choice that led me here. Then I discovered low-voltage systems, and that image disappeared.
Low-voltage lights run on just 12 volts, stepped down from your standard outlet by a compact transformer. That single device eliminates the complexity: no digging, no permits, no rewiring your house. You simply stake fixtures into the ground, run wire between them, and plug your transformer into an outdoor extension cord. One transformer powers multiple lights through a single home run, keeping everything tidy.
The safety benefits are concrete. At 12 volts, you can handle connections without risk, adjust positioning after dark, and experiment until your path lighting functions as intended.
Find Your Power Source and Map Your Light Placement

With a cup of coffee in hand and a rough sketch of my backyard, I stood at the sliding door and asked myself the question that stalls most projects before they begin: where exactly is this thing going to plug in?
I found my power source, a GFCI outlet by the garage, and confirmed it was weatherproofed. No outlet? Call an electrician. Don’t improvise.
Next, I walked my space at dusk, noting where shadows pooled and where I’d actually spend time. Pathways, patio edges, that one dark corner by the fence. I chose low-voltage lighting because 12 volts won’t fry me, and the transformer keeps everything manageable.
Then I built my layout map. I tracked the following:
| Element | What to Mark |
|---|---|
| Fixture placement | Exact spots, spacing distances |
| Wire runs | Routes from transformer to each light |
| Power connection | Outlet location, cord length needed |
This map prevents costly mistakes and rework later.
Install Fixtures in 30 Minutes: No Digging Required

How long did I spend dreading this part. Turns out, I worried for nothing. Low voltage outdoor lighting installation really does take about thirty minutes, and I didn’t touch a shovel once.
I worried for nothing—thirty minutes, no shovel, and it was done.
Here’s exactly how I got it done:
- I plugged my transformer into an outdoor outlet. No rewiring needed.
- I ran the wire along my planned path, tucking it under pine straw as I went.
- I pushed each fixture stake into soft ground with no tools required.
- I connected my transformer timer so everything glows automatically at dusk.
The 12-volt system feels incredibly safe and nearly foolproof. I bundled excess wire at each fixture, keeping things tidy without burying cables deep. Thirty minutes later, I stood back satisfied with the results. The installation works as advertised, and the setup is repeatable for anyone willing to spend half an hour on the task.
Hide Excess Wire and Test Coverage After Dark
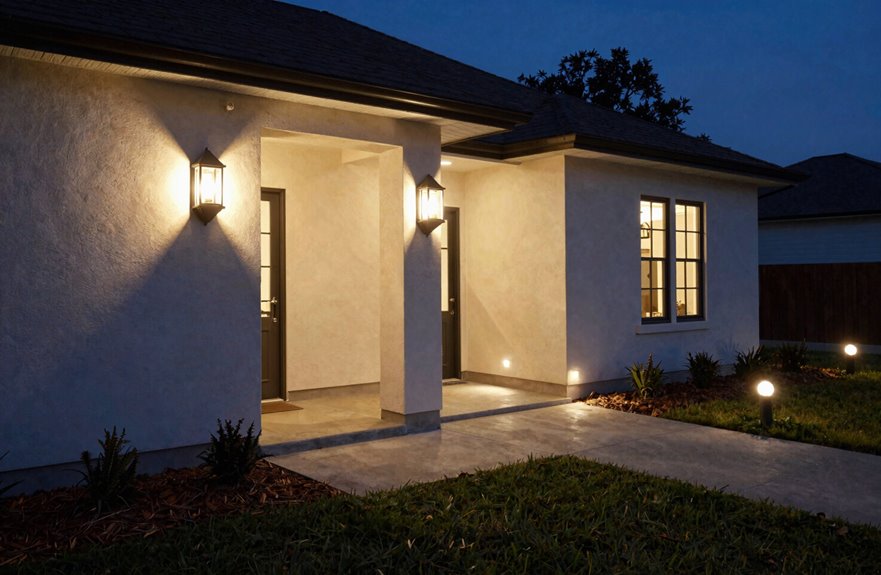
Installing the fixtures took thirty minutes, but I wasn’t done yet. I bundled excess wire with twist ties along each light, keeping things tidy above ground. For the runs between fixtures, I buried low-voltage wiring about six inches deep through grass and mulch beds, which hides the clutter and removes trip hazards. Where pine straw or ground cover existed, I tucked wiring underneath, adding protective conduit only where foot traffic or critters might cause trouble.
I placed my transformer on a raised bucket near the house, connecting the home run cable for easy access. Then I waited. Testing coverage after dark is essential; you cannot judge light angles at noon. I walked the yard, adjusted a few fixtures, and secured any loose wires so they’ll stay put through seasons of use.
Fix Flickering or Dead Lights Like a Pro
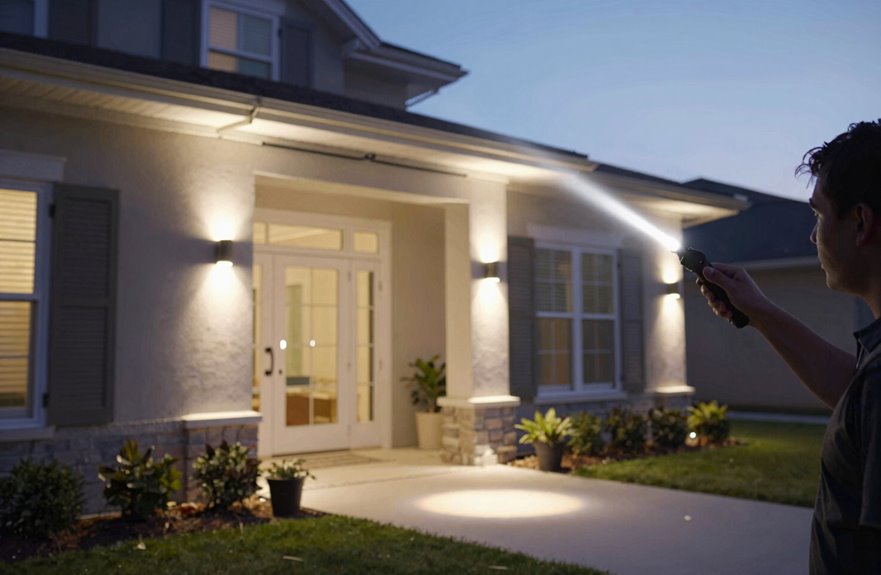
Why do perfectly good lights suddenly start flickering like a haunted house? Standing in your yard at dusk, watching carefully planned lighting dance unpredictably is frustrating. This troubleshooting routine will help.
Why do perfectly good lights suddenly start flickering like a haunted house? Standing in your yard at dusk, watching carefully planned lighting dance unpredictably is frustrating.
Here’s what to do:
- Inspect every fixture-to-wire connection, tightening loose screws and twist ties that vibration or weather loosened over time
- Grab a voltage tester and trace power flow, hunting down open circuits or degraded wire before blaming the bulbs
- Swap LEDs with identical wattage and type; mismatched drivers cause maddening flicker
- Check your transformer; if it’s overloaded or running hot, it’ll sputter intermittently until you recalculate your total load
Still struggling? Isolate sections temporarily, testing runs individually to pinpoint buried cable damage. This systematic approach will identify the problem.