I raised my table three inches last winter after months of hunching like a giraffe at family dinners.
First, measure your gap: under four inches, grab bed risers tonight.
Just check the weight rating and get a friend to help slide them under.
Need four to ten inches? I built wooden extensions that slipped over the legs, secured them with hanger bolts and construction adhesive, then sanded and stained to match.
For a permanent fix, replace the legs entirely.
Bring a photo to the hardware store, mark your centers, and attach with proper hardware.
Skip splitting the old legs; it weakens everything.
Paint thin coats and test for wobble before using the table for meals.
Measure First: Your Height Gap Determines Everything
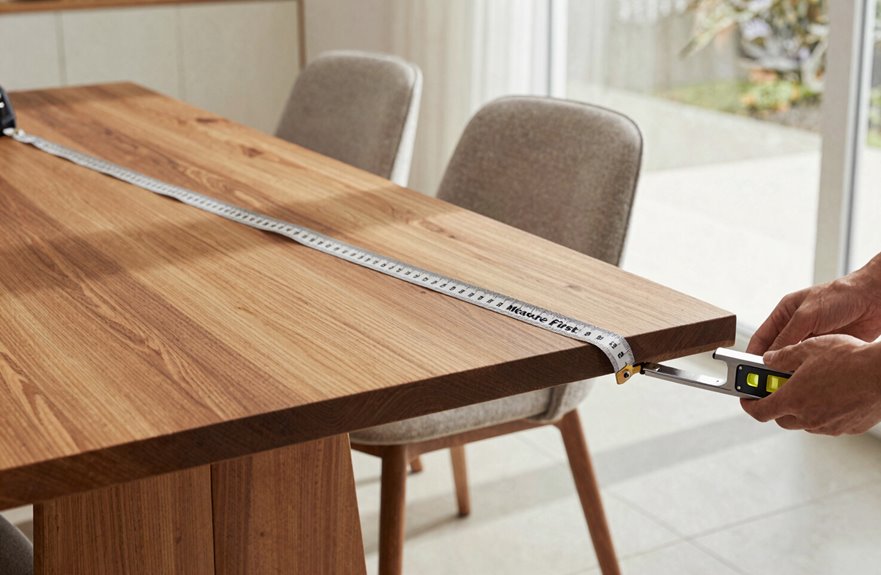
How do I know what I’m actually fixing here? Guessing leads to wobbly disasters. You’ve got to measure your current table, mine sat at 28 inches, and compare it to where you actually need it, around 30 inches for me. That’s your height gap, and it drives every decision.
Check your chair height and seating setup too, ensuring the tallest person using this table won’t hunch. Measure from tabletop to floor, accounting for any build thickness you’ll lose. Verify leg attachment points: width, thickness, hanger bolt placement. This ensures your leg height adjustment doesn’t compromise stability. Set your timeline based on your deadline. A weekend deadline means you’ll know if you’re building extensions or replacing legs entirely.
Under 4 Inches? Try Bed Risers Tonight
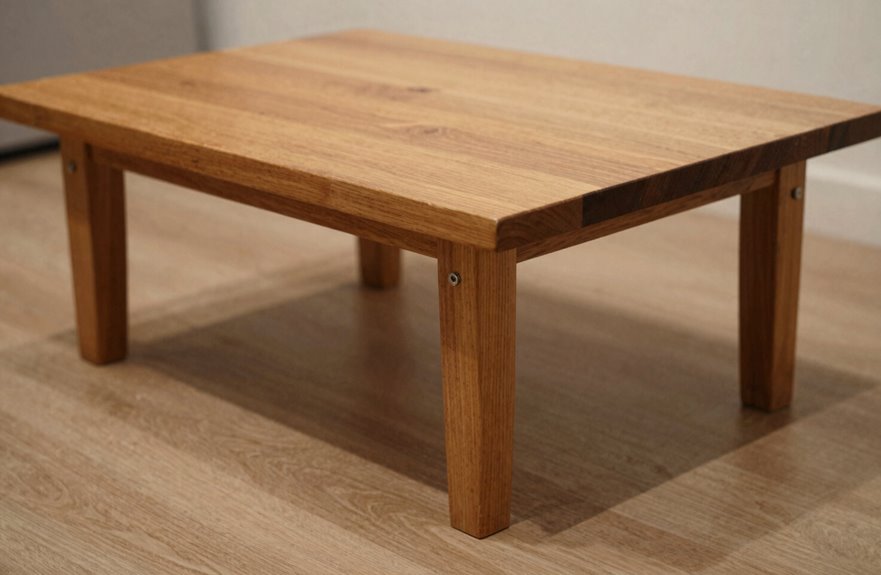
Why commit to a weekend project when a trip to Target might solve everything? I discovered bed risers when I needed just two extra inches, and they’ve been my go-to hack ever since.
Bed risers lift each leg two to five inches, giving you that modest boost without tools or sawdust. Check the weight rating and measure your leg diameter first. A loose fit means wobble, and nobody wants an unstable surface.
Grab a friend for heavy tables, slide the risers underneath, and eyeball the level. If you’re feeling fancy, paint them to match. I’ve stained mine espresso, and guests rarely notice. Double-check stability before loading up, then enjoy your newly elevated surface.
Need 4–10 Inches? Build Wooden Leg Extensions
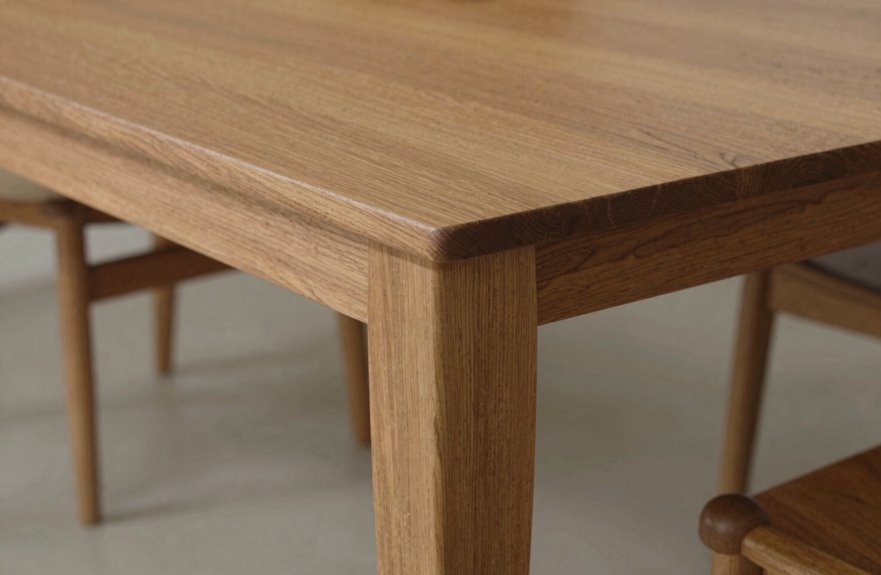
Bed risers max out around five inches, so when I needed my dining table closer to counter height, I grabbed my drill and some scrap maple. Building wooden leg extensions lets you add four to ten inches with real stability.
First, measure your current legs and your target height. Mine needed exactly seven more inches. Turn or cut extensions that slip over the existing legs, predrill center holes, and secure them with hanger bolts and tee nuts. I use premium construction adhesive plus longer screws for extra reinforcement, then sand the seams until they disappear.
Match your stain, let everything cure, and flip the table to test for wobble before finishing. This project takes a weekend, and the result is a table at the ideal working height.
Want It Permanent? Replace the Legs Entirely
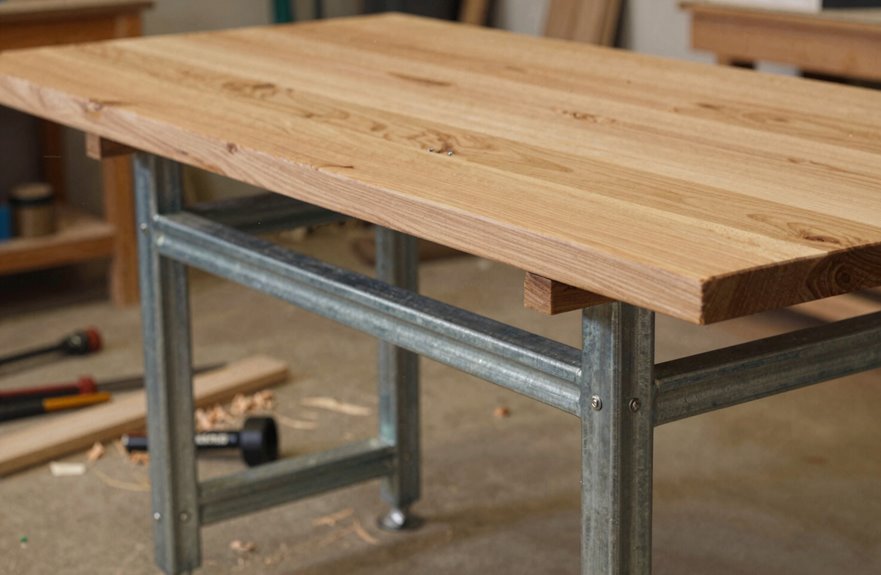
Swapping out legs entirely gives you a permanent fix with no height limits. I did this on my grandmother’s oak table when I needed bar height for kitchen prep. I measured from floor to tabletop, subtracted that from my target, and knew exactly what length to hunt for.
Bring a photo of your original legs to the hardware store. You’ll want to match the style, mounting pattern, and hangar bolt placement so everything lines up clean. Remove the old legs, mark your center points, then attach the new ones using screws, nuts, or hangar bolts, whatever fits your apron best.
Sand any rough seams, touch up with matching stain or paint, and give it a wobble test. When it stands solid, your custom-height table will function reliably for years.
Small Bump? Add Bun Feet for a Quick Lift
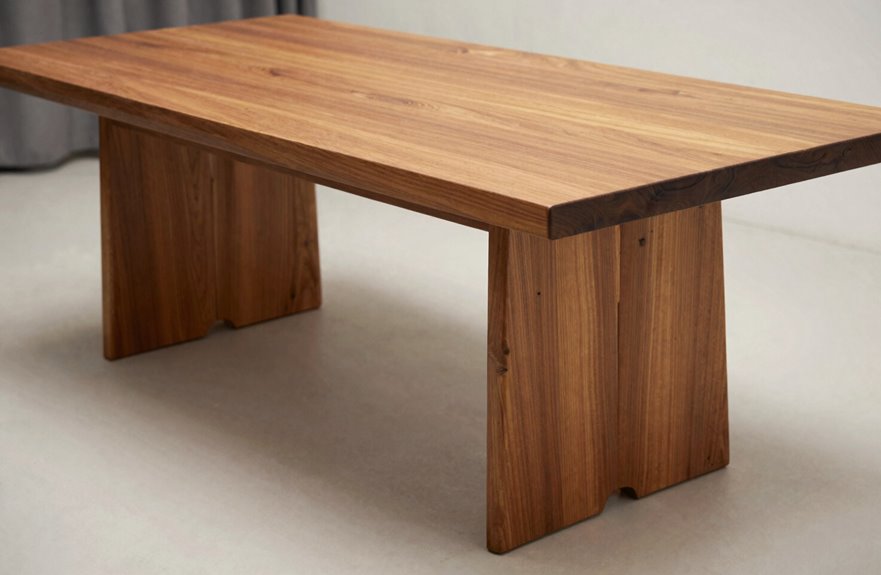
I’ve raised a wobbly side table by screwing bun feet directly into the legs. It’s the fastest fix I know for adding two or three inches without rebuilding anything. You’ll flip the table, drill shallow holes, hammer in tee nuts, and twist the feet until they’re snug. Then flip it back and check for rock. Paint them to match, and the height adjustment becomes invisible.
Attaching Bun Feet
Why settle for a table that sits too low when a quick fix sits right at your fingertips? Bun feet, those unassuming 2.5-inch rounds, transform wobbly, short tables into statement pieces.
First, flip them upside down against each leg end. Fasten tightly, checking each corner sits even. Rock the table gently to feel that stability. Adjust until it’s solid.
| Task | Tool | Time |
|---|---|---|
| Position bun feet | Your hands | 2 min |
| Secure with fasteners | Drill or screwdriver | 5 min |
| Test stability | Gentle rocking | 1 min |
Three bun feet per leg lifts most tables past 30 inches. Paint them to match, and nobody suspects your secret. You’ll look like another maker in the club, elevating furniture with intention.
Finishing and Matching
Elevation carries its own quiet satisfaction, especially when you’ve wrestled a table into submission yourself. Now comes the finishing work where we make it look cohesive.
Matching matters. Paint or stain those bun feet to blend with your table’s finish, since mismatched feet create visual disconnection. I tape off the legs with painter’s tape while drying, because touch-ups are tedious.
Here’s what separates a hack job from handiwork:
- Predrill carefully – centered holes keep feet from wobbling
- Drive tee nuts precisely – one-third depth anchors without splitting
- Test before final coat – flip, check levelness, adjust while you can
Once dry, that seamless lift to thirty-plus inches reflects actual effort and precision. You’ve built something better, together.
Lock Down Extensions: No Wobble, No Failure
I’ve learned the hard way that wobbly extensions turn a simple table-raising project into a daily annoyance, so I’m obsessive about locking everything down from the start. I use tee nuts and hanger bolts matched to my table’s exact weight capacity to create joints that won’t shift, twist, or loosen over time. The process requires attention to crucial details: predrilling deep holes, clamping for full glue cure, and sanding transitions so uneven surfaces don’t become hidden sources of instability.
Sturdy Attachment Methods
How do you keep a raised table from turning into a wobbly disaster? It’s all in the attachment. A loose connection causes structural failure.
- Hanger bolts are your best friend. Thread these into wooden leg extensions, securing them with tee nuts for a flush, solid fit that won’t budge.
- Preparation prevents pain. Predrill centered holes about a quarter-inch deep, keeping spacing equal from table edges for balanced support.
- Glue adds grip. Spread high-strength woodworking adhesive on the joint before tightening, testing afterward with side-to-side pressure to catch any flex early.
Sand transitions smooth, match finishes, and verify your raised table won’t shift under load or daily use.
Preventing Unstable Movement
What good’s a taller table if it sways every time you set down your coffee? Table stability demands precision. Square every extension to its leg. Use identical height pieces on all four corners, or you’ll fight wobble forever.
This system locks things down:
| Technique | Why It Works | My Go-To Method |
|---|---|---|
| Full-length glue joins | More surface, stronger bond | Toe-to-heel application |
| Dowels or Tee nuts | Rigid, no-slip connection | Pre-drill, then seat flush |
| Level floor test | Catches problems early | Wiggle, shim, recheck |
Test on a level floor, shimming low spots until the wobble disappears. Match your finish, paint or stain, so seams blend and edges don’t catch. Wait for full glue cure before loading up, then grab your spirit level one last time. A stable table won’t shift under use.
Hide the Fix: Match Paint to Your Table’s Finish
Where exactly do those chunky extensions meet your original table legs? Right there, that seam is where your eye goes first. I paint before final assembly because surfaces stick when wet. I grab my matching Sherwin-Williams shade, the one I noted during prep, and I don’t rush.
The seam where old meets new is where your eye goes first—paint before assembly, and never rush the blend.
Here’s my hide-the-fix routine:
- Sand transition areas lightly, just enough to blur the line where old meets new
- Apply thin coats, letting each dry; build coverage gradually for that factory-finish depth
- Recheck stability after painting. Color won’t wobble, but fit can shift
One thick coat looks cheap, and skipped sanding signals amateur work. You want guests asking where you found such a tall, handsome table, not noticing you built it yourself.
Don’t Split the Leg: Avoid These Structural Mistakes
Why do so many DIY table lifts end in wobble and regret? I’ve been there, measuring tape in hand, tempted to just split a leg and call it done. Don’t.
First, never cut or split existing legs; any splitting weakens the structure and creates failure points where your table height adjustments will fail. Avoid drilling clean through legs or removing material that supports hanger bolts. When attaching extensions directly to leg surfaces, uneven loads create stress points that compromise stability. Short cosmetic caps look acceptable until your coffee slides off. Angled cuts and grooves reduce cross-sectional area, compromising torsional strength when someone leans on that raised surface. Your table height requires proper reinforcement, not shortcuts that will let you down.
Weekend Deadline? Prioritize Speed Over Perfection
I get it. You need this table taller by Monday, and you don’t have time to become a master carpenter. We’ve all been there, staring at a too-low table while guests arrive in forty-eight hours. Speed matters more than museum-quality craftsmanship right now.
Here’s my weekend battle plan:
- Grab bed risers or ready-made extenders. They slip under existing legs with zero disassembly, giving you instant height without the headache.
- Predrill, glue, and clamp wooden extensions in one session. Skip multiple dry runs; get it done, let it cure overnight.
- Test stability with weight, paint to match, hide the joints. Nobody’s inspecting your handiwork with wine glasses in hand.
Your secret stays safe, the table stands steady, and Monday morning delivers results.