

I always start by clearing my workspace and taking furniture apart, knobs, drawers, hardware in labeled bags so nothing gets lost. Then I pick my paint type, because chalk paint needs little prep while latex demands sanding and primer. I scrub every surface with degreaser, sand only what’s needed (80–120 grit for rough spots, 220 between coats), and prime to block stains. Thin coats, wet edges, sanding between layers once bone-dry produces superior results. I seal with wax or polycrylic, reassemble after curing, and wait those crucial days before heavy use. Skipping steps directly compromises the final finish quality.
Clear Your Space and Disassemble the Furniture
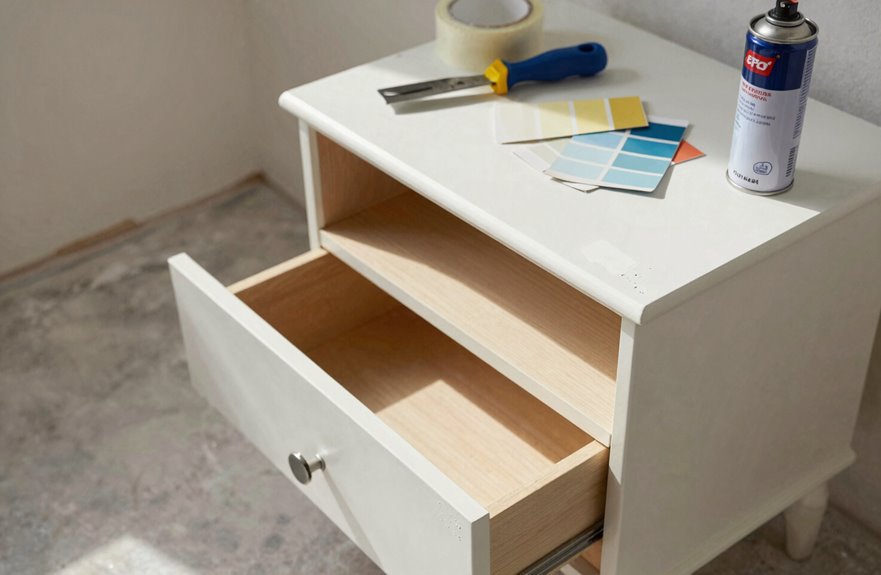
I’ve learned the hard way that skipping proper setup turns a weekend project into a week-long headache. That’s why we’re starting with clearance; you need breathing room, literally. I haul everything to a well-ventilated spot, lay down drop cloths, and create space to move freely.
Disassembly comes next. I grab my screwdriver, remove every knob and hinge, and drop them into labeled containers. Nothing ruins momentum like hunting for missing hardware. I pull out drawers, inspect for loose joints or veneer issues, and tackle those now before they become bigger problems. Tape off glass and metal surfaces carefully.
For prep-cleanup, I wipe everything down with Murphy’s Oil Soap. Years of grime and old wax disappear completely. Clean surfaces mean paint that actually sticks.
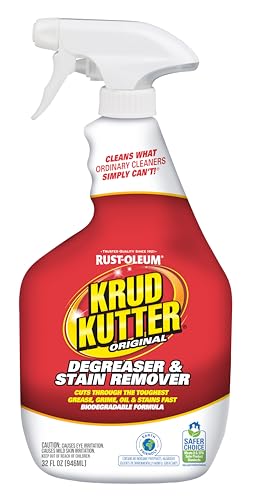
Heavy Duty Degreasing Performance Helps break down grease, oil, grime, wax, and tough stains across a wide range of surfaces.

CABINET & FURNITURE CLEANER: Removes dirt, grime & grease buildup

DISSOLVES GREASE AND GRIME: Cut through that though grease and grime in just seconds. This Stanley Home Products Original Degreaser does the tough cleaning for you.
Select Your Paint Type (It Determines Your Prep)
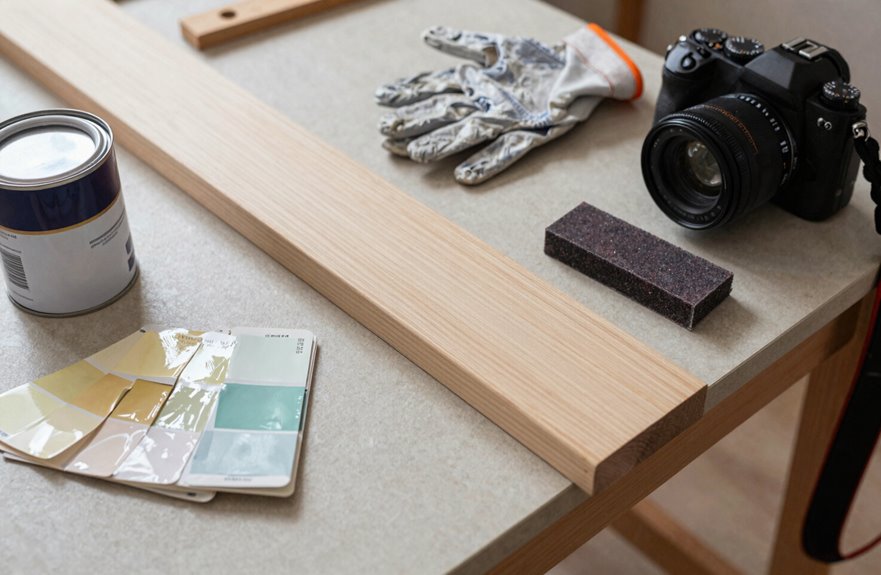
Most people grab whatever paint’s on sale, then wonder why their dresser chips within six months. Paint type dictates everything that follows, especially your prep work and how well your finish survives daily life.
Paint type dictates everything: your prep work, your finish, and whether that dresser survives daily life.
Let’s break down your real options:
- Latex demands sanding and primer for proper adhesion, plus polyacrylic or wipe-on poly to finish
- Chalk paint skips heavy prep but needs wax or poly; it distresses beautifully if that’s your vibe
- Milk paint gives that authentic matte vintage look, though four or five coats isn’t unusual
- Fusion mineral paint promises one-step simplicity: no primer, no top coat, just patience
- Enamel sits in its own category. It’s durable, glossy, and difficult to apply
Once you commit, your prep path becomes crystal clear.
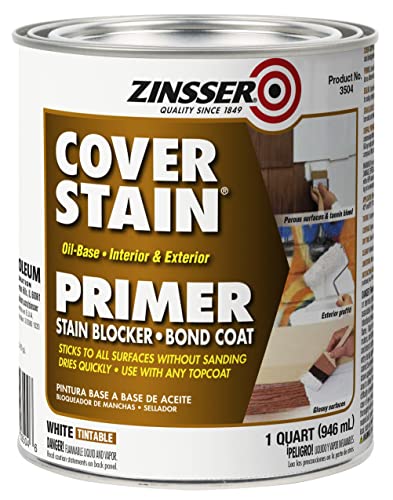
Cover stain, QT, Oil based stain killer primer/sealer

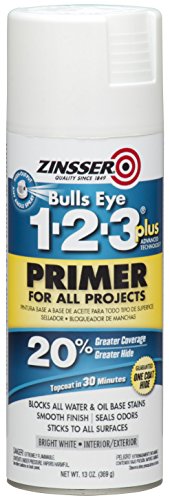
Interior/exterior use on new or previously painted Drywall, concrete, wood, masonry, metal and glossy or difficult surfaces
Deep Clean Every Surface and Crevice
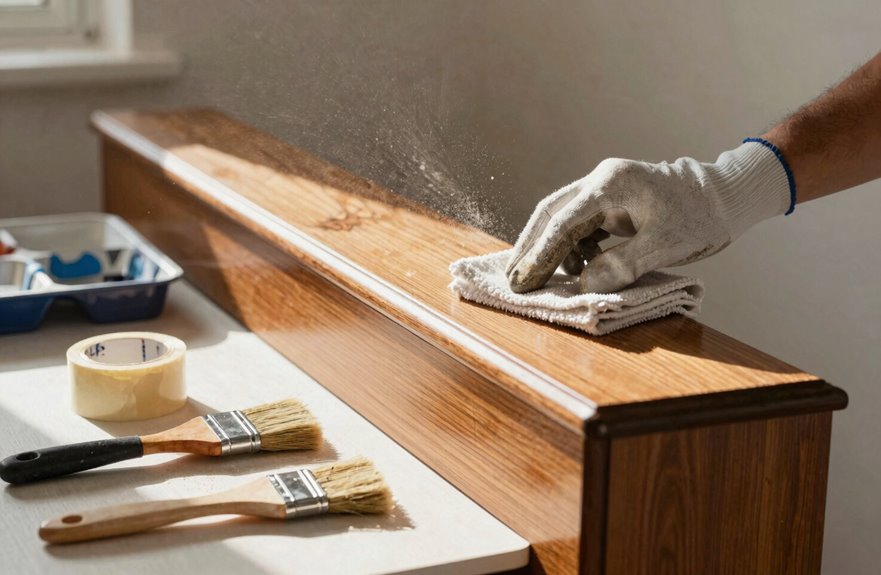
I always start by stripping every knob, pull, and drawer from my piece. Paint on hardware is the fastest way to create a visibly amateur finish. Once I’ve bagged and labeled everything (a necessary step to avoid confusion), I’ll mix Murphy’s Oil Soap with warm water and scrub every surface, including those grimy corners where mysterious sticky residues accumulate. A degreaser is essential here, especially on pieces from kitchens or kids’ rooms, because primer won’t adhere to grease regardless of technique.

🌿 100% Natural & Eco-Safe Formula : Crafted from plant-based oils, carnauba wax, and beeswax, this non-toxic wood wax protects furniture, floors, and decor without harsh chemicals.Safe for the environment.
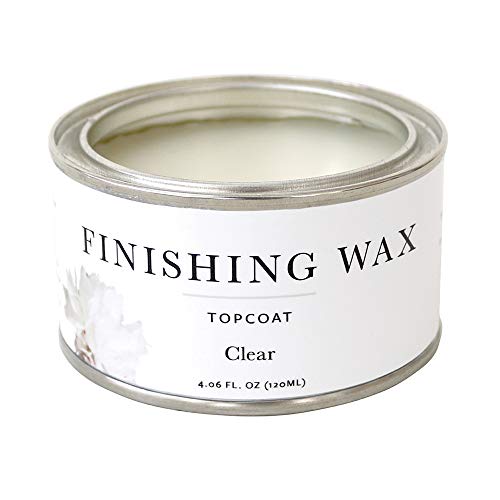
Durable Protection: Seals and protects interior furniture, cabinetry, and home decor. Suitable for painted, stained, or raw wood surfaces.
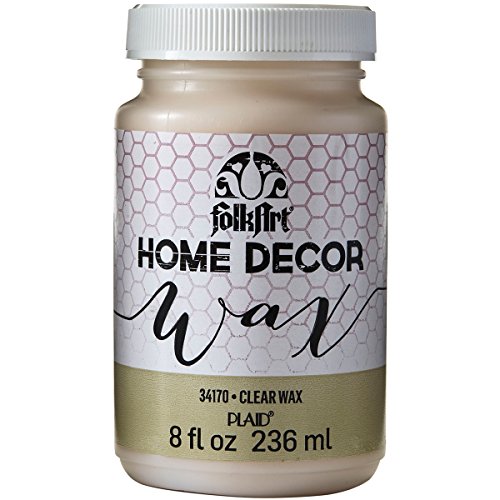
VERSATILE & CONVENIENT SIZE - This paraffin-infused wax sealer and protectant comes in an easy-to-use 8 oz bottle - perfect for use with the FolkArt Home Décor Wax Paint Brush
Remove All Hardware
Start by stripping away every knob, pull, hinge, and screw before you even think about reaching for a rag or brush. Cleaning around hardware creates more work later, and nothing ruins antique brass faster than an accidental splatter of primer. Hardware removal isn’t glamorous, but it’s the foundation of solid furniture prep.
Here’s what I always do:
- Label every piece with masking tape so reassembly doesn’t become a guessing game
- Drop screws into labeled baggies. Loose screws get lost on cluttered workbenches
- Inspect each hole for hidden grime that wrecks your cleaning procedure
- Protect glass or mirrors with careful taping before you start scrubbing
- Dry everything twice; moisture reduces paint adhesion
Getting this right means your finish will actually last.
Clean With Degreaser
I spray every surface, those sneaky crevices, carved details, and drawer fronts. For stubborn gunk, I let the degreaser sit, then scrub with a non-abrasive pad. No residue can remain; cleaning thoroughly now prevents adhesion problems later.
I rinse, wipe, and wait. Complete drying is essential; moisture compromises adhesion. I wear gloves and crack a window for proper ventilation. This step distinguishes professional results from amateur work.
Sand Only as Much as Your Paint Requires
I used to sand everything down to bare wood until I learned that different paints demand different prep. Chalk paint needs barely a scuff, while latex or oil-based finishes want a proper tooth to grab onto. Match your sanding aggression to your paint type: 80-grit for rough, chipped surfaces, 220-grit between coats, and sometimes just a quick once-over with 120 if you’re working with something already smooth. Don’t waste elbow grease where you don’t need it; I’ve ruined perfectly good veneer by being overzealous when a gentle scuff would have been sufficient.
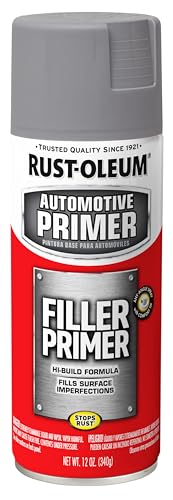
Filler primer is suitable for use on wood, metal and fiberglass surfaces

Ideal for use on interior/exterior surfaces including wood, plastic, plaster, metal, masonry and unglazed ceramic

Use for a variety of indoor and outdoor project surfaces including wood, metal, plaster, masonry or unglazed ceramic
Know Your Paint Type
One of the biggest mistakes I’ve made is sanding every piece of furniture like I’m preparing it for surgery, regardless of what paint I’m actually using. Different paints demand different prep, and getting this right saves hours of unnecessary work.
Here’s what I’ve figured out about matching your approach to your paint:
- Latex paint needs primer for proper adhesion and an even topcoat, plus a finish/sealant for durability
- Chalk paint gives that gorgeous matte look, distresses beautifully, and typically requires sealing
- Milk paint runs thinner, so I plan on 4–5 coats for full coverage
- Fusion mineral paint simplifies everything; no primer, no top coat, just clean well
- Your sealing choice (wax, polyacrylic, or oil) must match both paint type and how you’ll use the piece
Match Prep to Paint
The sanding step is where I’ve personally wasted more weekends than I care to admit. Buffing a dresser down to bare wood only to remember I’m slapping chalk paint on it anyway taught me to match my sanding to my paint.
| Paint Type | Sanding Required | Primer Needed? |
|---|---|---|
| Latex/Enamel | 120–220 grit progression | Yes, after sanding |
| Chalk/Milk Paint | Light scuff or 120 grit | Skip it |
| Mineral Paint | Light sanding between coats | Rarely |
| Rough Existing Finish | 80–120 grit leveling | Yes |
| Smooth Existing Finish | Light 120 grit | Yes |
For latex and enamel, always wipe with a tack cloth before primer. This allows your finish coat to adhere properly. With chalk or mineral paints, give a quick once-over as well; it helps that final coat feel smooth. Work smarter, not harder.
Skip Unnecessary Sanding
Learning to sand less was a hard-won lesson for me. I used to attack every piece with sandpaper, exhausted before painting even began. Now I know better, and I want you to skip that struggle.
Here’s what I’ve figured out:
- Dull, matte finishes need only light sanding for adhesion, not hours of labor
- Use 80–120 grit to remove gloss, then 220 grit for latex or enamel bases
- Between coats, a quick 220 grit pass and tack cloth wipe keeps things smooth
- Chalk paint lets you distress after painting, skipping heavy prep entirely
- Good condition surfaces, compatible paint, and thorough cleaning can eliminate primer
Your materials will perform according to their specifications. Save your energy for the painting itself.
Apply Primer and Let It Dry Completely
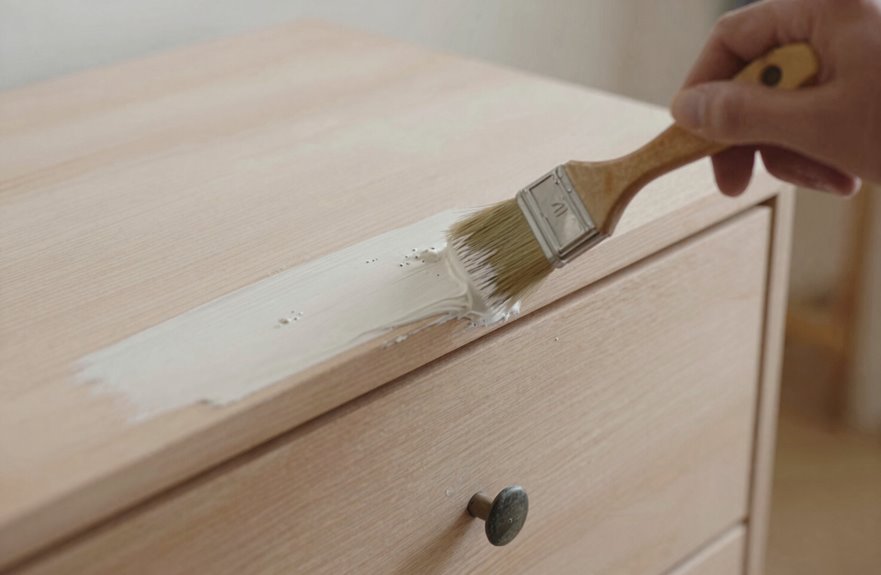
Why does primer matter so much? It’s your insurance policy against peeling, chipping, and regret. I learned this the hard way on a glossy nightstand that looked perfect until it failed. I now treat primer as a non-negotiable step.
Primer creates the foundation your paint needs. For latex or shiny surfaces, a high-adhesion primer like Kilz works best. It grips where paint alone would slide off, blocks old stains from bleeding through, and delivers the professional finish required for quality results.
| Surface Type | Primer Recommendation | Drying Time |
|---|---|---|
| Raw wood | High-adhesion latex primer | 2–4 hours |
| Glossy laminate | Bonding primer like Kilz Adhesion | 4–6 hours |
| Previously painted | Stain-blocking primer | 2–3 hours |
| Milk/chalk paint projects | Optional, or clear primer | 1–2 hours |
Follow the manufacturer’s guidance for drying time without shortcuts. Rushing compromises the entire project. Once dry, wipe with a tack cloth to remove dust nibs before painting.

Shiny Top Coat: You will get modelones 15ml Large Capacity no wipe gel top coat. Help to protect the nail surface, keeping the gel from peeling off, and keeping the nails in a long shine finish.
Excellent Durability

Beetles Clear Top Gel: No Wipe Top Coat Gel Nail Polish, Long lasting with perfect shine. A flexible top coat avoids nicks, chips, or smudges. UV/LED Lamp needed.
Sand Dried Primer Until Smooth to the Touch
I run my hand across the primed surface and immediately feel every bump, brush stroke, and speck of dust that’s hiding there. Skipping this step is how you end up with furniture that looks painted rather than professionally finished. I grab my 220-grit sandpaper wrapped around a sanding block, working in gentle circles until the surface feels like satin under my fingertips, then wipe away every trace of dust with a tack cloth before opening the paint can. It’s tedious, it’s dusty, and your arm will ache. That glass-smooth foundation is the difference between amateur work and the kind of finish that makes people ask where you bought your “new” dresser.

KITCHEN CABINET DEGREASER THAT WON'T STRIP THE FINISH - Built on 50 years of family cabinet refinishing, not by a chemical company. This cabinet cleaner degreaser lifts cooking grease off wood and painted cabinets without attacking the factory coating underneath.

CLEANS AWAY DUST + GRIME, LEAVING NO GREASY RESIDUE: this unique formula removes dust and grime effectively. it leaves no oily or greasy residue behind, ensuring a clean finish every time

Complete Cleaning Kit for Effortless Cabinet Care - Everything you need for spotless cabinets in one easy set. This kitchen cabinet cleaner kit includes a precision cleaning brush, and an 8 oz bottle with a calibrated spray top for even coverage. The cabinet cleaner for wood offers a smooth application, while the long-lasting cabinet cleaner degreaser helps you keep your cabinets looking cared for day after day.
Smooth Surface Preparation
The journey from “slightly bumpy” to “butter-smooth” happens one grit at a time, and I’ll walk you through exactly how I do it.
I start my sanding with 80–120 grit on the primer, working my way to 220. Skipping grits leads to problems and wasted effort. Between each round, I wipe everything down with a tack cloth. A dust-free surface is essential for quality results.
Here’s what keeps me on track:
- Start coarse, finish fine. No exceptions.
- Tack cloth between every sanding pass
- Sanding blocks prevent uneven pressure problems
- Inspect closely before declaring the surface ready
- Re-sand trouble spots immediately without delay
This methodical approach transforms furniture from amateurish results to gallery-quality pieces. The careful progression of grits and consistent surface preparation creates the foundation for professional finishes.
Tactile Quality Check
Run your hand across the dried primer and you’ll immediately know whether you’ve got work left to do. Rough spots catch like Velcro, bumps announce themselves like unwanted guests, and that stubborn grain telegraphs right through your fingertips.
I grab my sanding block and start with 120-grit, working through 180, then finishing at 220. The trick is straight, even strokes; no circles, no digging in. I’m chasing that glassy smoothness, the kind that makes paint behave.
If the primer feels gummy, I walk away. Patience beats rework every time.
Once I’m there, I’ll sweep with a tack cloth. None of that dusty residue belongs here. Test your finish by brushing a light stroke. If it glides without catching, you’re done.
Apply Thin Coats by Brush and Roller
Three thin coats beat one thick disaster every single time. I learned this the hard way, standing over a sticky dresser at 2 a.m., watching drips dry into permanent ridges. Now I work smarter, not harder, and you can too.
Here’s my battle-tested approach:
- Load your brush lightly. Think whisper, not shout.
- Cut into edges first, then roll the flat expanses.
- Keep a wet edge, moving steadily across surfaces.
- Start verticals, finish horizontals, save drawer fronts for last.
- Patience pays; let each coat cure completely.
I grab my brush for carved details and tight corners, then switch to the roller for broad, smooth planes. The transformation builds gradually, coat by coat. Each layer must fully cure before applying the next one, ensuring a durable, professional finish.

Use to prime interior surfaces such as walls, doors, trim, plaster, concrete and more

Interior/Exterior use on new or previously painted drywall, concrete, wood, masonry, metal and glossy or difficult surfaces

Get ultimate hiding power indoors and out with Zinsser Cover Stain Primer
Sand Between Coats Once Fully Dry
Before I reach for my sandpaper, I wait until each coat feels bone-dry to the touch, not merely set. Rushing this step invites gumminess, uneven texture, and regret. Patience separates amateur work from pieces that feel professional.
Once I’m certain it’s dry, I lightly sand with 220-grit paper to scuff the surface, promoting adhesion and smoothing imperfections. I grab my sanding tool, a simple block or sponge. The sponge conforms to curves where rigid blocks fail, while blocks handle flat planes with even pressure.
After sanding, I wipe away dust with a tack cloth, leaving a pristine canvas for the next coat. I repeat this rhythm for every layer, honoring manufacturer dry times. Following the process yields furniture with depth and durability that lasts.
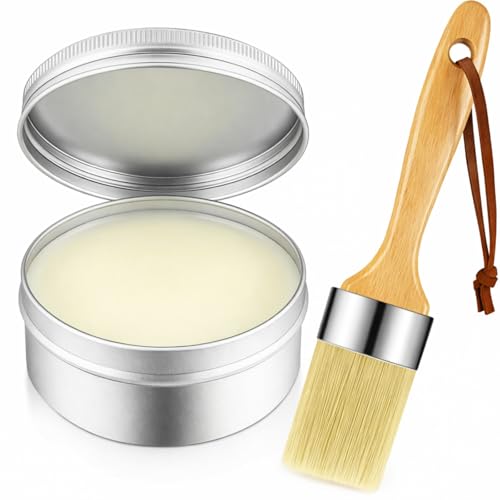
Nice combination: each package comes with 1 piece of 7 oz/ 200 g clear finishing wax and 1 piece of wax paint brush, which are nice combination for painting or waxing interior furniture, walls, home decor and accessories

Premium Chalk Finish Paint Wax - Odorless, non-hazardous, and water-resistant sealing wax; available in a variety of colors

Smooth Finish: Gives your furniture that classic chalk look that’s elegant & non-shiny.
Seal It So It Lasts and Wipes Clean
Why risk all that careful work? Skipping the sealant step means watching your beautiful finish chip within months. Here’s how to protect what you’ve built:
Skipping the sealant step means watching your beautiful finish chip within months.
- Match your sealant to your paint: Polycrylic or wipe-on poly for latex, chalk, or milk paints; furniture wax for that soft, matte vintage feel
- Apply wax with a dedicated brush or lint-free cloth, then buff once dry
- Chalk and milk paints absolutely need sealing; latex benefits from a water-based topcoat even if it isn’t strictly required
- After your final coat, allow proper curing: about 12 hours, then 24 more before handling
- Let the surface cure completely, undisturbed, for 1–2 days to prevent fingerprints
Allowing proper curing time is what separates a durable finish from one that deteriorates quickly.

IMPROVES PAINT FLOW & LEVELING: Floetrol latex paint additive conditions acrylic and latex paint so it flows smoothly, self-levels, and dries to a professional finish without thinning.


Filler and sandable primer is suitable for use on wood, metal and fiberglass surfaces
Reassemble and Wait Before You Use It
How soon is too soon to put everything back together? I’ve learned the hard way that patience here separates the pros from the “oops, I smudged it” crowd.
I wait until the final coat and sealing are fully dry, then I reassemble piece by piece: hardware first, drawers after. If I’ve used wax or a wipe-on topcoat, I buff everything to a consistent sheen before handling anything. I test each drawer, check door alignment, make sure it all feels right.
The real restraint comes next: I let the finish cure in a dust-free spot for 24 hours minimum, knowing full cure takes about 30 days for true durability. I avoid actually using the furniture for one to two days. Your future self will benefit from this patience.

Beetles Extra Glossy Gel Top Coat: Upgraded top coat helps protect the nail surface, preventing natural and gel nails from peeling, providing long-lasting abrasion resistance, preventing scratches, chips, and other damage, and preventing stains. It delivers a long-lasting mirror-smooth effect and is suitable for holidays.

Item Included: 1 x Vishine High Gloss No Wipe Top Coat 0.5 fl. oz.

Makartt top coat gel nail polish: Long lasting for 21+ days with perfect mirror-like shine, no sticky layer comes out, leaving nails feeling very smooth, and no yellowing. A flexible, crystal clear top coat avoids nicks, chips, or smudges