A styled shelf reads as intentional when objects group in clusters of 2–4 instead of lining up one by one.
Most people skip the step that makes groupings work: measuring the shelf width first, because a 12–30 inch shelf takes one centered grouping, while anything wider needs two or three with real space between them.
1. Clear the Shelf and Decide What It’s For
I pull everything off the shelf before I do anything else.
Books, frames, trinkets, dust — all of it comes down. A bare shelf shows its actual proportions, and that empty view changes what you decide to put back.
Wipe it down while it’s accessible. Then sort what came off into loose piles: books together, greenery in one spot, wood pieces nearby, smaller decorative objects off to the side.
Seeing everything at once keeps you from repeating the same arrangement you had before and lets you think about the mood you want — whether that’s minimal with open space or layered with boxes and sculptural pieces.
Decide what job the shelf does.
Display only? Everyday storage?
Mostly books? The room’s function answers half of that question.
Office shelves might hold work-related books and a few framed pieces, while living-area shelves lean toward family photos or a record player. Bathroom shelving usually means storage containers or the things you reach for at night.
Let the spot guide how much you display versus how much you store, because a floating shelf in a hallway does very different work than built-ins beside a fireplace.
2. Measure the Shelf and Plan Your Groupings
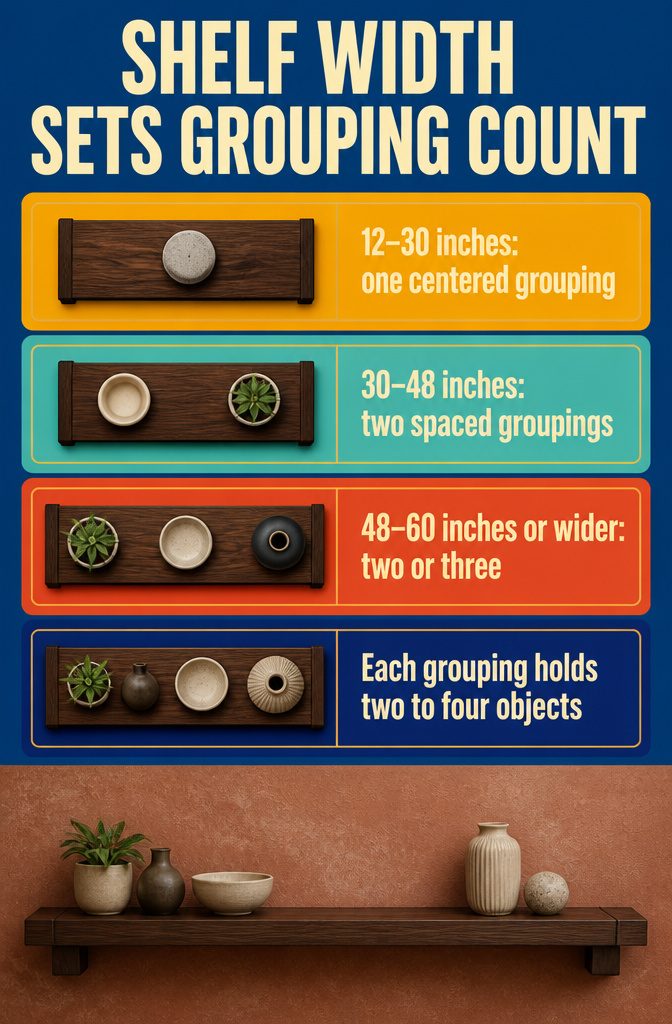
Measure the shelf width before anything goes back up, because width decides how many groupings fit. A grouping is two to four objects placed close together, and the spacing between them matters as much as what sits inside them.
Shelves 12–30 inches wide take one centered grouping. Anything wider and a single cluster looks lost.
For shelves 30–48 inches, plan on two groupings with real space between them. Once you reach 48–60 inches or wider, two or three groupings work, depending on how much breathing room you want the wall to show.
The math here is practical, not decorative.
A narrow shelf forces tighter editing. A wide one gives you room to spread out, but cramming it full erases the gaps that make each grouping read as intentional.
I find the two-grouping plan the easiest to balance, because three can start to feel crowded unless the shelf is genuinely long.
3. Choose a Palette and Select Pieces
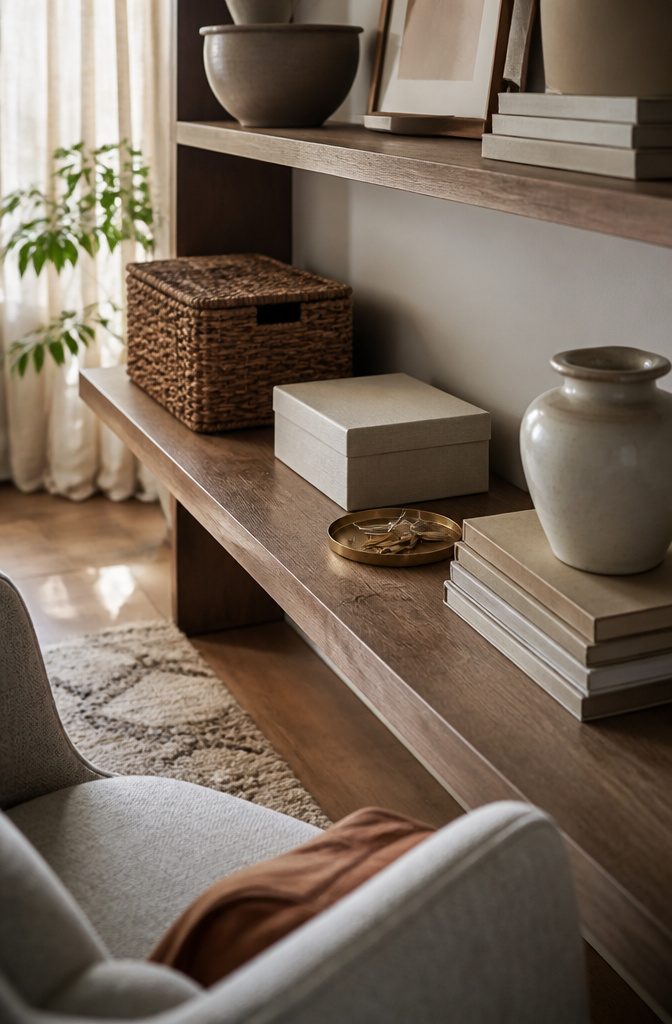
Pick two or three colors and stick to them. The room probably already owns the palette: check the rug, then the curtains or the largest piece of furniture.
An accent color plus a couple of neutrals is enough. Warm wood, cream, rattan, or a small amount of brass gives you the repetition that pulls an arrangement together without announcing itself.
Choose pieces that suit the shelf’s job. Decorative storage baskets hide daily mess while adding texture.
Lidded boxes take chargers, mail, and batteries. A tray corrals keys or remotes so they read as a vignette instead of clutter.
Stack the cookbooks you actually use. Face a photo album cover out.
Ceramics or barware you reach for can sit on an open shelf and earn the space they take. Functional pieces double as decor when you stop treating the two categories as separate.
4. Place Books and Larger Anchor Pieces First
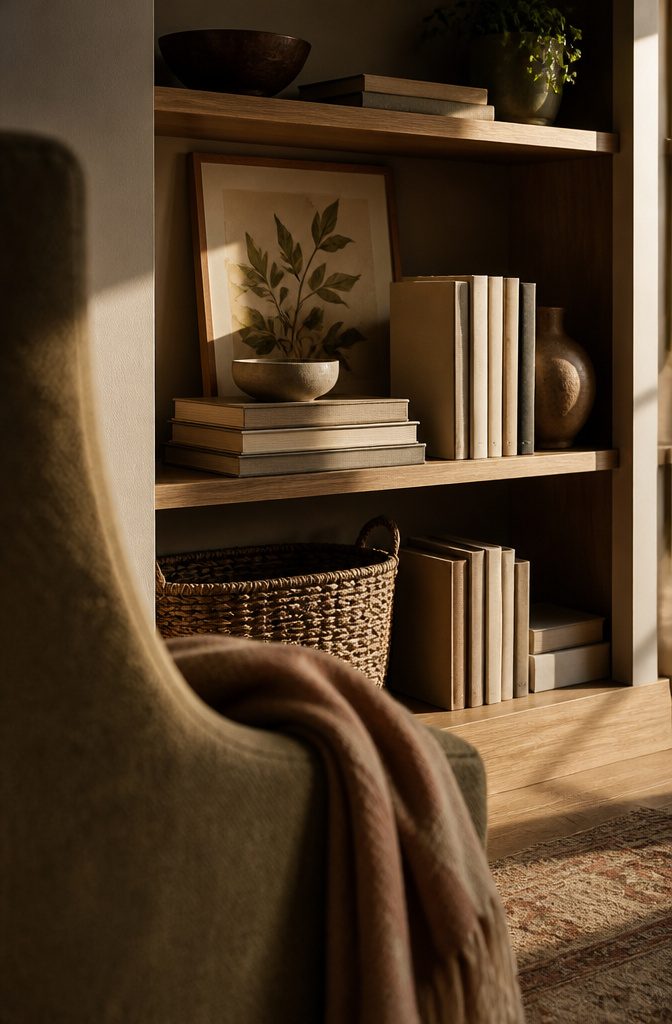
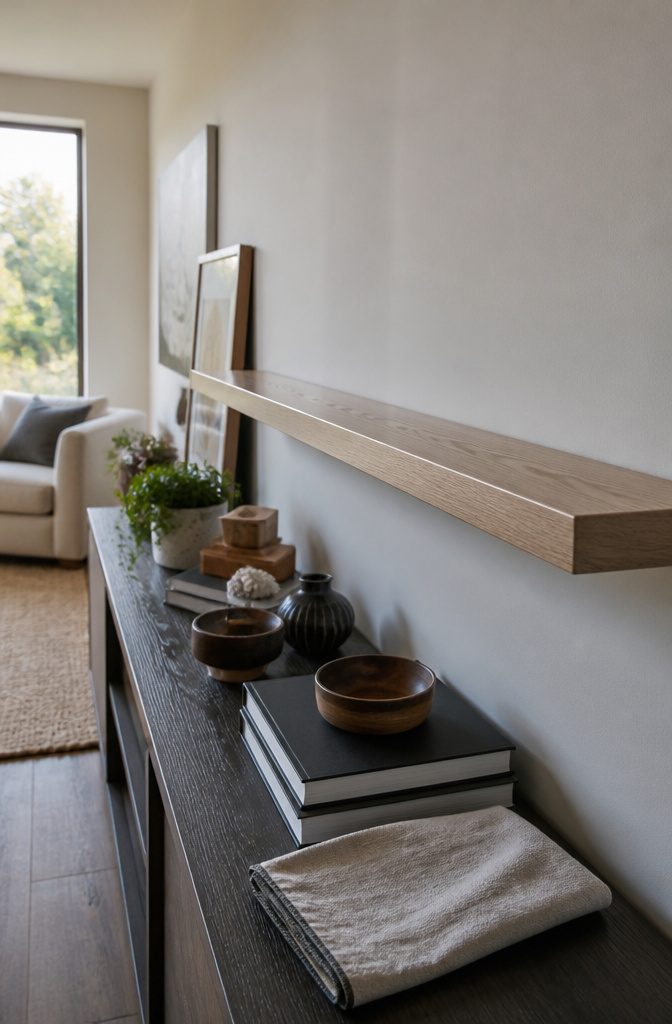
Books anchor a shelf grouping better than anything else, and I start with them every time. A few laid flat turn into an instant riser for a small bowl, a candle, or a sculpture stacked on top.
Others stand upright, held in place with bookends or a heavy vase. Mixing horizontal stacks with vertical rows keeps the arrangement from feeling too rigid or too loose.
Larger pieces go in first, or sit behind smaller ones, to give the grouping a backbone.
A framed print facing out, a wide wooden board, or a mirror holds the space and makes everything in front of it feel less random.
Without that anchor, small objects float and the shelf reads cluttered fast. Coffee table books work especially well here because they add color and height at the same time.
Heavier visual weight sits lower on the shelf.
That means books, baskets, and wider objects go toward the bottom, with lighter, smaller pieces layered above or in front. The read is calmer and the whole arrangement feels grounded instead of top-heavy.
5. Build Groupings, Layer Objects, and Vary Height
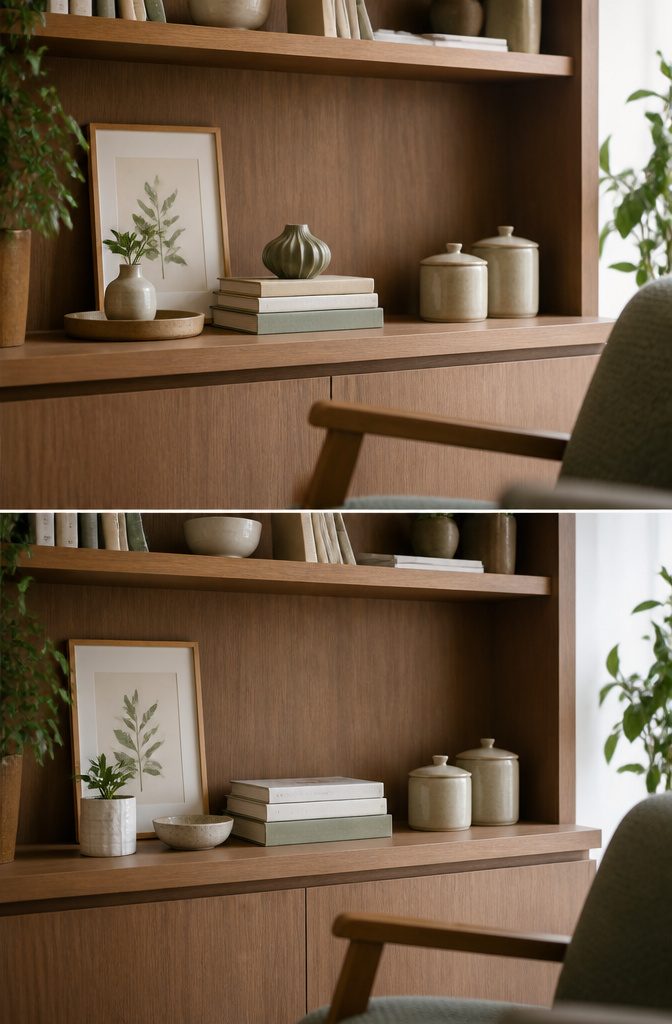
Objects lined up one by one in a flat row are the shelf styling mistake I see most. Group two to four pieces close together instead, related by shape, color or material.
A small vase you love should never sit alone; place it on a tray in front of something taller, or pair it with a stack of books and a sculptural piece in the same shade.
That framing gives a tiny object presence and makes the placement feel intentional rather than scattered.
Overfilled shelves can sometimes appear cluttered. Instead of filling each shelf from end-to-end and top-to-bottom, leave space between and above objects.
— Magnolia
The space between groupings gives your eye somewhere to rest and separates a thoughtful shelf from a crowded one.
Layer smaller objects in front of larger ones. If you have matching vases in different sizes, or a set of canisters, group them as one block rather than spreading them across the shelf.
Odd numbers feel natural to the eye: one tall piece, one medium, one small in front, arranged as a loose triangle. Then move to the next shelf and vary the pattern.
One centered grouping here, two smaller ones there, an asymmetrical mix on the third. Vary heights within each group so your eye moves around instead of landing in one straight line.
6. Repeat Colors, Shapes, and Materials Across Shelves
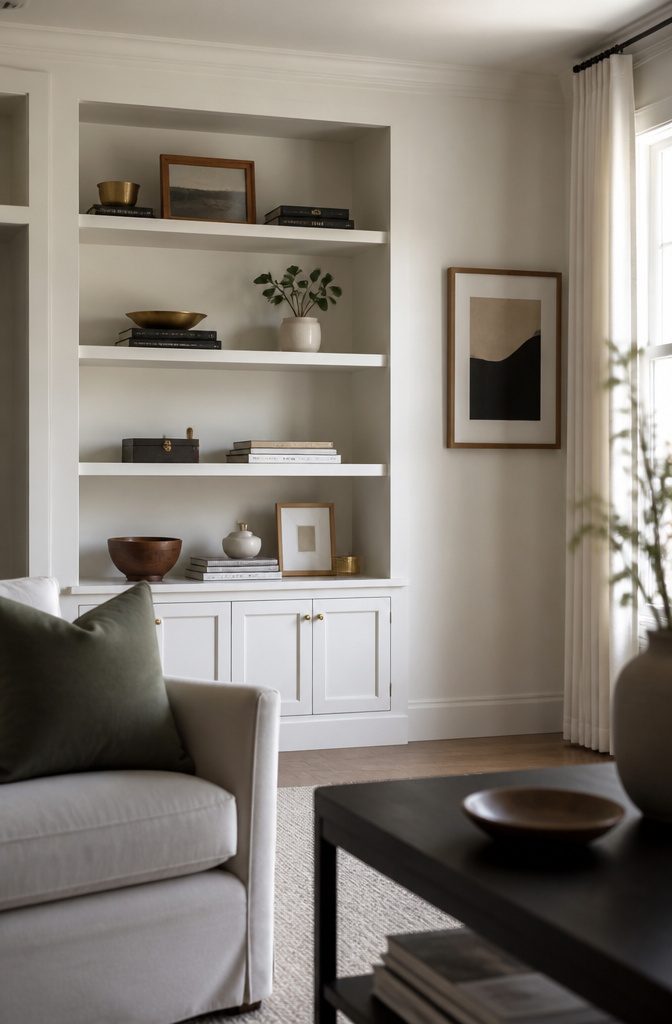
Repeat Colors, Shapes, and Materials Across Shelves
I spread repeated elements across the display instead of clustering them in one spot. If I place something brass on the upper left, I echo that brass somewhere in the lower right, maybe bring it back to the lower left.
Repeating tones and colors diagonally moves the eye between shelves and makes everything feel connected without looking too styled.
The same strategy works for shapes.
A stack of books with an object on top in one spot gets repeated on the opposite side, perhaps with books topped by a frame. Two boxes stacked together give the same visual impression as a stack of books.
A single block shape could be a vertical row of books, a large basket, or even a single picture frame. I recognize these foundational forms and repeat them throughout the display.
For greenery or wood accents, I don’t want all of one material sitting on a single shelf.
I’ll place a wood bowl low, a wood frame toward the top, another small piece off to the side. High, low, left, right so your eye naturally moves around the shelves.
7. Add Greenery, Personal Objects, and Functional Decor
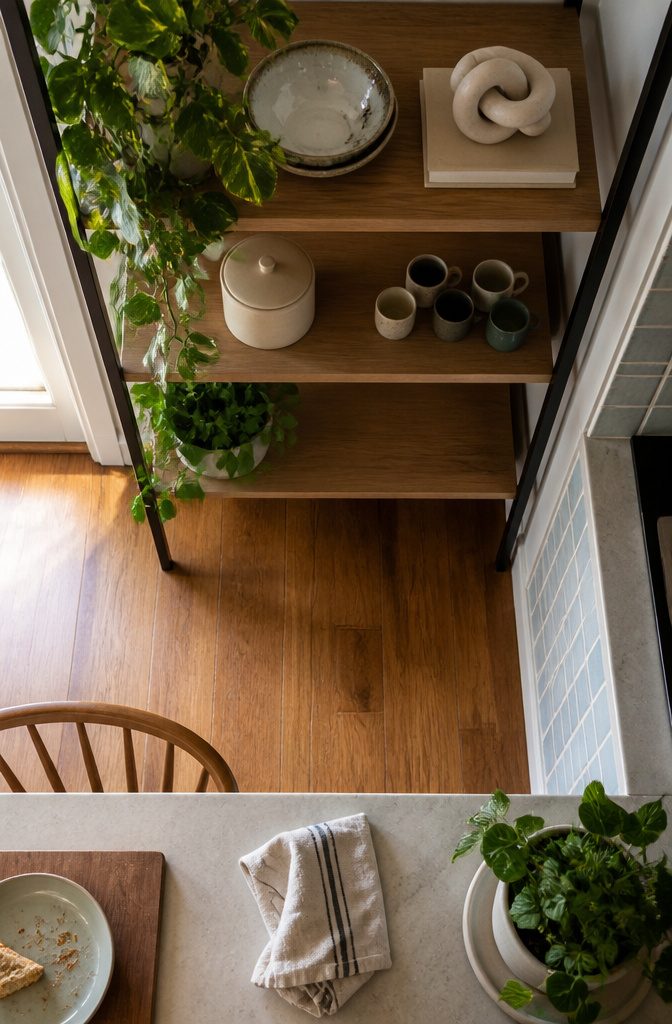
Greenery softens any shelf, and trailing pothos is my go-to because it needs water once a week and tolerates low light. One plant for every three shelves keeps the ratio balanced without turning the unit into a nursery.
Spread them across the height and width rather than clustering them on one side, since repeating green in a few spots is one of the fastest ways to make unrelated objects feel cohesive.
Personal items belong here too, but only the ones that mean something specific. A favorite bowl, a small sculpture someone gave you, a stack of cookbooks you actually use.
Functional pieces count as decor when they’re the best-looking version of the thing: a rolling pin, a ceramic canister, a set of mugs you like enough to display.
If it sits out on the shelf, make it something worth looking at.
Not every shelf needs to be full. A single large object, a plant, or even nothing at all gives the eye a place to rest and makes the fuller shelves feel intentional instead of chaotic.
That contrast between styled and simple keeps the whole unit from reading as clutter.
8. Step Back, Edit, and Adjust
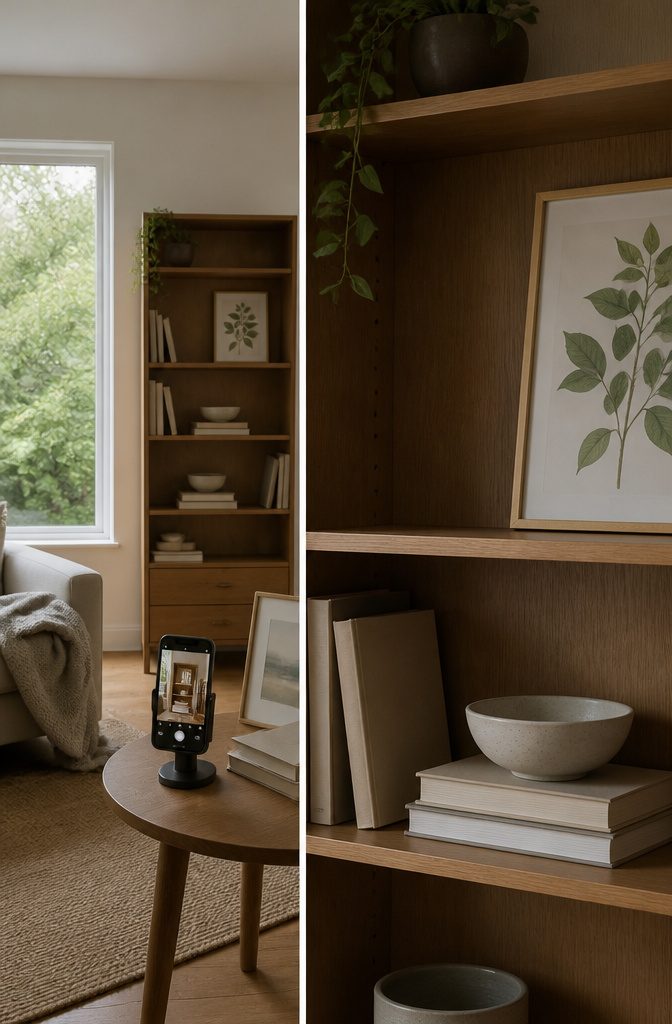
Once you think you’re done, step back and look through your phone camera.
The frame changes what you notice—an object that felt balanced when you were standing beside the shelf may suddenly look too large or too far to one side.
I’ve revised arrangements a dozen times before settling on one that held up in a photo.
Remove anything that crowds the design.
An extra stack of books or a fourth frame in a grouping often weakens the whole shelf rather than filling it out. Walk away for an hour or come back the next morning.
Fresh eyes catch imbalances you stopped seeing after the tenth adjustment. The arrangement doesn’t need to be permanent—swap one piece out next week if it still feels off.
Balance Visual Weight by Height
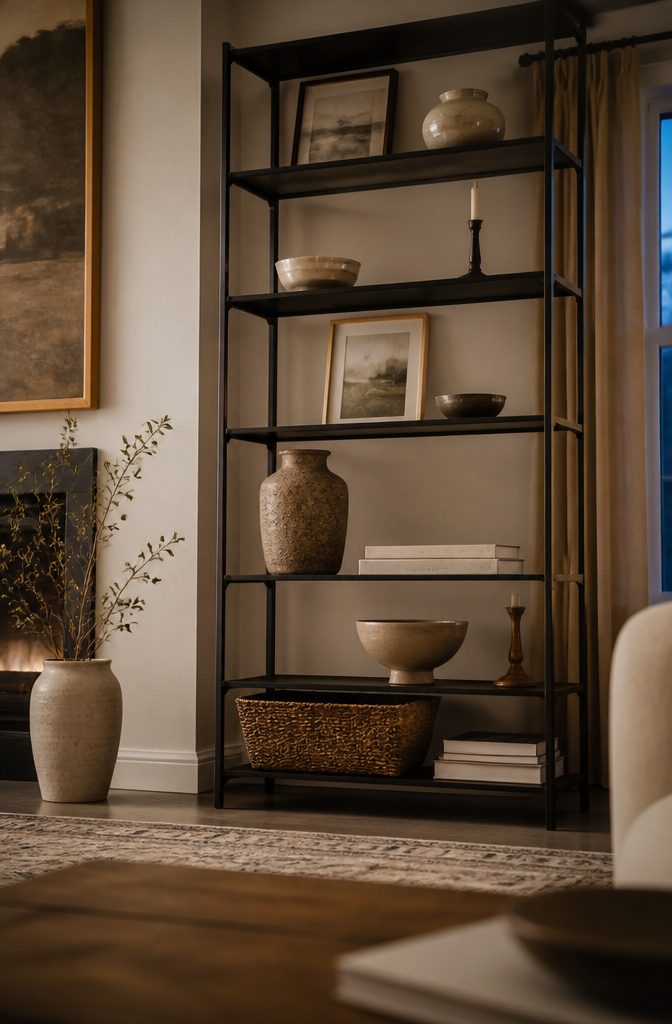
Large items sit low, lighter pieces float higher, and the break between them falls around waist height. A basket on the bottom shelf grounds the unit.
Books belong mostly on the lower and middle shelves. Art, small decor, and open space move to the top, where they keep the arrangement from feeling heavy.
This is about perceived weight, not actual heft.
A chunky ceramic bowl reads heavier than a slim candlestick even when they weigh the same, so the bowl stays low and the candle climbs. Dense arrangements anchor the bottom; negative space opens up as you move higher.
Within a single shelf, vary the height of what you place.
A tall vase next to a low bowl, then a medium stack in between, keeps the eye moving across the line. All one height flattens the design immediately.
One habit worth copying: repeat a shape or color on a diagonal.
A round bowl low on the left, another round form upper right. The repetition ties the shelves together without looking planned.
Tailor Items to the Room
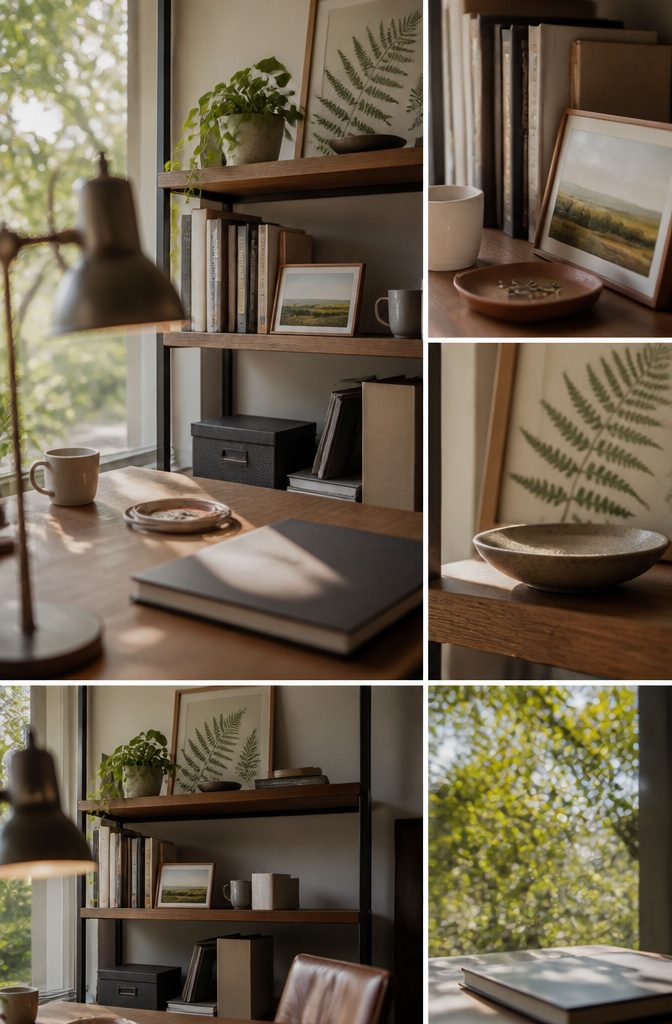
The room tells you what belongs on the shelf. In an office, I keep work-related books, inspiring art, and anything that makes the space feel productive without feeling sterile.
In a kitchen, shelves hold everyday ceramics, glassware you actually use, or small storage containers that keep counters clear. The living room gives you more latitude:
- Living room: framed photos, a record player, books you want visible, small plants, and objects with stories behind them
- Bedroom: a few favorite books, a candle, a small dish for jewelry, minimal art that suits the quiet
- Office: reference books, awards or credentials if they belong, a piece of art that keeps you focused
- Bar or drink station: glassware, a few bottles worth showing, cocktail tools, and a tray that pulls it together
None of this is rigid.
If you want the record player in the office or work books in the living room, that’s fine. Match function to location so the shelf looks intentional, not random.
Decorate the Shelf Back
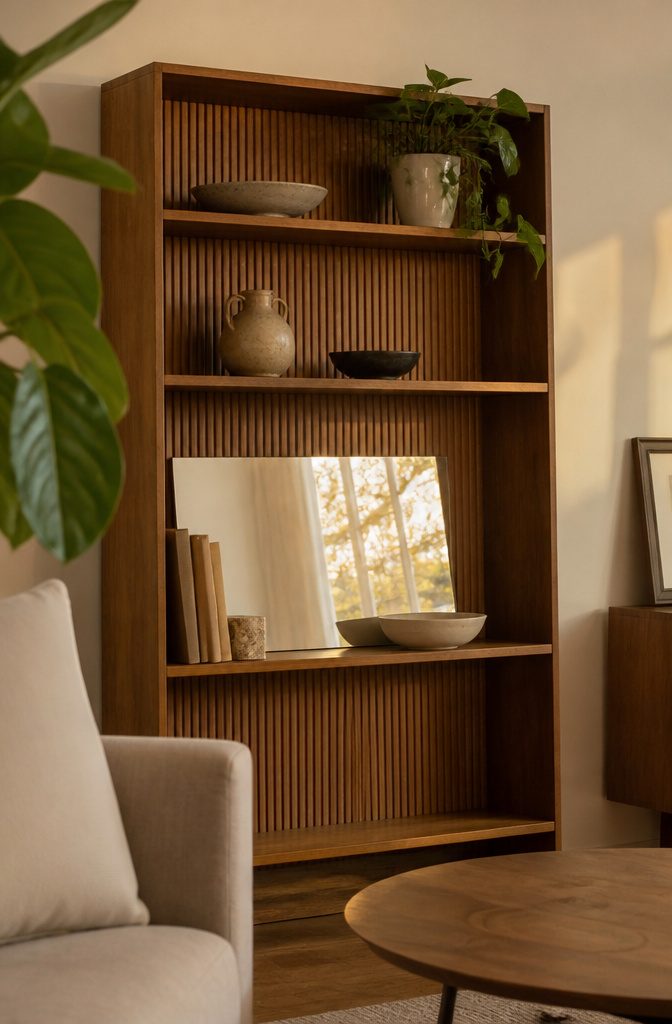
Decorate the Shelf Back
The back panel is design space most people leave blank.
A mirror leaned behind the decor bounces light around and makes a small room feel bigger. Peel-and-stick wallpaper works the same way, since a soft pattern on the back turns a plain bookcase into a feature.
Or paint the back panel a deeper shade. Depth shows up instantly behind open shelves.
Art does the same job.
Lean one framed piece, or overlap two or three small prints for a mini gallery effect. When the background works, the shelf needs fewer objects to look finished.
Swap a Few Objects Seasonally
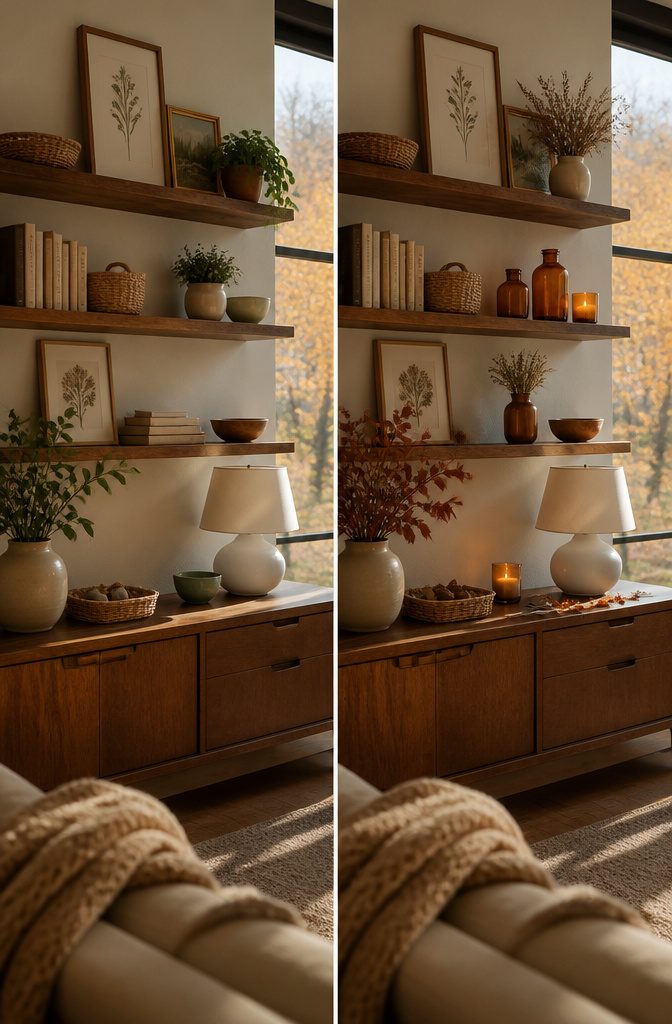
Swap a Few Objects Seasonally
Swapping two or three objects per shelf as seasons change keeps things feeling current without touching the books, baskets, and art that anchor the arrangement. The base layer stays put, which means no heavy lifting and almost no cost.
Glass vases and fresh stems carry spring and summer, and lighter colors help. Once fall comes, amber glass moves in with dried grasses, rust tones, and warm candles.
Winter likes it deeper: evergreen clippings, a metallic accent, cozy textures. The shelf marks the season faster than anything else in the house, and no full redecorating is needed.
Frequently Asked Questions
How do I make my shelves look nice?
Clear the shelf, pick 2 or 3 colors, then place books and larger pieces first to anchor each grouping.
Layer smaller objects in front, vary the height within each group, and leave space between groupings so the arrangement reads as thoughtful rather than crowded. Step back and check through your phone camera to catch anything that feels off.
How can I arrange my shelves in a stylish way?
Group 2 to 4 objects close together instead of lining them up in a row.
Repeat a color or shape diagonally across shelves, place heavier items low and lighter pieces high, and leave gaps between groupings. One centered grouping works for shelves 12–30 inches wide; wider shelves need 2 or 3 groupings with breathing room between them.
What is the rule of three for shelves?
Odd numbers feel natural to the eye, so arrange objects in groups of 3 where possible: one tall piece, one medium, one small in front, forming a loose triangle.
The same principle applies across the whole unit. Spread 3 round shapes or 3 wood accents diagonally so your eye moves between shelves rather than landing in one straight line.
What can I decorate my shelf with?
Books, plants, framed photos, baskets, trays, candles, vases, ceramics, small sculptures, and functional items like bowls or canisters you actually use.
Tailor the mix to the room: work books and inspiring art in an office, glassware and bottles at a bar, family photos and a record player in the living room.
Pick pieces that suit the shelf’s job so it feels intentional rather than random.
What looks good on a shelf?
A mix of heights and textures, repeated tones placed diagonally, and at least one personal piece that means something specific.
Books anchored with a small object stacked on top, a plant next to a low bowl, or a framed print behind smaller decor all work because they layer depth and keep the arrangement from reading flat.
What is the 3-5-7 rule in decorating?
This rule suggests grouping decor in odd numbers (3, 5, or 7 items) because they feel more natural and balanced than even counts.
For shelves, stick with groups of 3 within a single arrangement: one tall, one medium, one small. Larger odd counts work across multiple shelves when you’re repeating a shape or color throughout the display.
How do you strike the balance between full, but uncluttered?
Leave space between groupings and above objects so the shelf reads as thoughtful rather than packed. Group 2 to 4 pieces close together, then give that cluster breathing room on both sides.
Not every shelf needs to be full: a single large object or even an empty shelf gives your eye a place to rest and makes the fuller shelves feel intentional.
What is the rule of thumb for decorating shelves?
Use odd numbers, vary height and texture inside every grouping, and put heavy items low with lighter pieces higher up.
Protect the negative space between groupings, and mix personal pieces with practical storage so the shelf does real work while looking good. Repeat a color or shape diagonally to tie the shelves together without making the pattern obvious.