

I raised my bed last year for extra storage, and it starts with measuring your mattress thickness, frame clearance, and doorways to pick a target height, usually three to eight inches. Then you’ll choose between adjustable risers, concrete blocks, a taller foundation, or locking casters, depending on your frame’s weight and whether you want mobility. Custom legs work if you’re handy, but bracing matters most: bolt everything tight, check for wobble, and anchor tall frames to studs with sturdy brackets. Finally, grab clear bins on wheels and vacuum-sealed bags to organize that new space without crawling underneath. Follow these steps and you’ll maximize your storage capacity while maintaining bed stability.
Measure Your Bed and Pick Your Target Height
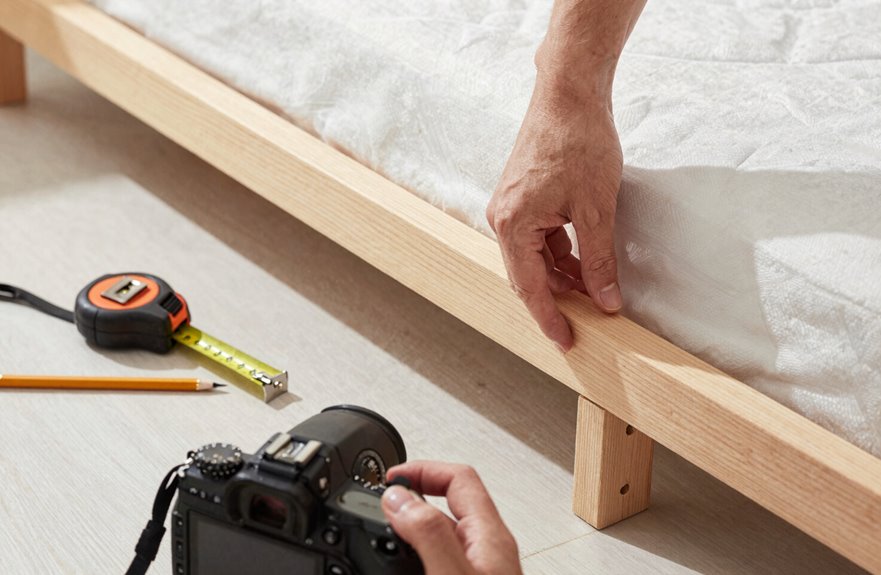
The first thing I always do before I buy a single riser or start stacking cinder blocks in my cart is grab my tape measure and assess my current setup. I check my mattress thickness, frame clearance, and where I want to land. Most folks add three to eight inches with bed risers, though I’ve seen people chase seventeen-plus inches with foundations. You need to be honest with yourself: Will you actually use that under-bed storage, or will it become a dusty cave? I measure my entry points too. Getting in shouldn’t feel like mounting a horse. Check your frame type, because slats need different love than solid platforms. Safety matters. I once skimped on bracing and learned fast. Pick your number, then we’ll make it happen.
Raise Your Bed Frame With Adjustable Risers
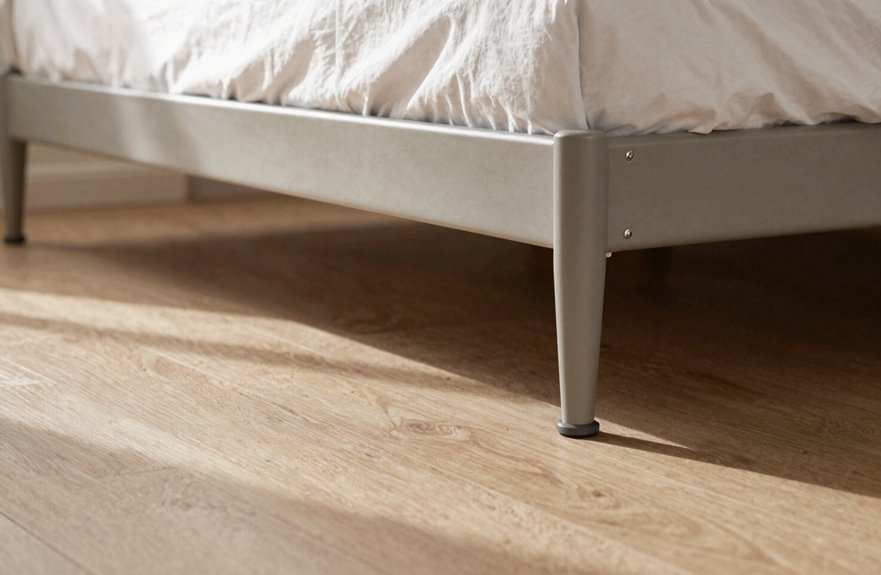
Adjustable risers offer flexibility without committing to a permanent overhaul. Bed risers lift frames 3 to 8 inches, with some extending to a foot, creating instant storage without tools or headaches. Match materials and weight limits to your setup; plastic works for lighter frames, while metal handles the heavy stuff.
| Material | Best For | Weight Capacity |
|---|---|---|
| Plastic | Guest beds, lighter frames | 300-500 lbs |
| Wood | Aesthetic continuity | 400-800 lbs |
| Metal | Heavy mattresses, daily use | 1000+ lbs |
Count your legs first. Uneven support causes wobbling. Check your frame’s compatibility, place risers under each corner, and adjust until the height feels right. You’ll maintain accessibility while gaining under-bed storage space.
Use Concrete Blocks or DIY Foundations for Heavy Beds
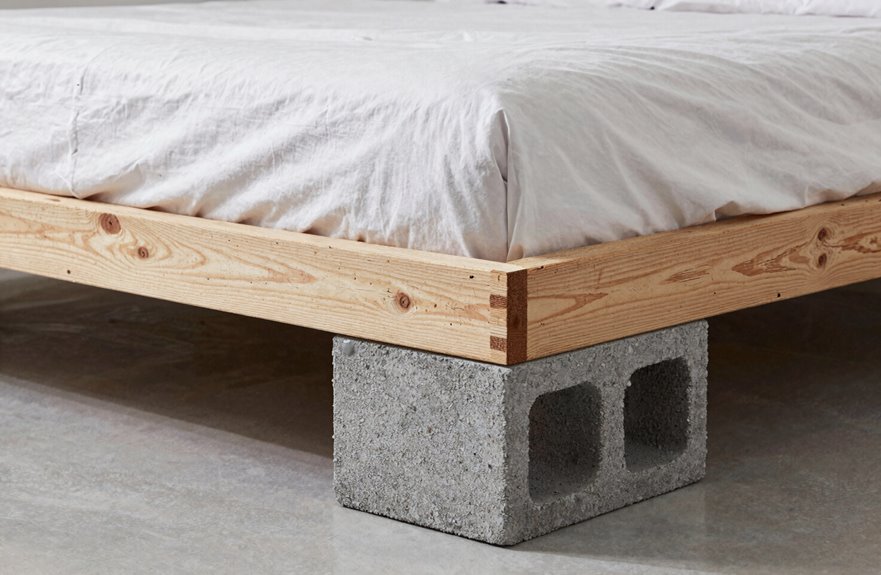
If adjustable risers feel too flimsy for your setup, concrete blocks offer a sturdier alternative. After my cousin’s king-size mattress damaged three plastic risers, I switched to this method.
Concrete blocks create a rock-solid foundation. I stack two or three under each leg, counting four or more corners; sometimes nine legs total on platform beds. The math is straightforward: multiply blocks by legs until you reach your target height.
Place felt pads, old towels, or rubber matting between metal and concrete to prevent scratching and noise. Line everything up, check for wobbles, and pad generously.
This DIY approach eliminates the need for box springs. It’s stable, affordable, and handles serious weight without problems.
Upgrade to a Taller Box Spring or Foundation
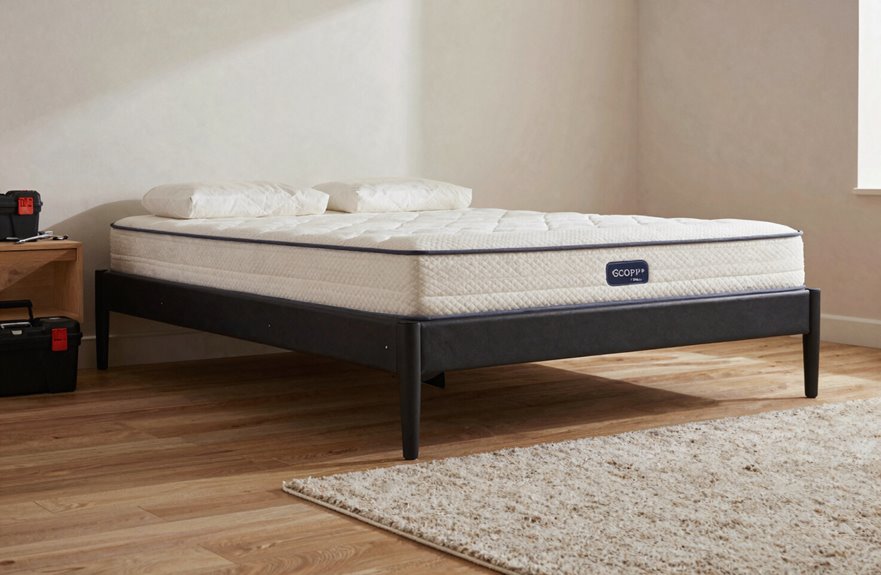
Looking for a simpler solution than stacking blocks? Upgrading to a taller box spring transforms your bed without the hassle. It’s the ready-made answer to bed height issues, requiring no measuring, no leveling, and eliminating concerns about structural failure.
A higher box spring lifts everything effortlessly. I swapped my standard one for a 17-inch Purple Foundation, and my morning routine became noticeably easier. No more creaking knees.
- Choose bed slats, flat foundations, or adjustable bases based on your mattress needs
- Enjoy improved airflow and sag prevention underneath
- Gain under-bed visibility for storage baskets
Foundations replace your frame entirely, creating clean lines and practical height. They deliver better sleep quality than DIY solutions without the ongoing maintenance concerns.
Add Wheels or Casters for Height Plus Mobility
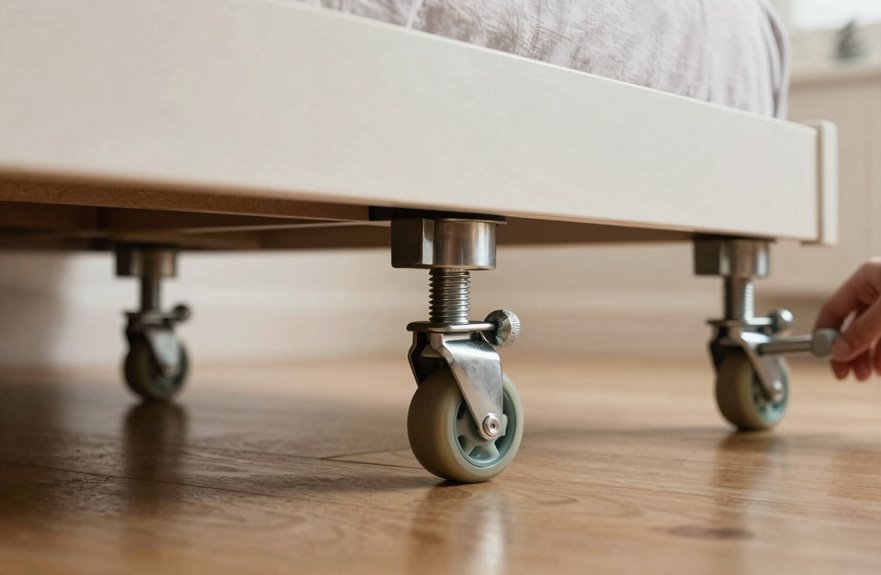
I chose locking casters for my own bed frame last year, and they’ve given me an extra three inches of clearance plus the ability to roll the whole thing out when I need to vacuum underneath. You’ll find wheels ranging from two to six inches in height, so measure your current frame before buying to avoid any awkward mismatches. Make sure you get the locking kind. A bed that drifts across the room during the night creates an inconvenient sleeping situation.
Wheel Height Options
Why settle for a bed that stays put when you could gain both height and freedom of movement? Bed casters offer flexibility in arranging your space.
When choosing wheel height, consider what works for your daily needs:
- Two-inch casters for subtle lifts, perfect if you just want a little extra clearance without dramatic changes
- Four-inch options when you need meaningful under-bed storage and easier cleaning access
- Six-inch wheels for maximum elevation, ideal for taller sleepers or those wanting dresser-like space beneath
Before committing, check your frame’s compatibility. Some designs need specific mounting plates. Mismatched hardware leads to wobbles and instability. Choose wheels that elevate evenly, and your bedroom will function better for your specific needs.
Locking Mechanism Benefits
How often have you nudged your bed while making it, only to watch it drift lazily across the floor. Locking wheels solve this problem entirely. I learned this after installing casters on my own frame. The height boost was useful, but the real benefit was flipping that small lever to anchor everything in place.
You’ll want to check your frame’s mounting points first, since compatibility varies. Once installed, locking wheels give you mobility when you’re rearranging furniture or vacuuming underneath, and rock-solid stability when you’re sleeping or sitting on the edge. Safety becomes critical when you’ve raised your bed; uneven rolling can tip things fast. Test all four locks before climbing in. Your existing mattress stays put, your floors stay protected, and you stop chasing your bed across the room.
Increase Sleep Height With a Mattress Topper Instead
Sometimes I’m not in the mood to wrestle with bed frames, bolts, or power tools. That’s when I reach for a mattress topper instead. It sits right on top with no assembly required and adds two to four inches of height instantly. I just cover it with my fitted sheet and I’m done.
What works best:
- Choose thickness based on your frame height. Thicker isn’t always better if you’re already elevated.
- Pick materials that match your sleep style: memory foam for contouring, latex for bounce.
- Skip toppers entirely if you’ve got a Purple mattress or specialized sleep system.
Toppers boost comfort alongside height, but watch accessibility. I’ve nearly tumbled out of beds that got too tall. Measure your frame and test the combo before committing to the extra height.
Build a Custom Elevated Frame From Scratch
I built a custom elevated frame for a friend’s studio apartment using lumber sized to the mattress, eight sturdy legs, bolts with washers, and L-brackets for spacers. This guide covers the materials, measurements, assembly process, and safety steps needed to prevent wobbling.
Start by selecting lumber appropriate for your mattress dimensions. You’ll need eight sturdy legs to support the frame corners and midpoints. Bolts with washers provide secure connections, while L-brackets serve as spacers to maintain structural integrity. Brace the frame during assembly to ensure everything stays square and level.
The process requires careful attention to measurements and sequential bracing. Each connection point should be secured with bolts tightened firmly but not over-tightened, which can strip threads. Proper spacing between legs determines how much weight the frame can safely support without deflection or movement during use.
Materials and Measurements
With a weekend to spare and a vision for more storage space, I built my own elevated frame from scratch using 2×6 and 2×4 lumber, stainless steel bolts, washers, nuts, wood screws, and L-brackets. This bed lift project starts with precise measurements. My double mattress at 137 cm by 190.5 cm dictated every cut. I ran longitudinal 2x6s the full length, then trimmed shorter cross pieces by 2 cm for a perfect interior fit.
- Measure twice, and confirm your tape before leaving the lumber yard
- Account for that 2 cm shortening to avoid problems during assembly
- Double-check slat spacing so your mattress doesn’t sag or squeak
Eight legs total, four mirrored pairs, all waiting for assembly. Add plywood beneath for rigidity, plus a floor brace to stop bowing. The storage space beneath requires proper support structure.
Assembly and Safety
For this build, I started by laying out my 2×6 side rails and cross pieces on the garage floor, dry-fitting everything before a single screw touched wood. Bed frames built in stages stay square longer.
| Stage | Action | Key Detail |
|---|---|---|
| 1 | Join sides, attach first four legs | Keep frame flat on ground |
| 2 | Stand upright, add final four legs | 90° angles, L-brackets aligned |
| 3 | Brace and secure | 15–30 cm spacing, floor 2×4 added |
I bolt each leg with four washers and nuts, checking that every foot lifts equally. Uneven bed frames tip, creating a safety hazard. Slats go under the box spring. I wear goggles, skip cinder blocks entirely, and anchor when finished.
Stabilize Your Raised Bed and Prevent Wobbling
Once your bed reaches the desired height, securing it properly becomes essential. A wobbly frame will compromise sleep quality more than an uncomfortable mattress.
What actually works:
- Match your lifts evenly with four identical blocks, one per corner, to keep your frame level and bed frame stability solid
- Remove wheels first, resting the frame legs directly on cinder blocks instead of stacking precariously
- Add mid-supports for larger beds, and don’t skip the felt pads between contact points to prevent sliding
Tighten L-brackets near the base, about six inches up, to reduce sway. These adjustments deliver measurable stability improvements.
Anchor Tall Frames to Walls for Safety
How high is too high before your bed becomes a tipping hazard? Tall frames and lofty foundations need anchors to prevent accidents.
I secure my tall bed to the wall using sturdy brackets rated for its weight, installing multiple points along the headboard and footline for even load distribution. Before drilling, I check for electrical wiring and plumbing, then locate studs or use masonry anchors for concrete walls.
I verify my anchoring method won’t interfere with under-bed clearance or rail integrity. Solving one problem while creating another defeats the purpose. Every few months, especially after rearranging, I re-tighten those fasteners. This regular maintenance keeps my elevated bed stable and prevents the frame from shifting or swaying during use.
Organize Under-Bed Storage in Your New Space
Raising my bed revealed something I didn’t expect: an entirely new room I never knew I owned. That gap between mattress and floor became my secret weapon against clutter.
That gap between mattress and floor became my secret weapon against clutter.
I started by measuring my raised-bed storage zone, then chose containers with wheels for easy access. What actually worked includes:
- Clear bins so I can spot my winter sweaters without crawling underneath
- Vacuum-sealed bags for bulky comforters that eat closet space
- A low-profile rolling cart for shoes I wear weekly
Bed risers gave me six extra inches, but platforms or adjustable bases work too. I labeled everything facing outward so I can find items without searching through forgotten storage. Locking casters keep my frame steady while I pull things out. The result is a bedroom that functions as intended, with accessible storage and no wasted space.