

I’ve raised my fair share of wobbly tables, and I’ve learned that adding height isn’t just about slapping on blocks. It requires proper installation so your table doesn’t feel like a DIY afterthought. Whether you’re dealing with a too-low antique find or adapting a standard table for taller seating, you’ve got solid options ranging from simple bed risers that’ll lift you six to ten inches overnight, to wooden bun feet for subtle elevation, to full leg replacements when you want a seamless look. I’ll walk you through seven methods I’ve actually used or tested, including the small details that make the difference between a table that rocks embarrassingly during dinner and one that feels like it was built that way from the start.
Raise Table Height 6–10 Inches With Bed Risers and Extenders
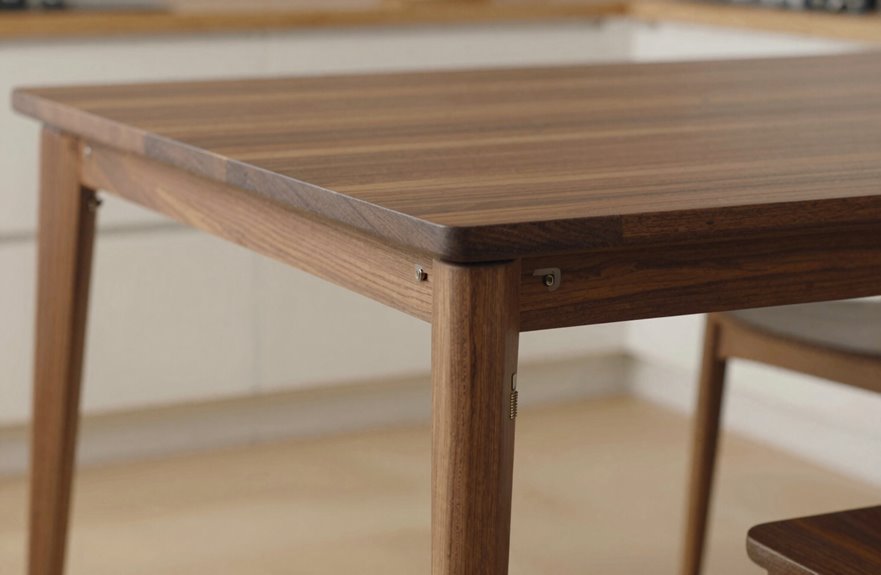
One of the simplest ways to give a dining table a serious lift of 6 to 10 inches is by using bed risers and extenders, those unassuming blocks more commonly associated with dorm rooms and storage solutions.
Give your dining table a 6 to 10 inch lift with bed risers—those humble dorm room staples repurposed for an elegant upgrade.
Check load ratings first. For a heavy table, solid wood or composite risers work best, as plastic will not provide adequate support. Lift each corner evenly, slide the risers beneath, then check for level. Stability is critical; wobbling creates an unsafe dining experience.
Paint the risers to match your table legs if desired. When finished properly, they become invisible to guests.
Before installation, measure chair clearance carefully. You need 10–12 inches of leg room beneath the tabletop. Getting this measurement right ensures comfort for all diners, with adequate space between elbows and knees and proper plate height.
Add Wooden Bun Feet for Quick Height and Stability
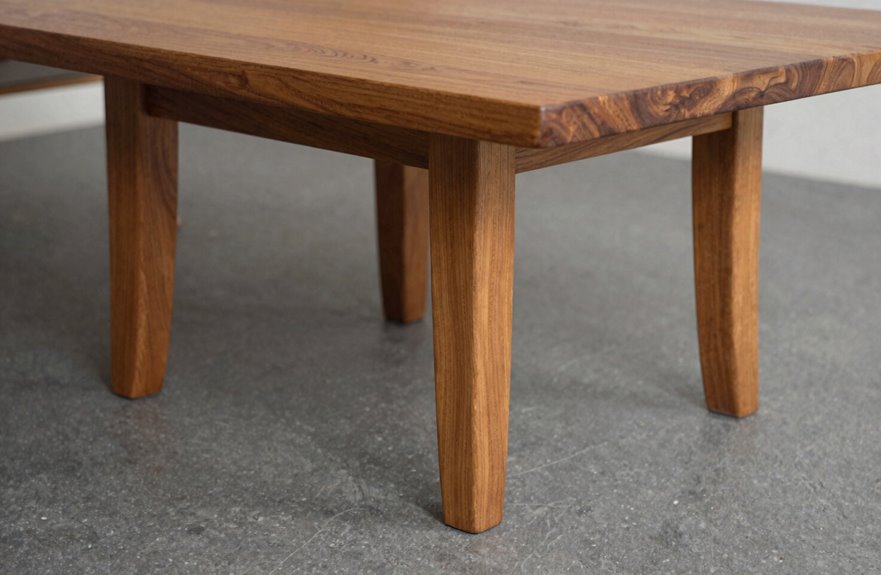
I’ve found that wooden bun feet offer one of the simplest ways to gain an inch or three without rebuilding the whole table. When I’m picking them out, I always look for a flat underside and a wide, stable base. Solid wood that actually bears the weight is essential. Once I’ve got the right ones, I attach them with wood screws or small mounting plates, making sure each foot lines up perfectly so the table doesn’t rock.
Selecting Proper Bun Feet
Why settle for tiny tweaks when you can give your table a proper lift? Bun feet should actually match your table’s personality and its demands.
First, size matters. Measure your leg width before shopping, because mismatched bun feet look like an afterthought. Load capacity is critical; dainty feet under a heavy oak table will fail. Check those weight ratings.
Leveling features are valuable. Wonky floors require integrated adjusters to prevent the need for shims.
Finish completes the job. Stain your bun feet to match existing legs: cherry with cherry, walnut with walnut. Your guests won’t notice the modification. They’ll simply find dinner more comfortable.
Attaching Feet Securely
How do you actually get those bun feet on without turning your table into a wobbly disaster? Proper bun feet installation starts with the right prep.
First, flip your table and position each foot at the corner of your dining table legs, checking that the mounting surfaces sit flush. Predrill holes to prevent splitting, then drive stainless steel screws through the flat plates. Wobble prevention requires patience at this stage. Use a level to ensure each foot sits at identical heights, adjusting until the table rests evenly on your floor.
For a polished look, stain the feet to match your table’s finish before attaching them. Once secured, test by pressing side-to-side. If anything rocks, shim or sand until everything sits steady. A level table will remain stable and functional for years of use.
Build Simple Leg Extenders With Dowels and Glue
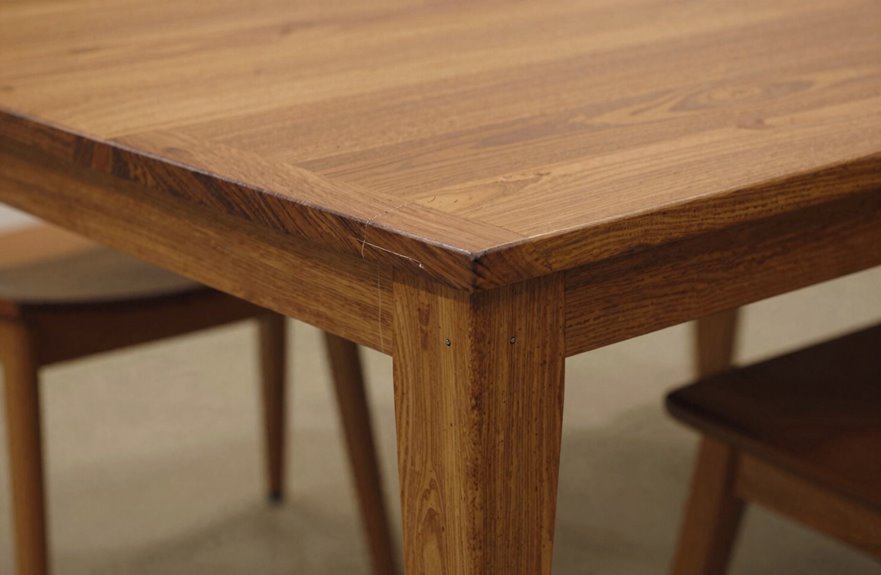
Perhaps you’re staring at your too-low table, coffee cup in hand, wondering if there’s a fix that doesn’t involve sawing anything apart. Building leg extenders with dowels and glue keeps your dining table legs intact while adding the height you need.
Start by cutting wooden blocks to your desired height, usually two to four inches. Grab a drill and create centered holes in both the existing leg ends and your new extenders. Use a quarter-inch bit, pre-drilling carefully to prevent splitting. The dowels slide in with generous wood glue, creating alignment and strength.
Clamp everything tight, wait for full curing, then stain or paint to match. Four matching extenders later, your table stands taller and stable, with joints that hold securely.
Angle-Cut Extensions for Maximum Strength and Safety
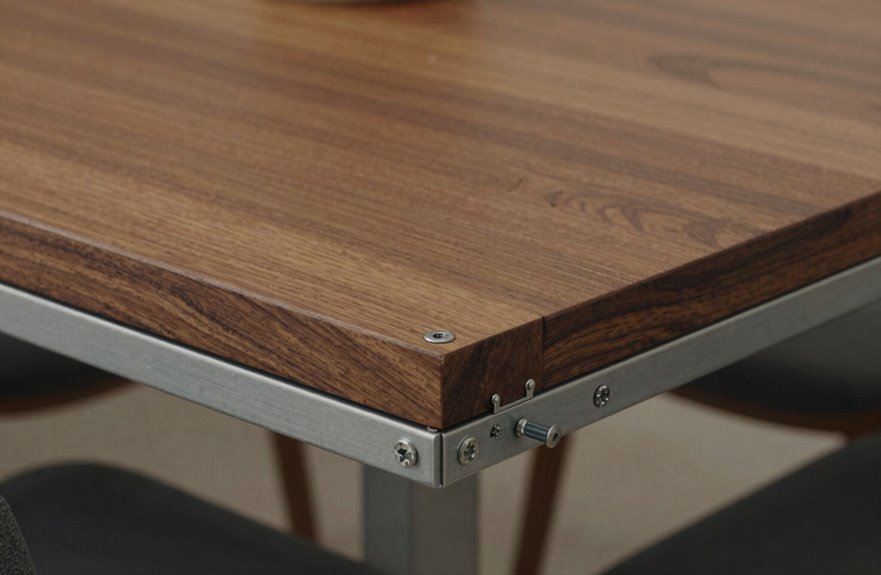
What if you’re worried those simple block extenders might wobble or split under a holiday feast? I’ve stared at my handiwork while imagining gravy disasters. That’s when I discovered angled extensions.
By cutting each extension at 45 degrees where it meets the leg, you create significantly more contact surface. This geometry isn’t fancy; it’s physics. The angled extensions distribute weight across a broader plane, so load transfer happens evenly instead of crushing straight down on one weak point.
I secure mine with hanger bolts, drilling pilot holes dead center through the extension into the leg. Bevel the mating faces, add glue, and clamp tight. Match your stain and test with real weight before the meal.
Replace Legs Entirely for a Clean Height Adjustment
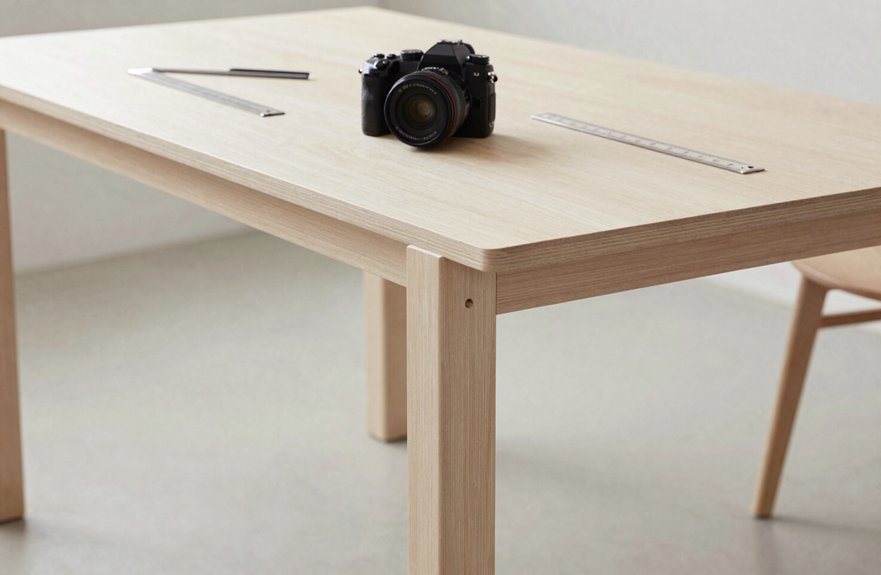
I’ll start by measuring my current legs and table clearance, then calculate exactly how much length I need (usually six to ten inches) to hit my target height without guesswork. Once I’ve got my numbers, I’ll detach the old legs carefully, keeping track of any hardware that’s still in good shape for reuse. Finally, I’ll align my new legs using center-point measurements, secure them with sturdy fasteners, and test for wobbling before completion.
Measuring for New Legs
How much height do you actually need? I start by measuring height twice: tabletop to floor, then just the current leg. We’re shooting for 30 inches, the sweet spot where elbows rest easy and conversation flows.
For this leg replacement, I grab a leg, head to the hardware store, and match dimensions: height, width, thickness, hanger bolts pattern. Load capacity matters too; I’ve seen wobbly disasters from undersized supports. Check your table’s underside. Some need hanger bolts, others screw-in plates.
I pick legs that fit the table’s aesthetic, not ones that look like an afterthought. Solid wood, clean lines, something that feels intentional. When I install them, seams get sanded, stain matched. Then flat surface, level check, shims if needed. Your table reaches the right height.
Detaching Old Legs
The cleanest way to adjust height is swapping legs entirely. No blocks, no shims, just new pillars that get you exactly where you want to be.
I detach legs by flipping the table onto a soft blanket, then backing out screws or loosening hanger bolts with a wrench. Some fight me; I coax them with penetrating oil. Once free, I inspect mounting points for stripped threads, cracks, or wobbled-out holes. Damage here creates structural problems later, so I note what needs filling or reinforcing.
Here’s what I’m checking:
- Fastener condition; rusty, bent, or missing hardware gets replaced
- Wood integrity around the apron where legs meet frame
- Alignment marks so new legs sit true
This prep work determines whether the finished piece will remain stable and functional for years.
Attaching Replacement Legs
Where exactly should your new legs land? Right where the old ones did, but taller.
Replacement legs work best when they match your table’s style while adding those crucial inches. I measure twice: current height, center points, leg thickness. Then I hunt for legs that give me clearance without looking like stilts.
I attach them with hanger bolts, screws, or nuts, whatever fits my apron best. Spreading mounting points evenly at corners keeps everything balanced. A wobbly table ruins a dinner party.
I sand the new wood, stain to match, and hide the hardware joins. Then I test for wobble, shim if needed, plane slightly. A stable table prevents broken dishes when serving formal meals.
The result is clean height and a solid feel that appears original to the piece.
Paint or Stain Extensions to Blend With Your Table
Why let mismatched colors betray your clever height fix when a little paint or stain can make extensions disappear into your table’s original design? You’re not raising your table for guests to admire your woodworking seams. You want them noticing how beautifully everything flows together.
The best height fix is the one nobody notices—seamless color makes your table look like it was always this way.
After refinishing more pieces than my garage can hold, I’ve learned these steps work consistently:
- Sand your extensions smooth, then test your stain on a hidden corner. Matching undertones prevents visible color shifts between old and new wood.
- Layer thin coats of finish, sanding lightly between each. This approach prevents drips, brush marks, and uneven absorption.
- Seal with protective polyurethane, especially where chairs scrape and spills happen.
I’ve rushed this step once. The result was obvious mismatched grain and color that required starting over. When your stain matches perfectly, nobody asks how you raised the table. They simply pull up a chair and feel at home.
Test Stability and Level Your Raised Table
How often have you sat at a wobbly restaurant table, folding napkins into wedges and hoping nobody notices? Your raised table won’t have that problem. First, I grab a friend. We push opposite corners, feeling for any wobble. Rocking indicates structural issues.
| Test | What I Check | What Fixes It |
|---|---|---|
| Lateral push | Tilting, rocking | Shimming under extensions |
| Level front-to-back | Bubble position | Adjusting leg height |
| Level side-to-side | Even tabletop | Compliant pads at contact points |
| Weight simulation | Chairs in place | Rechecking with seated pressure |
| Final verification | Equal leg load | Documenting measurements |
I run my level across both axes. Visual centering can be deceptive. If the bubble’s off, I shim the high side or add pads until everything sits true. Then I test again, leaning my full weight where guests will sit. A stable table prevents movement during use and extends the furniture’s lifespan.