
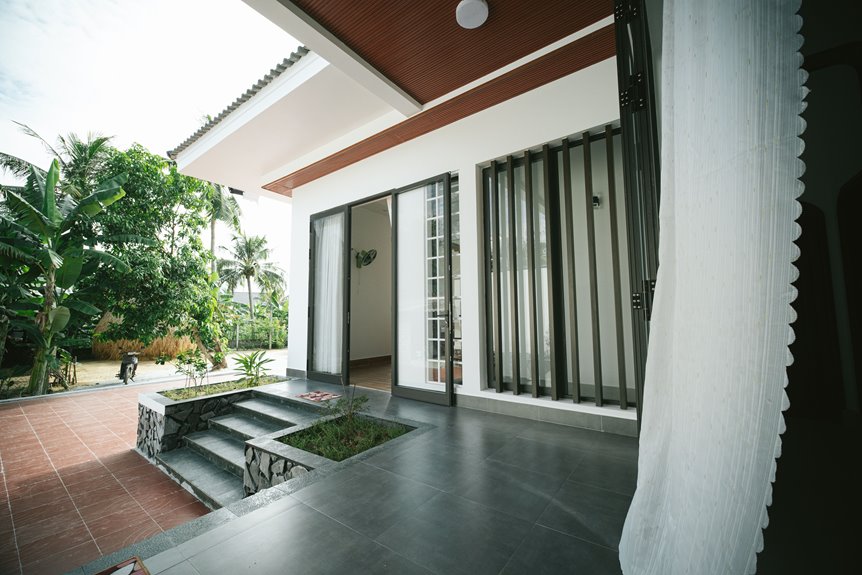
I’ve extended plenty of patios over the years. The difference between a seamless look and an obvious add-on comes down to prep, not the pour.
First, decide whether to bond a 2-inch topper onto your solid existing slab or start fresh with a full pour. Either way, you’ll dig about eight inches, pack in four inches of gravel, and set forms level with the old surface. Drill rebar into the existing edge every foot, use an isolation joint where sections meet, and match your broom finish texture. If the color’s off, a tinted coating unifies everything. The real tricks for making old and new truly disappear are just ahead.
Decide: Extend Your Existing Slab or Start Fresh?
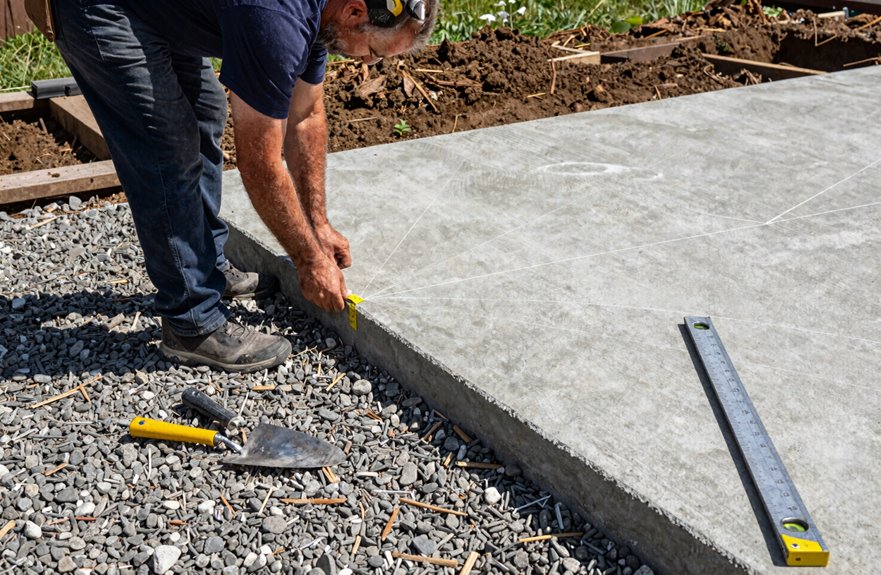
How do you know when your patio needs repair versus complete replacement? The answer depends on the foundation. If your existing slab is solid with no major heaving or crumbling edges, you can extend it with a 2-inch topper or skim coat. This is the budget-friendly option.
However, you must check the sub-base beneath your extension. Proper gravel support of about 8 inches is essential, or your new work will crack within a season. Tie everything together with rebar drilled into the old slab; epoxy joints work effectively. Match your thickness, ensure proper slope for drainage, and you’ll build something that lasts.
How Deep to Dig and How Much Gravel You Need
Once you’ve settled on whether you’re building onto old concrete or starting from scratch, the real work begins in the dirt. My first patio extension cracked because I underestimated how critical excavation depth is.
The real work begins in the dirt—my first patio cracked because I underestimated how critical excavation depth is.
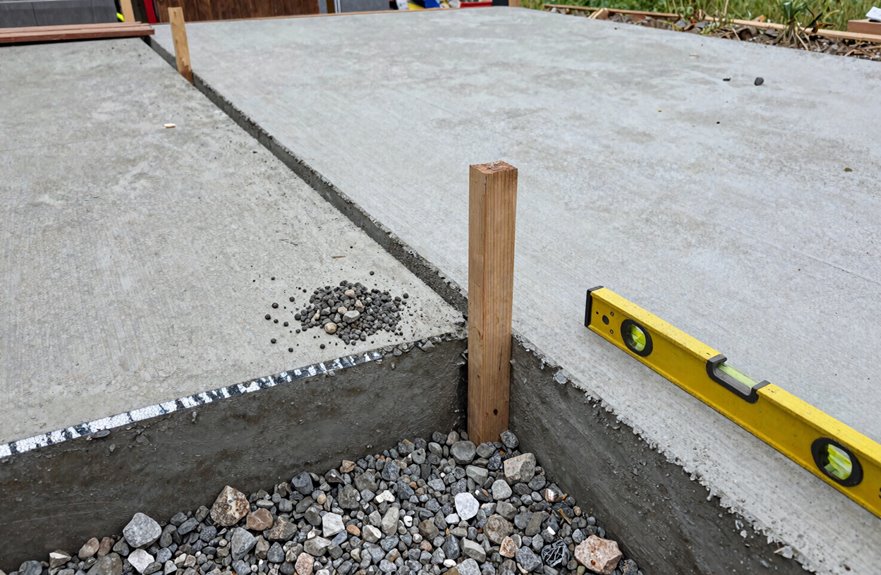
To extend your patio properly, you’ll want to dig about 8 inches down. This gives you room for a solid sub-base and your concrete slab. Here’s what works:
- 4 inches of gravel creates drainage and stability that prevents future settling
- 57 stone or crusher run works best for that sub-base layer
- Water while compacting increases density significantly
- Skip the gravel only if you’re resting directly on undisturbed soil, digging just 4 inches total
Getting this right prevents costly cracks and shifts later on.
Set Up Forms and Rebar to Connect Your Slabs
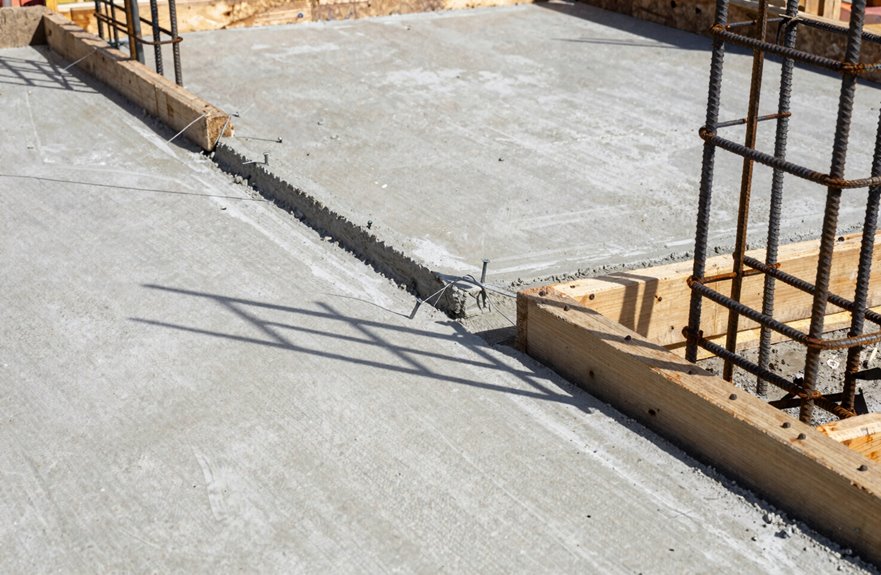
After you’ve got your gravel packed down tight, it’s time to give that wet concrete somewhere to go and keep it there. I build my forms from 1×6 lumber, staking them firmly to hold shape and alignment. You want connection and separation simultaneously.
I drill into the existing slab every twelve inches, inserting rebar that overlaps into my new space. This ties old and new together so they behave as one. I also place an isolation joint, that asphalt-impregnated fiber board, right where old meets new. Concrete moves and shifts with seasons. The joint accommodates this movement and prevents cracking at the interface.
Before the pour, I dry-fit my wire mesh inside the forms, checking coverage. No voids, no surprises. Just solid preparation for what’s coming next.
Mix by Hand or Order a Truck: Pour Your Concrete
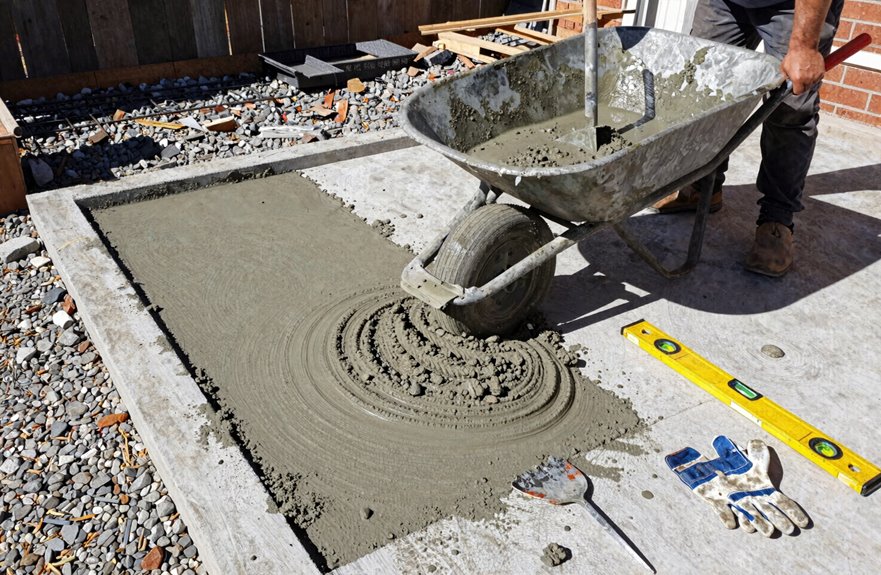
You’ve got two paths here, and I’ve walked both more times than my back cares to remember. When you want to extend your patio, choosing between DIY bag-mixed concrete and a truck delivery shapes everything that follows.
Bag-mixed saves money. I’ve hauled 85 bags for a single extension, mixing, dumping onto the sub-base, screeding and floating until sundown. It’s honest work, communal in nature. Neighbors appear with beers, and stories get shared between batches.
Eighty-five bags, sundown sweat, and the neighbors bringing beers to the ritual of honest work.
Truck delivery cuts labor dramatically. I’ve rushed against curing concrete, heart pounding as finishers wait.
Calculate your cubic yards first: width times depth for cubic feet, divide by 27. That’s your roadmap, whether sweating with bags or guiding a chute.
Smooth, Texture, and Match: Make Old and New Look Seamless
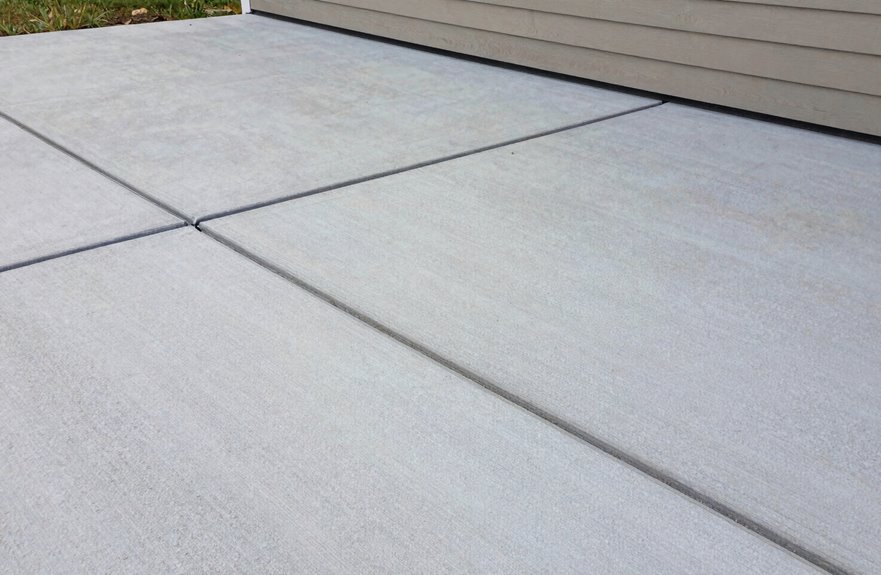
How do you make fresh concrete look like it’s always belonged there? It’s all in the finishing touches.
First, I match edge height by aligning my form tops perfectly with the existing patio. A lip between old and new creates a tripping hazard nobody wants. I extend rebar into the existing slab, drilling holes and securing it with epoxy; this bonds the sections so they move together, not apart. Between them, I install a continuous expansion joint, usually that black fiber board, which lets everything breathe without cracking.
Once the pour’s level, I drag a broom across for texture, matching what the old concrete already has. I let it cure overnight, then evaluate the results. Sometimes the color’s just off enough to warrant correction. When that happens, I resurface the entire patio with a tinted coating. The whole space then reads as unified rather than patched.