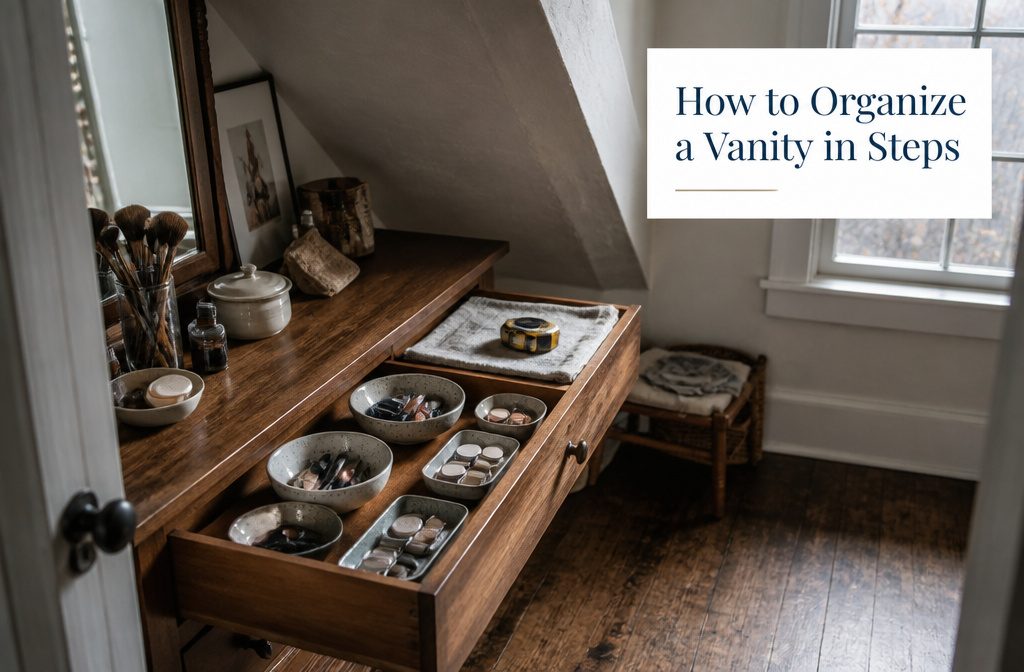
A vanity organized by category and frequency puts your hand on what you need in under five seconds, and the work takes an afternoon if you measure before you buy organizers.
Most people do that backward: they pick drawer trays first, then try to fit what they own into containers that don’t match the layout or the items themselves.
1. Empty the Vanity and Sort What Stays
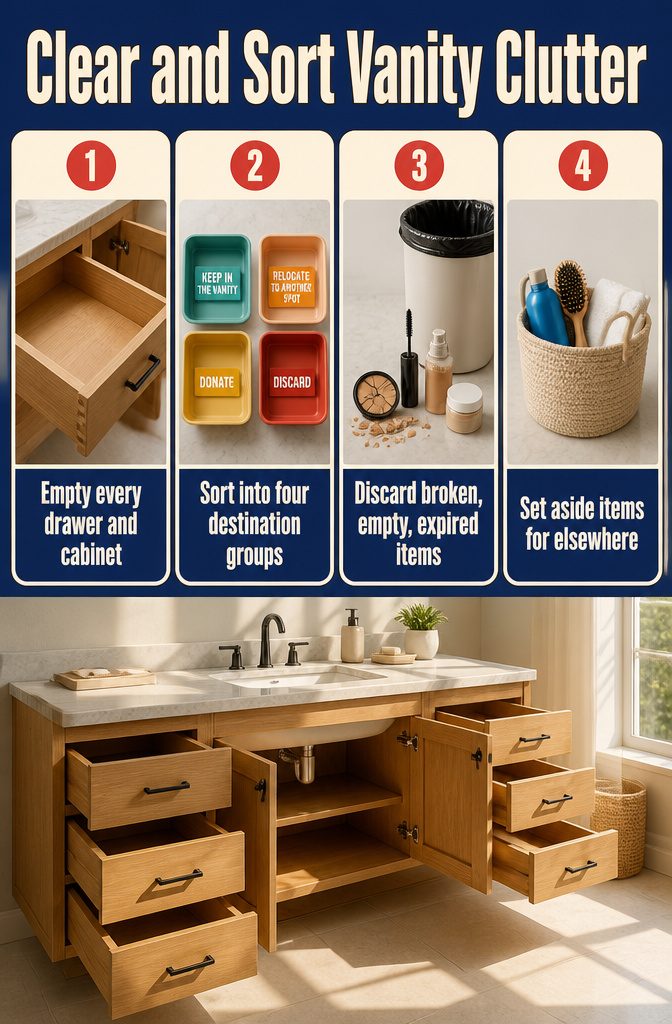
- Pull everything out of the vanity drawers and cabinets. Empty them completely so you can see what you actually have. If you only pull out the obvious empties or expired tubes, you skip the items you forgot about and end up organizing around clutter you should have tossed.
- Sort what you removed into four groups: keep in the vanity, relocate to another spot in the bathroom, donate, and discard. Don’t worry about making categories yet. Your goal right now is to get out of the way whatever doesn’t belong.
- Discard anything that’s broken, empty, expired, or no longer used. Old eyeshadows, mascaras, and foundations are especially prone to bacteria growth. If no expiration date is printed, toss anything that’s been open for two years or longer.
- Set aside items that belong somewhere else. Not everything that comes out goes back in. If something would work better stored elsewhere in your bathroom or home, put it in the relocate pile now.
2. Clean the Empty Space
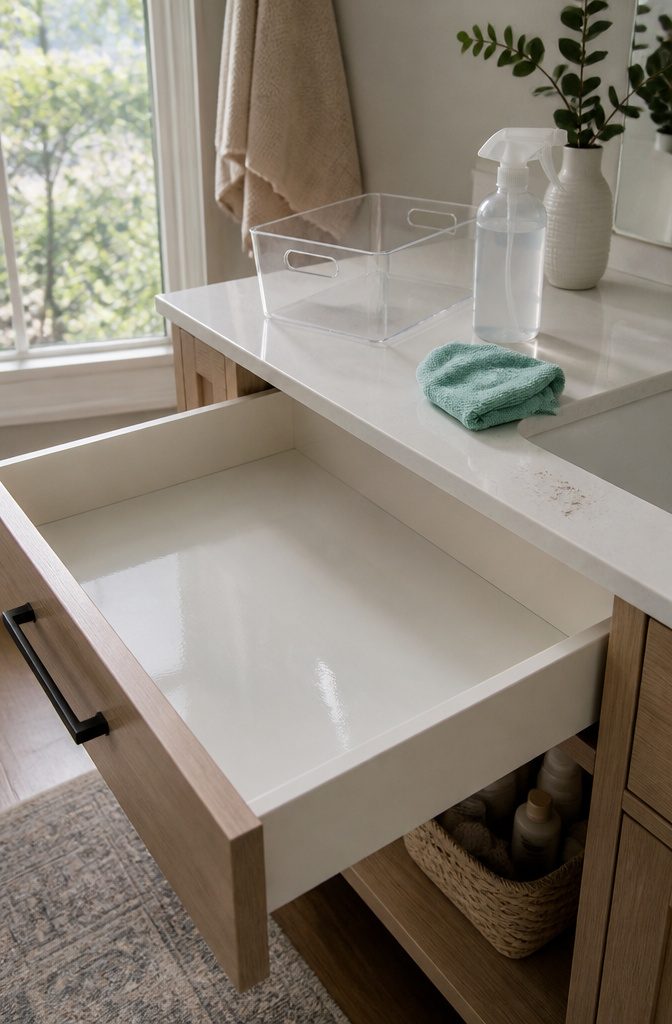
Once everything is out, wipe down the drawer bottoms, cabinet shelves, and vanity top with a damp cloth and soap.
Makeup stains stick, so you may need a little scrubbing or an all-purpose spray to lift eyeliner marks and foundation smudges. A vacuum or a second pass with the cloth clears dust and loose hair from corners.
If you kept any organizers from the sorting step, wash those too. Disinfecting wipes work fast for plastic trays and acrylic bins.
For a white vanity top with stubborn makeup residue, Soft Scrub cuts through without scratching. A clean surface before anything goes back in means new drawer liners sit flat and you are not organizing over old grime.
3. Measure and Choose Storage That Fits
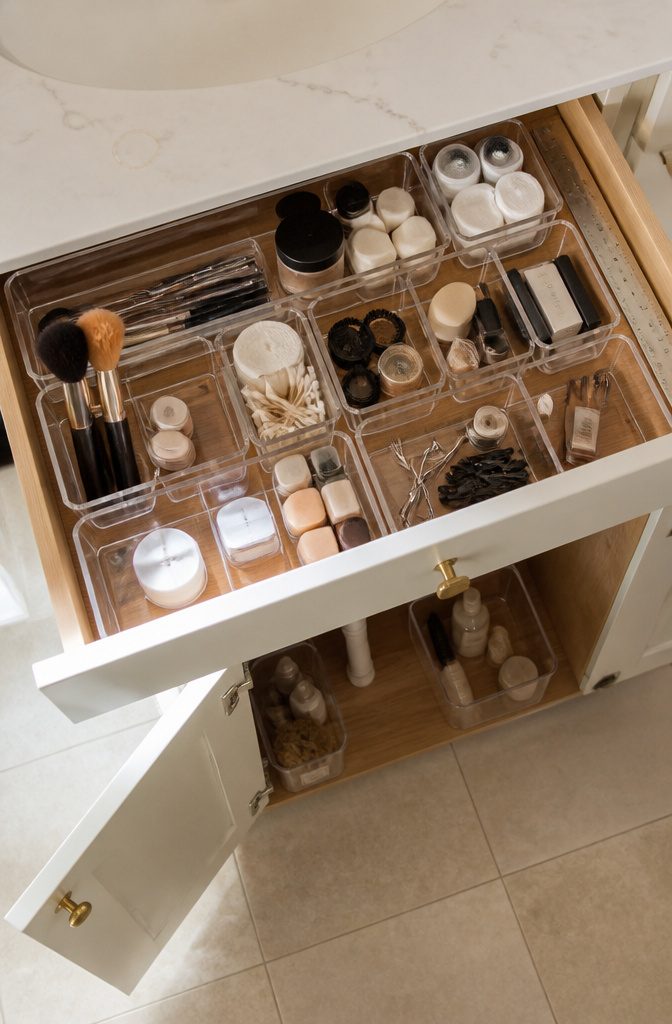
Start by deciding what goes in the vanity and what moves elsewhere.
Once you know what stays, measure your drawer or cabinet dimensions before you shop for organizers. The sequence matters more than most people expect.
Do not do this step in reverse (meaning buy drawer organizers then try to cram your items into small containers).
I treat this as the single rule that prevents wasted money and drawer space that never quite works. If you buy first, you end up forcing things into boxes that don’t fit the layout or the items themselves.
Look for drawer trays, clear bins, dividers or small baskets that match your measurements. A set with four sizes gives you flexibility to test different configurations inside the drawer before committing to one arrangement.
Clear organizers let you see what’s inside without pulling everything forward. If the plumbing under your sink runs low, skip stackable drawer units and use shallow bins on each side instead.
4. Group Like Items Together
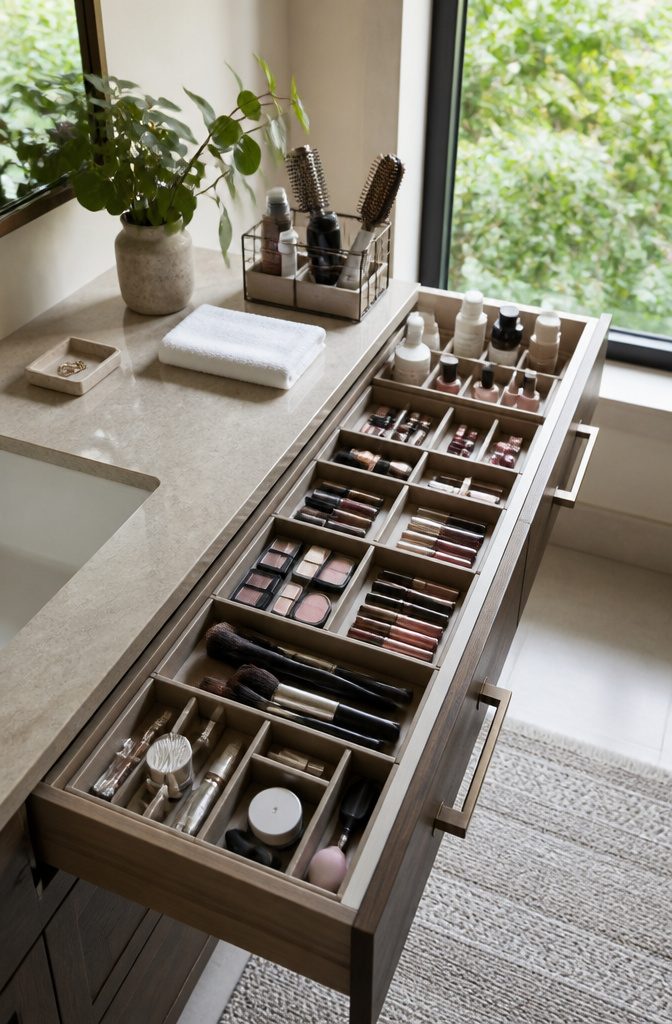
Group similar products—makeup, brushes, skincare, hair tools, oral care—so you know where everything lives and aren’t digging for a mascara every morning.
- Face products (foundation, powder, primer, concealer) belong together in one section or compartment.
- Eye products (eyeliner, mascara, shadow) in another.
- Lip products (lipsticks, glosses, lip liners) together in a third.
- Brushes grouped separately from the products themselves.
- Hair products and tools (spray, gel, brushes, flat iron) corralled in a drawer or countertop organizer.
- Oral-care items (toothpaste, floss, floss picks) in their own zone, often the top drawer.
- Nail products and fragrances in their own sections when you have the drawer real estate.
If you have enough drawer dividers, subdivide further: blushes and bronzers separate from highlighters, serums separate from moisturizers. The tighter the category, the faster you find what you need.
5. Put Daily Items Where You Can Reach Them
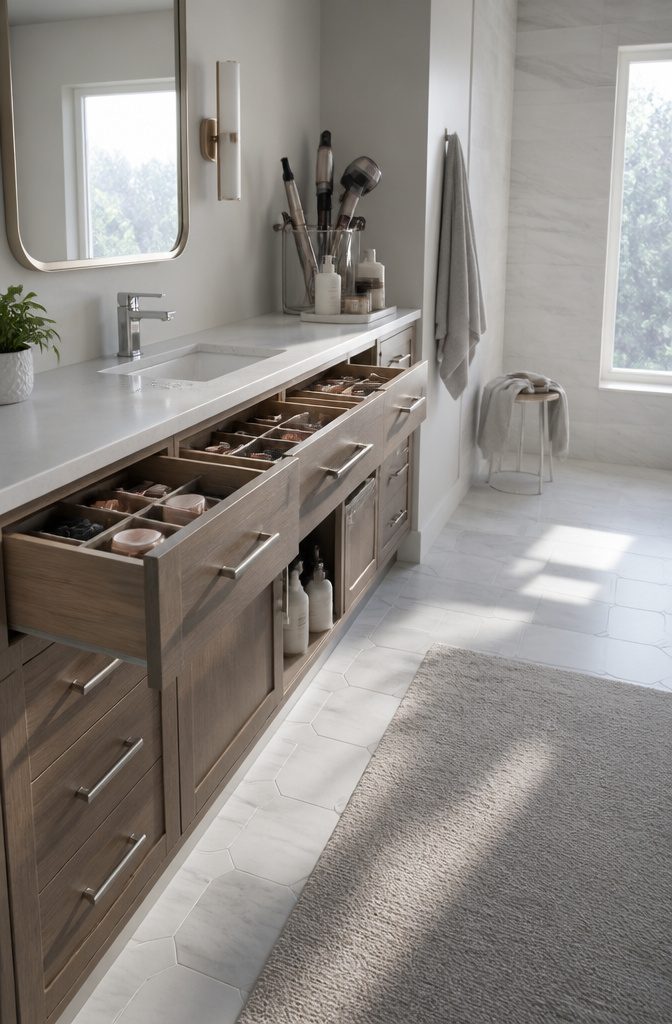
Put Daily Items Where You Can Reach Them
I keep the makeup and products I use every morning in the top two drawers of the vanity, where I can grab them without bending or reaching past anything else.
Items I use less often go in lower drawers or under the sink, and that split makes a real difference when you’re moving through a routine on autopilot.
If drawer space is tight, a countertop organizer keeps daily essentials corralled without turning the surface into clutter.
A Hair Styling Tool Organizer solves the problem of styling tools and bottles scattered across the vanity top, holding curling wands, a straightener, a hairdryer, and the styling products that come out every day.
For under-sink storage, a Lazy Susan with compartments makes it easier to reach items in the back without pulling everything out. Put your hand on what you need without moving something else first.
6. Line Drawers and Secure Organizers
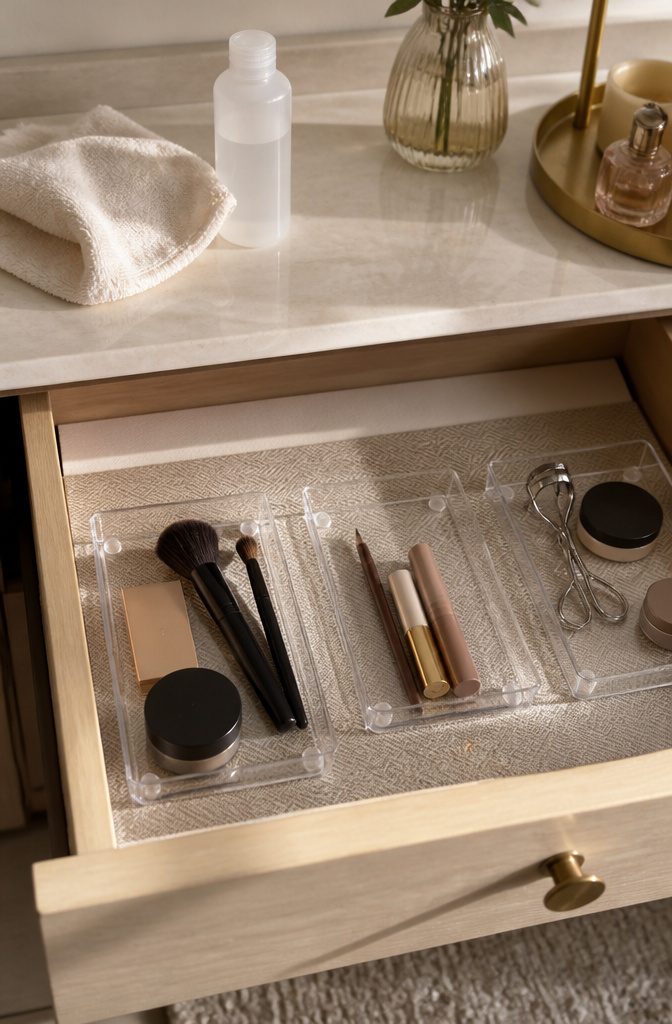
A drawer liner gives the surface a finished look and makes cleanup easier when powder spills, but it’s optional. If you do line, clean the drawer first with rubbing alcohol to remove any grease before the liner goes down.
Contact paper is a common choice. One setup used removable contact paper that came up 1/2 inch short on width, so the back edge of the drawer went unlined rather than adding a narrow strip and creating a seam.
Once the layout is settled, you can keep organizers from shifting when the drawer opens and closes.
Museum Gel is one option: you roll small pieces between your fingers until they form spheres, then press them to the bottom of each tray. The gel isn’t sticky while you handle it, but once applied it holds firmly.
Another approach is clear bumpers stuck to the tray corners, or a nonslip grip liner under everything. If the drawer has contact paper or bare wood, securing the organizers usually matters more than it does over a textured liner.
Organize by Person or Routine When Space Allows
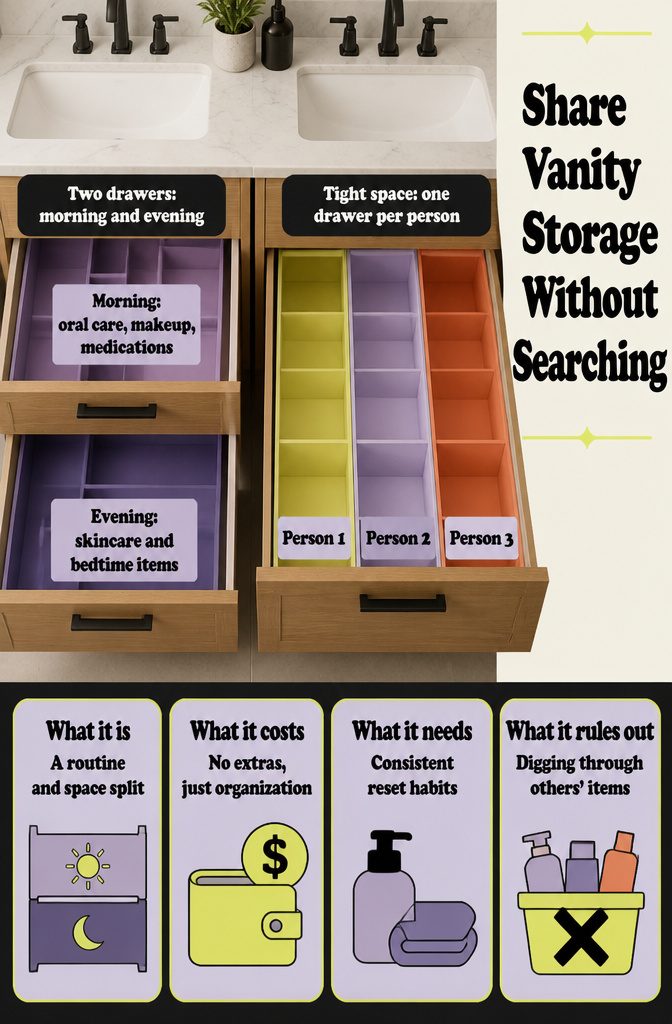
When more than one person uses the vanity, splitting storage by person or by routine keeps mornings from turning into a scavenger hunt.
If you have two drawers per person, set up a morning drawer with oral hygiene supplies, makeup, and medications, then an evening drawer with skincare and anything needed before bed.
Some items cross over between routines, but you don’t need duplicates—just open the other drawer.
Fewer drawers means a different split: one labeled drawer per family member, with dividers inside to corral smaller items.
Everything needed to start and end the day goes in that person’s space. You will not have room for dedicated morning and evening zones this way, but in exchange no one has to search through someone else’s products.
I find the per-person method works best when drawer space is tight and the household shares less overlap in what they actually use.
Store Beyond Drawers When Needed
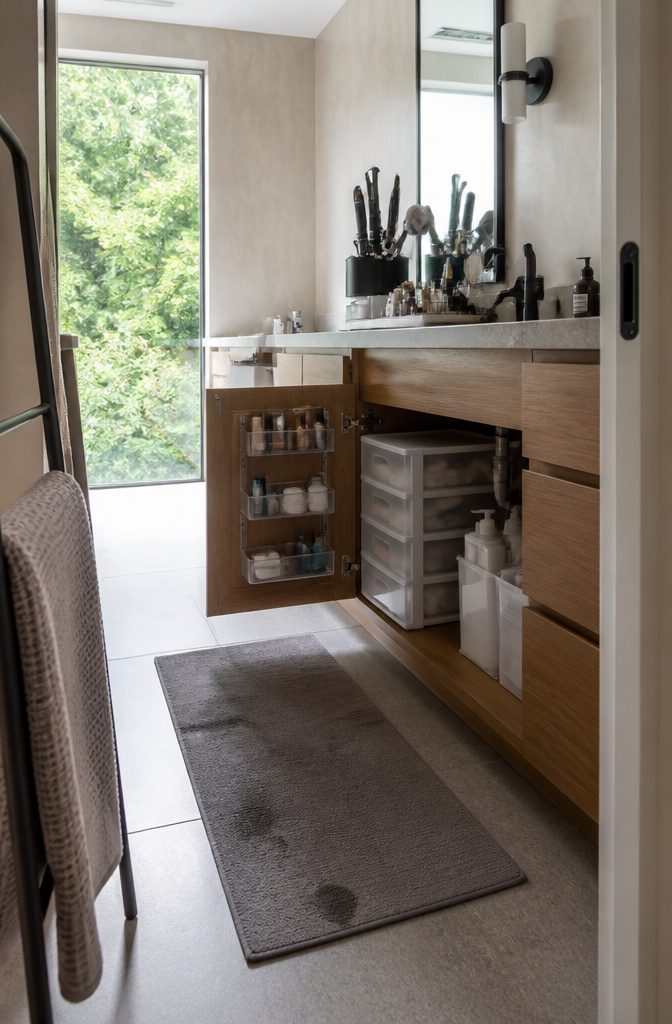
When drawer space runs out, move to the surfaces you already have.
- A hair styling tool organizer corrals curling wands, straighteners, hairdryers and daily styling products on the vanity top. It keeps frequently used tools off the counter and stops bottles from scattering.
- Clear containers and baskets work inside cabinets for smaller supplies. Lazy Susans make items at the back easy to grab without pulling everything forward.
- Freestanding tiered drawers fit under the sink when the vanity lacks built-in drawer units. They add vertical storage without a remodel.
- Under-sink bins hold backup bottles, extra towels or bulk supplies that don’t belong in daily rotation.
These options work best when drawer organizers can’t fit the item or when you’ve already filled every drawer slot. A countertop organizer beats leaving tools loose, and a tiered drawer unit beats stacking bottles on the cabinet floor.
Frequently Asked Questions
How do I organize a bathroom vanity drawer?
Pull everything out, discard expired or unused items, and group what’s left by category (makeup, skincare, hair products, oral care).
Add drawer dividers or small bins to keep each group in its own section so you can find things without digging.
Put daily-use items in the top drawers where you can reach them easily, and store backup or occasional-use products in lower drawers or under the sink.
What should I put in my vanity drawer?
Keep daily-use items like makeup, brushes, skincare, hair products, toothbrushes, and toothpaste in the vanity drawers.
Check medication labels before storing them in the bathroom, since some require different conditions. Items used less often can go in lower drawers or under the sink, leaving the top drawers for what you grab every morning.
How do I organize a vanity table?
Empty the vanity completely, sort items into keep, relocate, donate, and discard piles, then clean all surfaces before anything goes back in.
Measure your drawer and cabinet space before buying organizers, group similar products together (face, eyes, lips, hair, oral care), and put daily items in the top drawers.
Use drawer dividers, clear bins, or a countertop organizer to keep everything visible and easy to reach.
How can I effectively organize my bathroom drawers?
Start by emptying the drawers and discarding anything broken, expired, or no longer used, then measure the space before choosing organizers that fit.
Group like items together in separate sections using dividers or small bins, and keep what you use every day in the top drawers.
Line the drawers if you want easier cleanup, and secure the organizers with museum gel or clear bumpers so they don’t shift when the drawer opens.
What is the best makeup organizer for small spaces?
Clear drawer trays and small bins let you see everything without pulling items forward, and a set with multiple sizes gives you flexibility to fit different drawer layouts.
A countertop hair styling tool organizer keeps daily products and tools corralled without covering the whole surface. For under-sink storage, a lazy susan with compartments makes it easier to reach items in the back without moving everything else first.