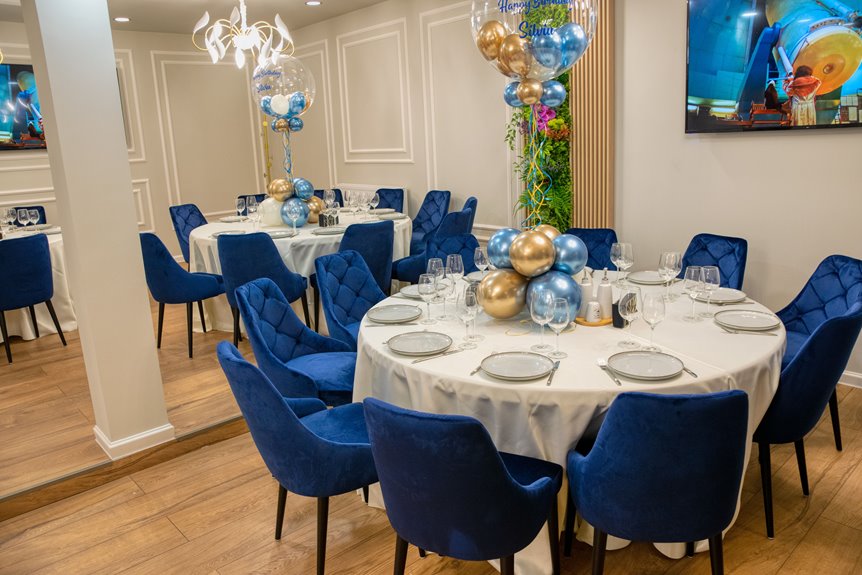
I’ve learned that wobbly centerpieces crash into soup courses faster than fire alarms, so I stick to six essentials: pick two to four complementary hues (metallics for luxe, pastels for dreamy) and mix latex with foil. Gather 5-inch, 11-inch, and 16-inch balloons, a pump, glue dots, and weighted containers. Inflate evenly, build hidden ballast with sand or soaked floral foam, then cluster 3–5 balloons with larger ones behind smaller for shifting perspective. Secure with fishing line, check sightlines, and keep pieces cool until showtime. Maintaining these upright through dessert requires attention to weight distribution and proper anchoring techniques.
Choose a Color Palette for Your Event Theme
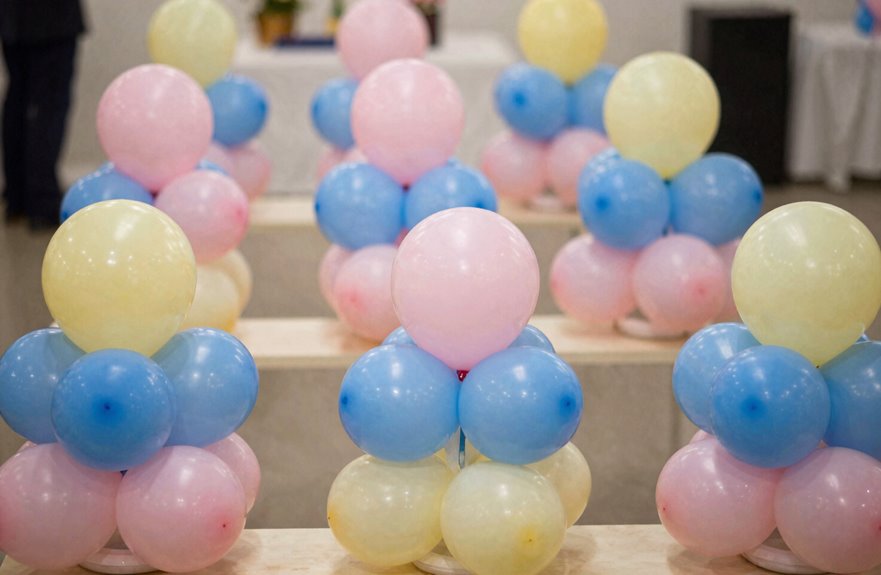
Why do some centerpieces fall flat while others steal the show? It’s all about color coordination. When planning an event, start with a tight color palette of two to four complementary hues that feel cohesive, not chaotic. Metallics like gold or rose gold add instant luxe, while pastel tones create that dreamy, intimate vibe. Mix latex and foil balloons within theme-inspired colors to build texture without breaking harmony. Let larger balloons carry the dominant shade, then echo it through smaller accents across clusters. Wonder Balloons’ ready-made combinations provide proven starting points for color schemes. A well-executed palette makes guests feel instantly welcome, as though they’ve found their community.
Gather Your Balloon Centerpiece Supplies
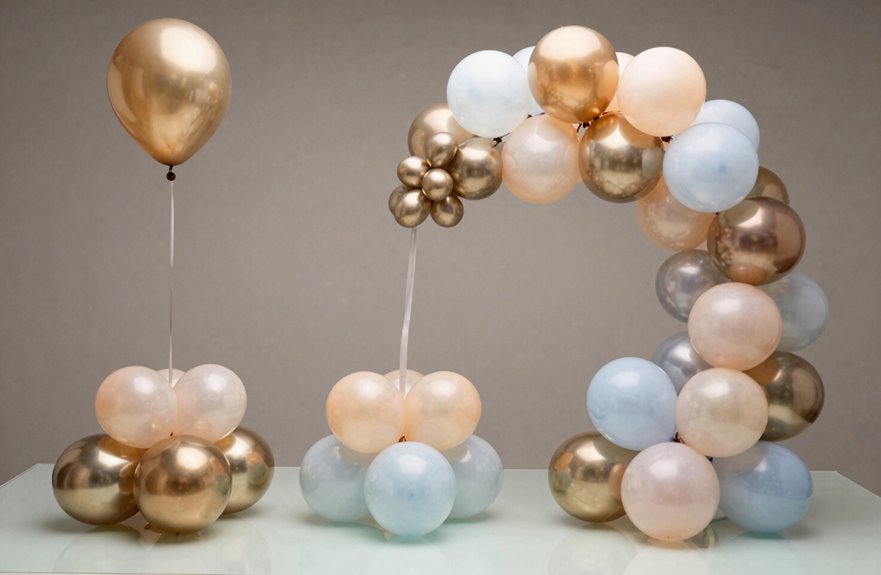
With your colors locked in, gather these supplies from your craft stash. Building a balloon centerpiece that feels polished requires the right materials.
- Latex balloons in assorted sizes—mixing 5-inch, 11-inch, and 16-inch creates that layered depth pros achieve
- Balloon pump (hand or electric). Your lungs will thank you when assembling multiple centerpieces.
- Balloon weights or a weighted container to keep everything grounded
- Glue dots and floral tape for securing clusters without visible knots
Also grab string, fishing line, and a sturdy base, usually a vase from your cupboard. Having everything within arm’s reach maintains momentum during assembly. Pausing mid-inflate to hunt for supplies wastes time and breaks your focus.
Inflate Balloons With Air or Helium
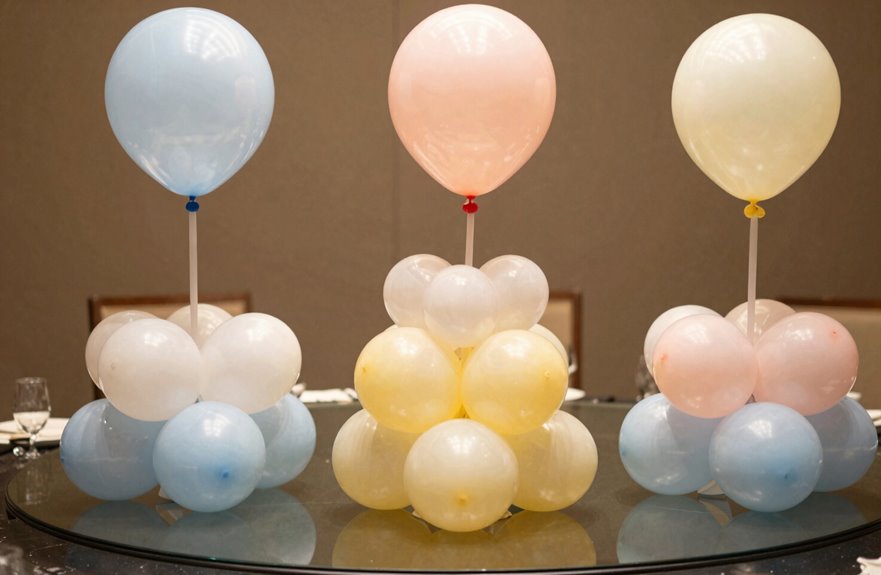
I always start this step with a deep breath, partly because I’m about to inflate a dozen balloons and partly because this choice determines everything that follows. Your centerpiece floats with helium-filled balloons, or stays grounded with air-filled ones. Both work beautifully; they just serve different visions.
When inflating balloons, aim for consistency within each size group. A lopsided display undermines the entire arrangement. For air-filled designs, build balloon clusters of three to five balloons, which provides crucial centerpiece stability without looking cramped. Vary sizes by tucking smaller balloons up front and letting larger ones anchor the back. This layering creates visual depth.
Keep finished pieces cool and shaded until showtime. Sunlight degrades balloon material and shortens the display’s lifespan.
Build a Weighted Base for Stability
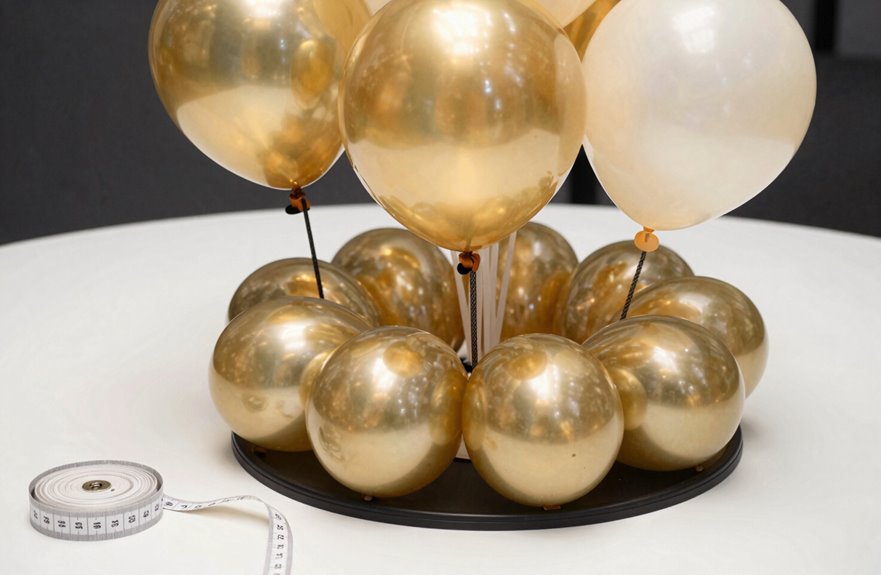
I’ve learned that a top-heavy centerpiece will tip over, so let’s discuss building a stable base. You’ll need to pick the right container, choose weight material that won’t fail, and secure your balloon anchor so everything stays in place. Spending an extra minute here prevents the slow-motion disaster of watching your centerpiece tilt toward the soup.
Choose Your Container
Because I learned the hard way that a runaway centerpiece can ruin an otherwise perfect table setting, I’m going to walk you through building a base that actually stays put.
For balloon centerpieces, container stability starts with smart base options. Here’s what actually works:
- A weighted vase gives instant heft without looking industrial
- Floral foam, thoroughly soaked and wedged tight, anchors clusters beautifully
- Decorative ballast, sand, pebbles, or water, hides beneath pretty shells or fabric wraps
- String, fishing line, or glue dots lock everything in place against curious elbows
I always double-check my work by nudging the finished piece. If it wobbles, I add more weight. Your guests will never see the hidden mechanics; they’ll only see the stable, beautiful centerpiece they can’t stop admiring.
Select Weight Material
Once your container is chosen, the real work begins: picking what will keep your creation stable. I learned this the hard way when my first balloon garland toppled mid-party. Now I always build a weighted base for stability.
Your centerpiece needs substance. I use sand-filled bags, decorative stones, or wrapped water bottles hidden inside. For taller displays, I’ll use a ceramic vase, since heavier bases equal steadier structures. Before going full-scale, build a small prototype to test your weight-to-height ratio. A gentle nudge should tell you if it will survive the event.
What works for weighted bases:
| Base Type | Best For |
|---|---|
| Sand-filled bags | Standard table centerpieces |
| Decorative stones | Elegant, visible weight integration |
| Wrapped water bottles | Budget DIY projects |
| Ceramic vase/urn | Tall balloon garland displays |
Skipping this step means risking structural failure during your event.
Secure Balloon Anchor
Why let all that careful weight selection go to waste? This guide shows how to build a weighted foundation that keeps your balloon centerpieces standing tall through dancing, mingling, and that one cousin who bumps tables.
A secure anchor is practical and separates professional-looking balloon centerpieces from sad, floor-bound failures. This lesson comes from experience at outdoor weddings.
Here’s the approach:
- Fill a solid container with sand, water, or rocks, whatever matches your weight needs
- Conceal it with floral foam blocks or weighted vases beneath decorative wrapping
- Attach balloons using string or glue dots, hiding weights completely from view
- Space clusters of 3–5 balloons evenly across the base for balanced weight distribution
For high-traffic areas, use heavier decorative boxes. Centerpiece stability prevents your work from rolling under a buffet table.
Cluster and Layer Balloons for Depth
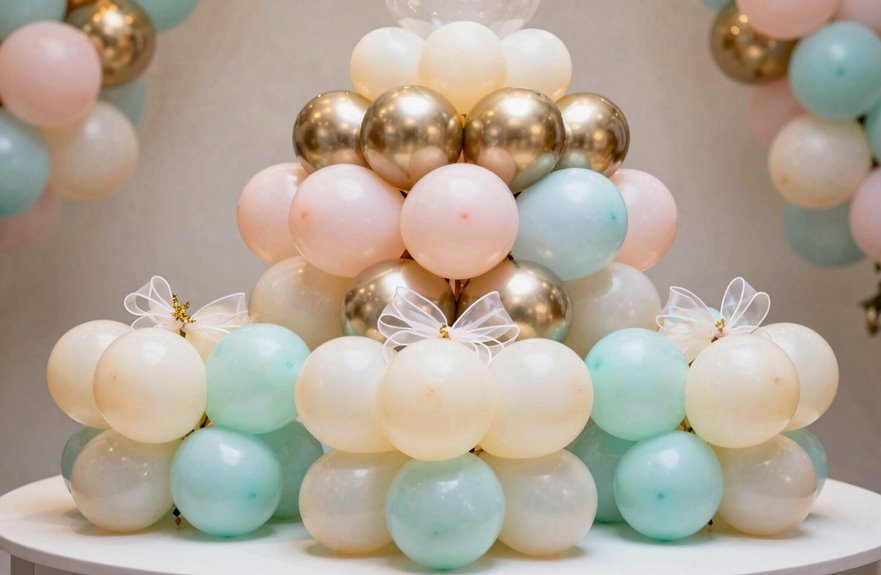
I’ll show you how to build real dimension through smart clustering and layering techniques. Start with a quad formation: four balloons twisted together at their necks. This creates a stable, diamond-shaped core you can anchor to your base. From there, work with size variation by placing 11-inch balloons toward the back and tucking 5-inch gems up front so the arrangement breathes and doesn’t flatten into a wall of color.
Quad Formation Basics
Building a proper quad is where your centerpiece starts to get real structure. Think of it as the backbone that everything else hangs on. Master this, and you’re halfway to pro-level balloon centerpiece design.
Here’s my tried-and-true approach:
- Create two balloon pairs by tying necks together, then marry those pairs for perfect symmetry
- Practice strategic layering with larger balloons behind and smaller ones up front for instant depth
- Secure adjacent balloons with glue dots or discreet string for seamless cluster linking
- Anchor everything with fishing line to your base; stability prevents centerpiece disasters
Wobbly quads undermine your table design. When you space clusters evenly and maintain clean sightlines, your table transforms into a polished arrangement. Building something beautiful requires one balanced quad at a time.
Size Variation Technique
A few well-chosen sizes can transform your centerpiece from flat to fascinating. Size variation builds real depth in your balloon arrangements.
Cluster 3–5 balloons of different sizes together, then place larger balloon clusters toward the back with smaller ones layered in front. This layering technique pulls the eye inward, creating a more sophisticated appearance. Mix latex and foil for texture variation that catches light differently, combining matte with shiny surfaces and round with angular shapes.
Space your clusters evenly, but offset them slightly so nothing feels machine-made. Inflate some balloons less and others more, adding subtle height differences throughout. Tie necks in quads for stability. These choices create visual interest that draws guests closer and encourages them to examine the arrangement more carefully.
Depth Layering Method
Three distinct layers transform a flat balloon cluster into something guests lean in to explore. Depth layering requires thoughtful placement and consistent execution.
To build dimension that draws people in:
- Anchor with weighted bases, then arrange larger balloons at the back, smaller ones forward
- Form clusters of 3–5 balloons, mixing varying sizes within each group
- Thread color harmony through every layer; alternate hues without clashing
- Finish with secure ties, attaching clusters to bases with string or glue dots
Space these layered clusters along the table’s length, creating perspective that shifts as guests move. The result appears intentional and welcoming. No shifting, no deflating drama, just structural depth that remains stable throughout the event.
Add Final Details and Position Your Centerpiece
Where exactly should everything land once your balloon masterpiece is fully inflated? I start by placing my base, floral foam, weighted container, or decorative stand, at dead center, checking base stability before a single balloon rises. Wobbly foundations ruin everything.
I attach my balloon arrangements with string or glue dots, building depth by layering larger balloons behind smaller ones. It’s like creating a tiny stage. Weight anchors keep everything grounded; unsecured pieces drift like lost parade floats.
For final touches, I weave in LED lights, tuck greenery between clusters, or add small flowers that whisper the event’s theme. Then I step back, align centerpieces evenly, and check sightlines. Your guests can see each other clearly across the table, unobstructed, surrounded by something you built.