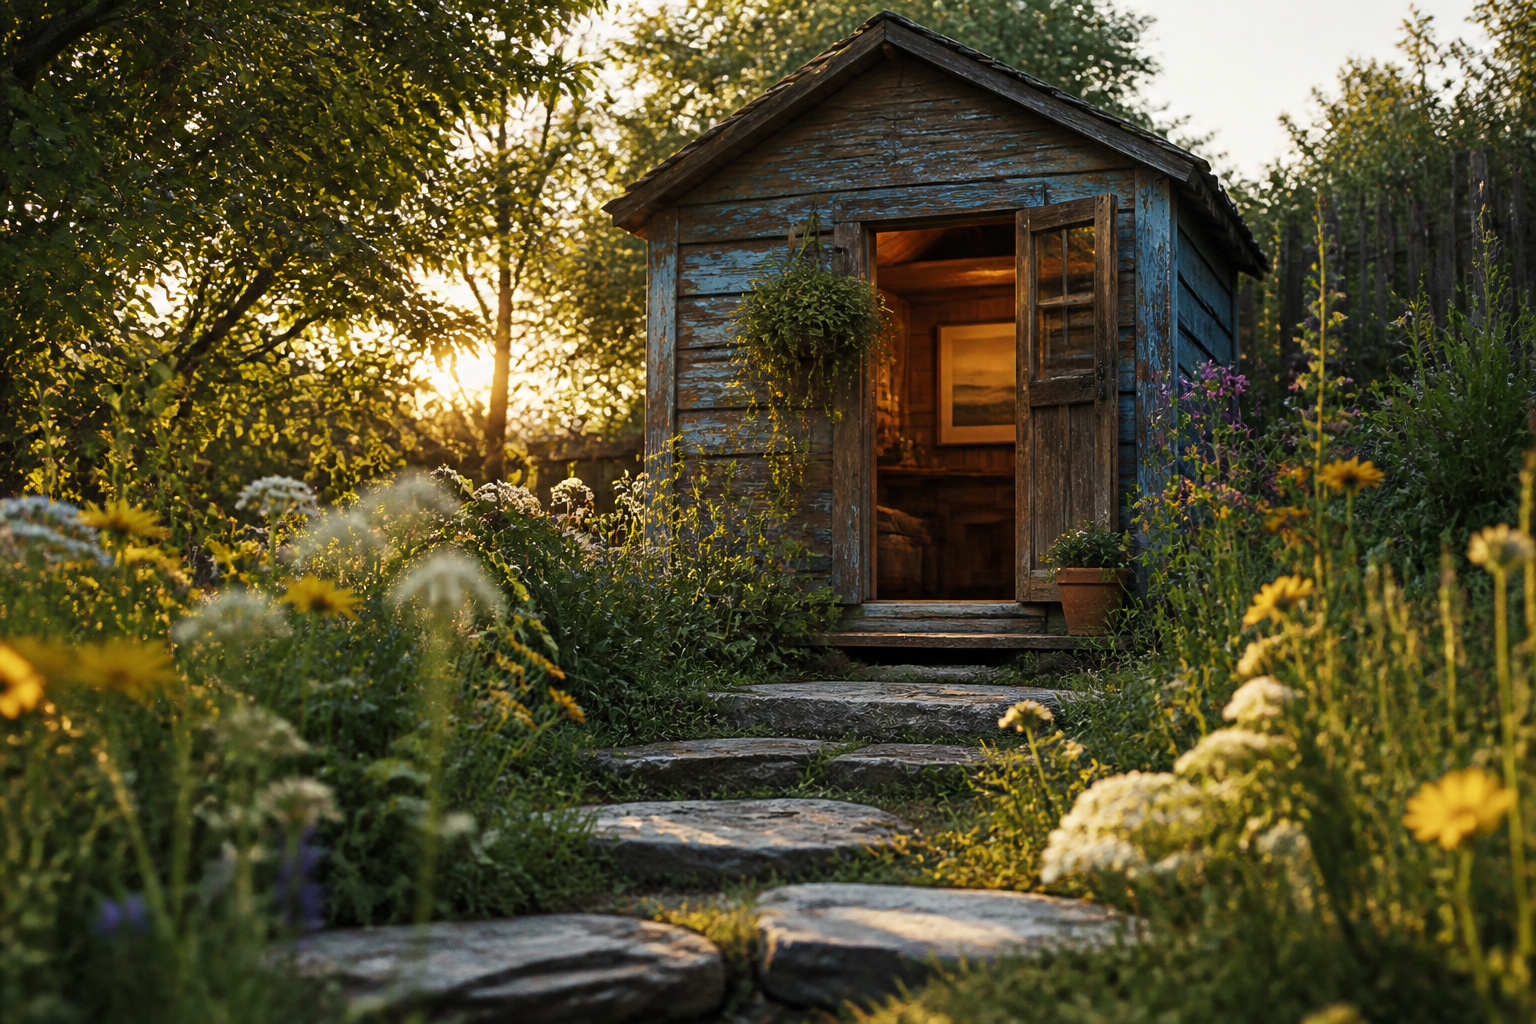
A small backyard shed can run from a $129 plan to a finished guest space that triples the shell cost before anyone sleeps inside. The deciding factor is not style but whether you need the structure to breathe, store, or earn its keep through four seasons. The Kylie plan’s 118-square-foot porch alone swallows more area than some entire sheds, trading interior room for shade you cannot retrofit later.
1. Kylie Shed With a Sun-Regulating Porch
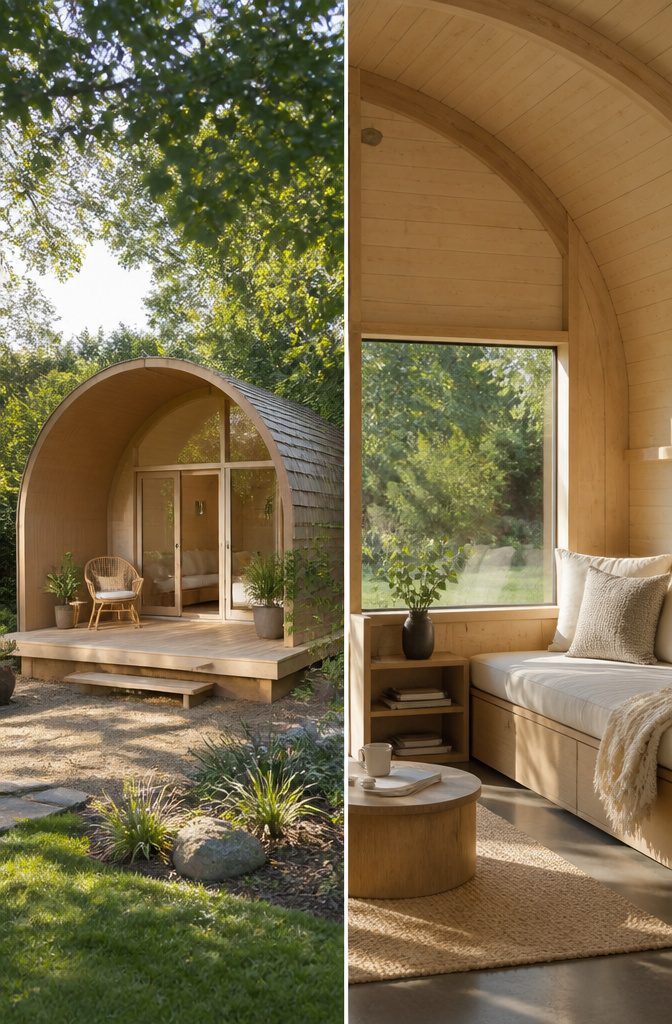
The dome-like porch on this plan does more than look different from the neighbor’s boxy storage unit. Its curved roofline acts as a sun shader, cutting the glare that pours through the wide window openings behind it. Without that built-in regulation, a small space this glass-heavy would overheat fast on a July afternoon.
Inside, the layout stays simple: a single living area with seating, plus the option to run a stovepipe straight out through the wall. The footprint is modest but not cramped. The total floor area is 97 sq ft, tucked under a 14′ x 17′-4" built-up shell of 312 sq ft. The porch alone eats 118 sq ft of that, so you’re trading interior square footage for covered outdoor room. For someone who wants a reading nook that breathes, the swap makes sense. For pure storage, it does not.
Plans run $129–$190 depending on format. Printed plus electronic sits at the top of that range.
2. Storage Shed With Shelves and Hooks
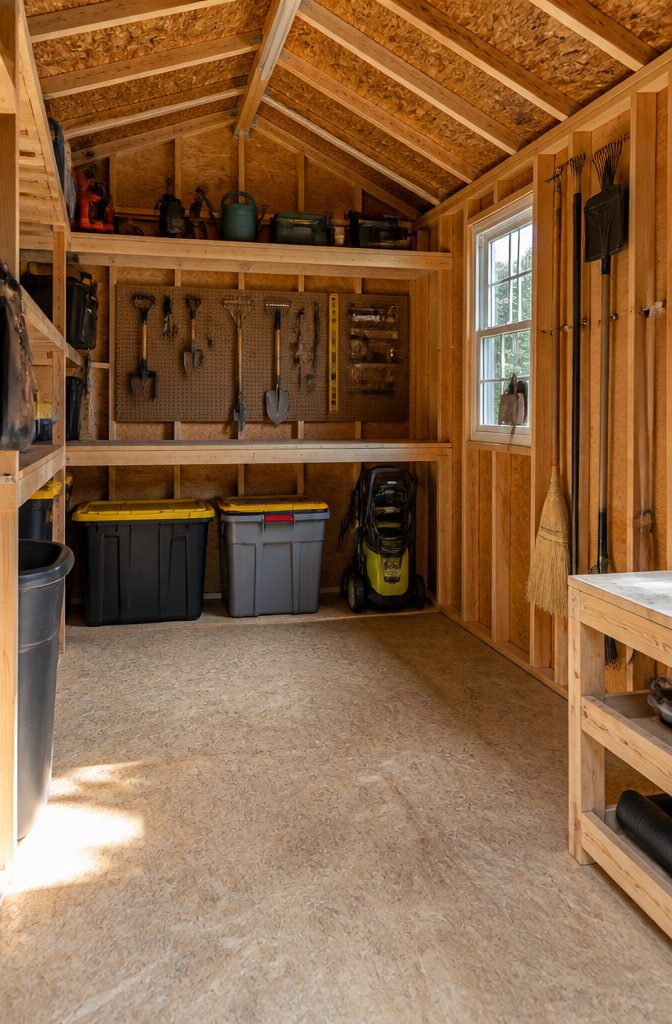
A storage shed lives or dies by how much it actually holds, and vertical space does the heavy lifting when the footprint stays small. I learned this the hard way after my first shed became a floor-to-ceiling pile where the thing I needed was always at the bottom. The fix is building in shelves and hooks from the start, not adding them later as an afterthought.
Wall-mounted shelves at two heights, roughly 18 inches and 36 inches off the ground, handle most of what a typical yard demands: seed trays and hand tools up top, heavy bins and the pressure washer below. Deeper shelves in back, shallower ones in front, keep you from losing items behind each other. Pegboard between shelf runs costs little and adapts to whatever hook or holder the season requires; in autumn it holds rakes, in summer the hose reel.
Ceiling joists, if the shed has them, carry lag-screw hooks for bikes or the seldom-used ladder. The floor stays clear for the wheelbarrow and the one thing you will definitely bring home unexpectedly. A shed built this way stores roughly twice what the same square footage would manage with nothing on the walls, and the difference is whether you can still walk inside or not.
3. Garden Shed With a Potting Bench
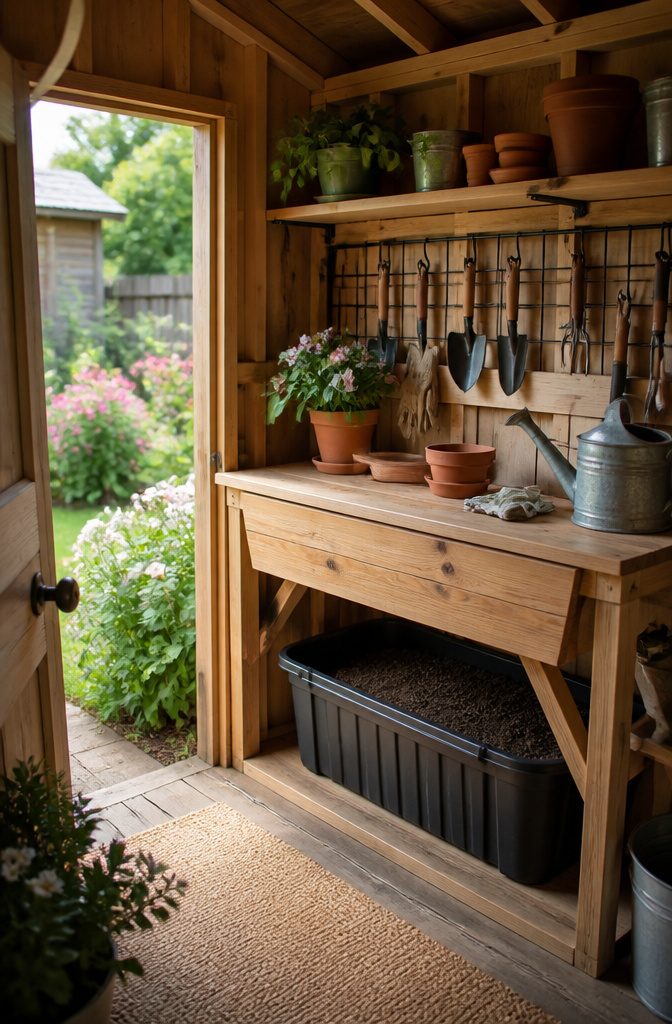
A potting bench eats square footage fast if you let it sprawl, so the trick is building it against the back wall with the soil bin tucked underneath and the working surface at hip height. Mine started as a flat counter with open shelving below, which turned out to be a mistake: bags of peat moss sagged, and spiders moved into the dark corners. Switching to a slatted bin with a removable front panel fixed both problems; the peat stays contained, and a hose reaches every surface.
The real win is the hinged drop-leaf on the side wall. It folds down for transplanting trays in spring, then locks flat when you need the floor space for a wheelbarrow. Wall space above the bench carries the load: a simple grid of coated wire between two 1×4 rails holds hand tools by their handles, and a shallow shelf at eye level keeps labels and twine where they do not vanish into a drawer.
If you are weighing wood against a metal shed shell, wood wins for this use. The moisture from watering cans and damp pots will find every condensation point on steel, and rust stains on your potting surface are not a look you want to scrub weekly.
4. Playhouse Shed in Bright Colors
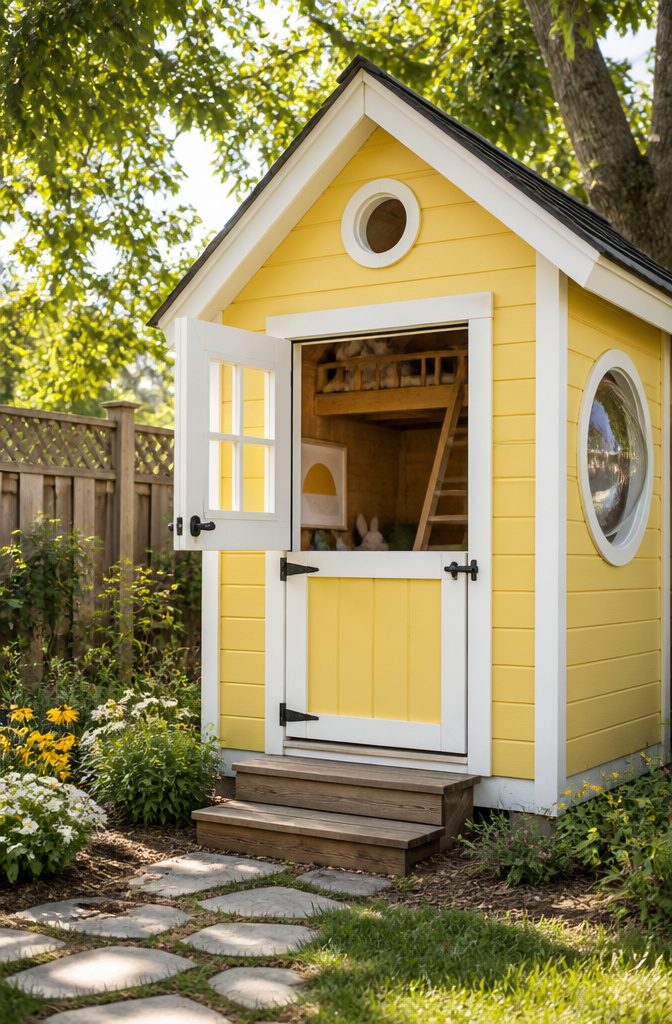
A playhouse shed in bright colors works hardest when it does not look like a toy from the street. Cedar siding painted in a clean yellow or barn red with white trim reads as a real outbuilding, not plastic clutter, so the neighbors stay quiet and you do not have to explain yourself at resale. The playful part lives inside: a Dutch door cut to child height, a bubble window, a loft reached by a ladder you build from two-by-fours and closet rod.
The footprint can stay tight, about 6 by 8 feet, because children do not need standing height everywhere. A 5-foot wall with a shed roof climbing to 7 feet gives them room to feel hidden without eating your whole yard. What sold me on the idea, reading through builds online, was how many parents turned the loft into storage once the kids hit middle school. The same ladder that carried a six-year-old now holds camping bins.
Paint is where you save the budget and where you will repaint anyway. Exterior latex over primer handles the weather, and a gallon covers two coats on walls this small. Plan the colors so a future owner can paint over them in a single weekend; avoid murals or themes that read as damage, not personality. The real cost is the door hardware, which needs to be real hardware, not play plastic, or you are rebuilding it in three years.
5. Workshop Shed With a Workbench
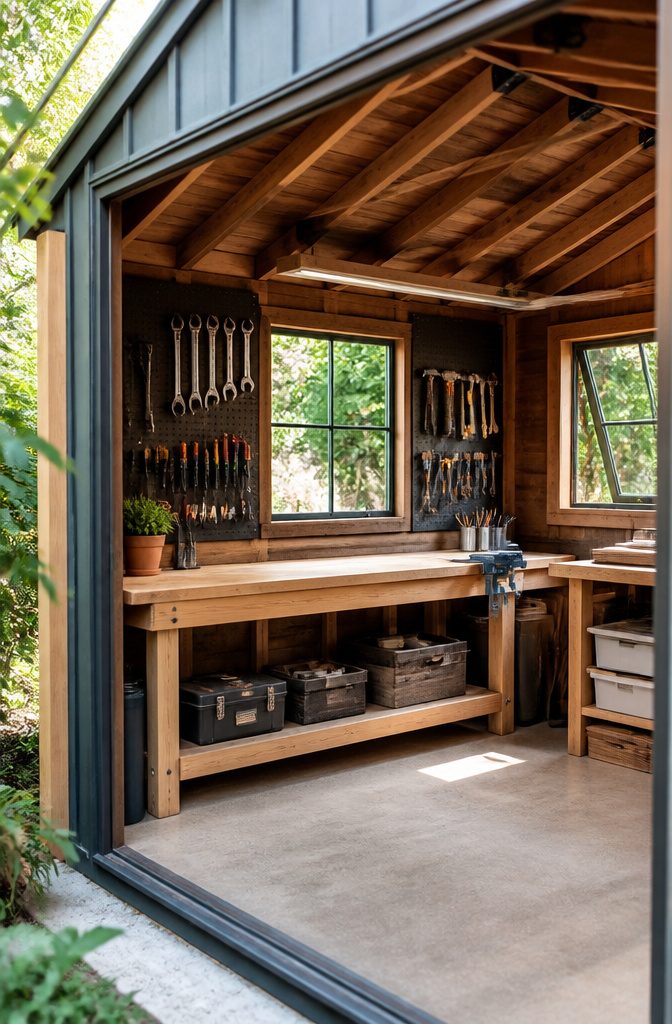
A workbench shed only earns its keep if you can actually move around it. I learned that the hard way after installing a solid 6-foot bench along the back wall and finding myself pinned against the door whenever a project sprawled. Leave at least 30 inches of clear aisle on the working side of the bench, more if you swing long boards. Wall-mounted tool panels help, but they compete for space with the window you need for ventilation. Cross-ventilation matters more than a single whirring fan; two operable windows, or one window plus a louvered vent near the floor, keeps fumes and dust from settling where you breathe.
Power comes next. A single 15-amp circuit handles most handheld tools if you are not running them simultaneously, but a 20-amp dedicated line costs little extra and saves tripped breakers mid-cut. I would run conduit on the exterior rather than snake cable through finished walls later; surface-mount outlets at bench height, plus one ceiling outlet for a retractable reel, cover most layouts.
The real trap is storage creep. Every empty surface becomes a shelf for hardware bins and half-finished pieces until the workshop shrinks to a corridor. A rolling cabinet that tucks under the bench when not in use preserves floor space, and a strict rule, nothing on the bench that is not the current project, keeps the room functional.
6. Tiny House Shed as Guest Space
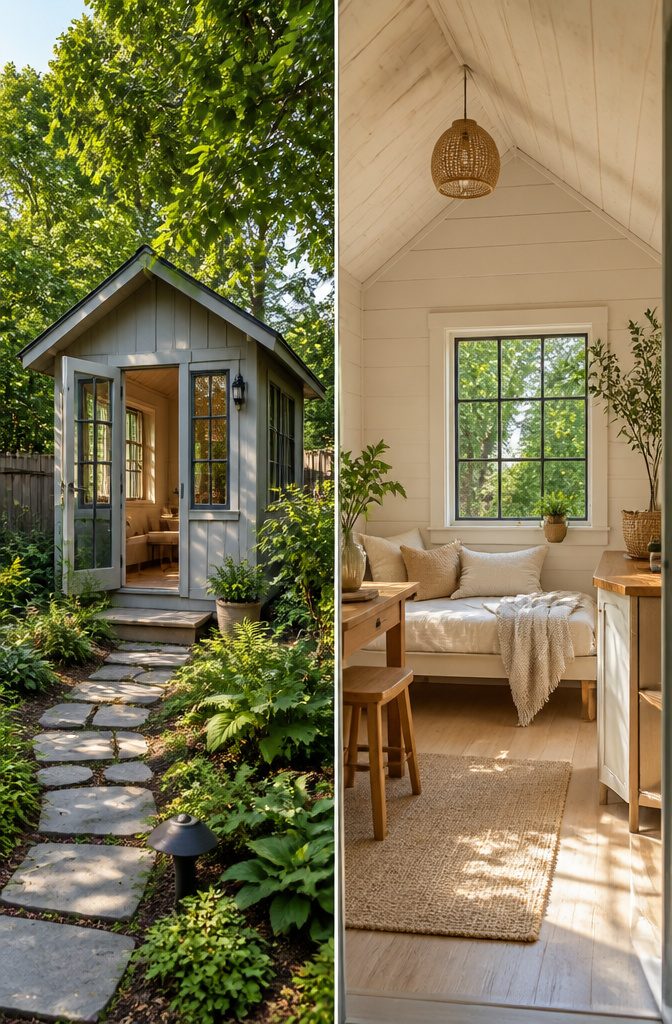
A finished tiny house shed looks simple from the outside, but getting there means crossing a real gap between what the shell costs and what livability demands. The raw structure runs a few thousand, yet insulation, moisture barriers, electrical, and proper flooring can double or triple the spend before anyone sleeps inside. I spent weeks reading build logs where people hit this wall halfway through, the shed sitting unfinished through a second winter because the budget ran dry after the walls went up.
Moisture is the quiet killer. Without a vapor barrier under the floor and breathable wall assembly, condensation builds between interior finishes and the metal or wood shell, rotting studs you cannot see until the smell gives it away. Rigid foam against the shell, then framed walls inside with mineral wool, leaves no trapped air pockets and handles the temperature swings better than batts alone in a small volume.
The time commitment surprises most first-timers. A storage shed goes up in a weekend; a guest space needs evenings and Saturdays for a month or more, and that is with the shell already delivered. Renters should check lease terms and local setback rules before ordering, since a permitted dwelling faces different requirements than a tool shed.
What Goes on the Materials List
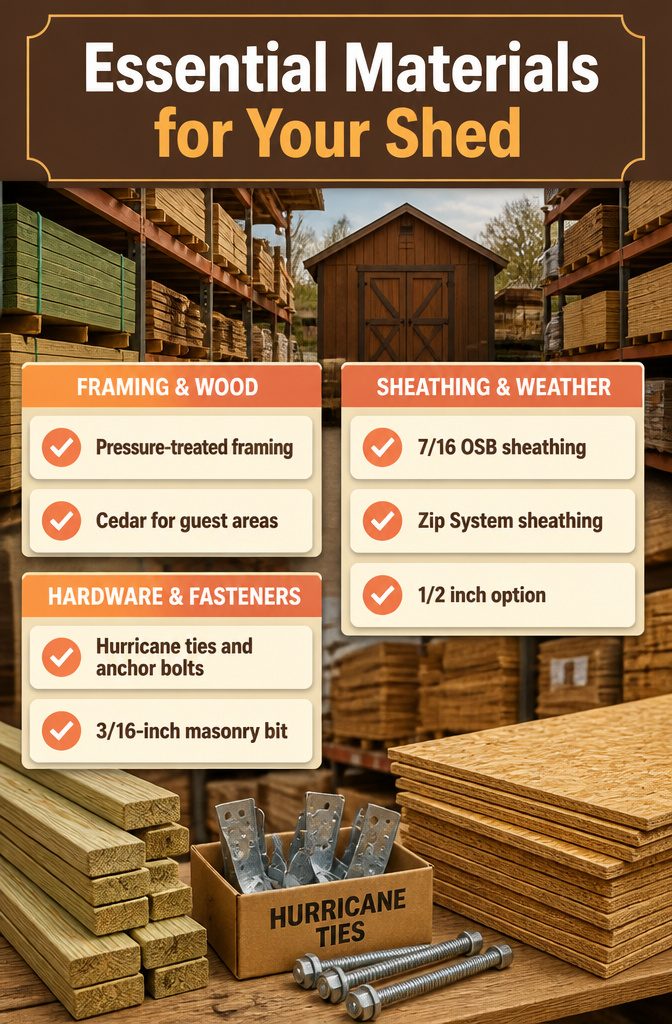
A complete material list is the only part of a small backyard shed plan that pays for itself before you buy a single board. The Pinup Houses plans run $129 to $190 and include every stud, sheet, and fastener counted out, plus a tool list and a CAD set so you can spot conflicts before the delivery truck arrives. I have seen too many weekend builds stall on Sunday afternoon because someone guessed at pressure-treated 2x4s and came home short by six pieces.
The lists spell out specific wood types, which matters more than it sounds. Pressure-treated framing is standard, but the e-book bundled with some plans walks through where you might substitute cedar for anything skin-close if you are turning the shed into guest space and care about the smell. Hardware gets itemized by count and length, down to the hurricane ties and anchor bolts. That granularity is what lets you price the build locally before committing. Call two lumberyards with the same SKU-style list and the spread between quotes will tell you which store actually stocks for builders and which just stacks retail bundles.
Where the plans fall short is in regional substitutions. The listed 7/16 OSB sheathing works fine in dry zones, but in parts of the country with real humidity I have watched it swell at the edges inside two seasons. Some builders swap in Zip System sheathing for the air barrier, others just upgrade to 1/2 inch and add housewrap. The plans do not flag this; they assume you will read the notes and adapt. The material list is a starting inventory, not a covenant, and the best use of it is to highlight exactly where your local climate forces a change before the first cut.
The Tool List and What I Borrowed
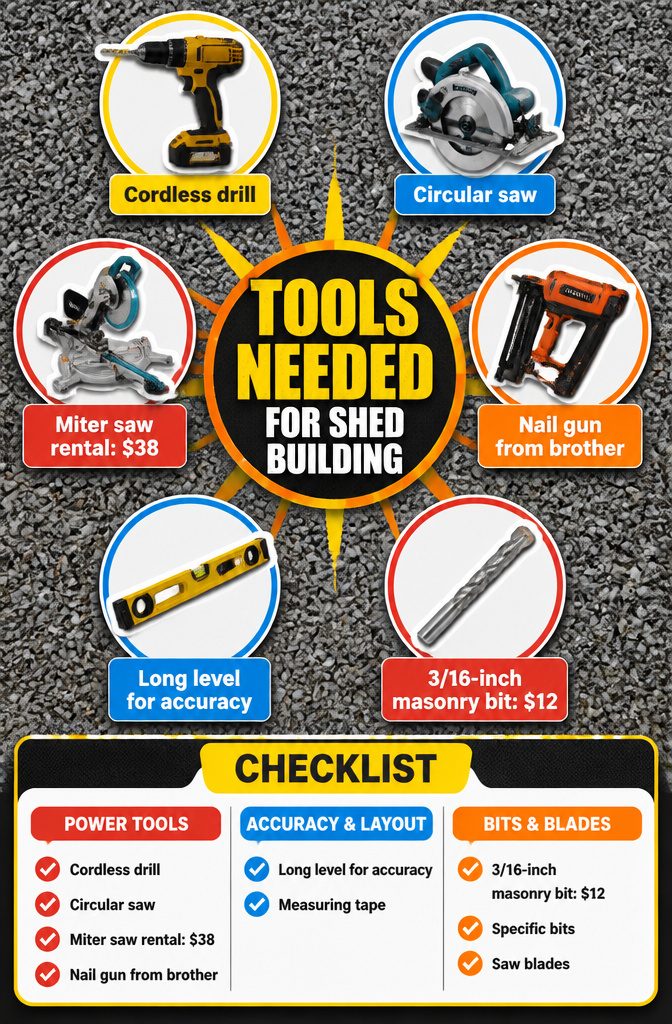
A 10-by-10-foot shed frame goes up faster than the math suggests, but only if the right tools are on the gravel pad before the first board is lifted. I own a decent cordless drill, a circular saw, and the obvious hand tools, so the basics were covered. What I did not have, and what made the weekend possible, was a miter saw for clean angle cuts on the porch rafters and a nail gun for the sheathing. The nail gun came from my brother’s garage; the miter saw was a $38 rental for Saturday through Sunday morning from the local hardware store. I also borrowed a level long enough to check the sill plates in one pass, because a two-foot level on a 10-foot wall is an exercise in false confidence. The plans call for specific bits and blades, but the only purchase I made beyond the lumber was a 3/16-inch masonry bit for the anchor bolts, about $12 and kept for later projects. Renting the miter saw cost less than a decent handsaw, and returning it Monday meant no storage guilt.
How the Step-by-Step Build Actually Goes
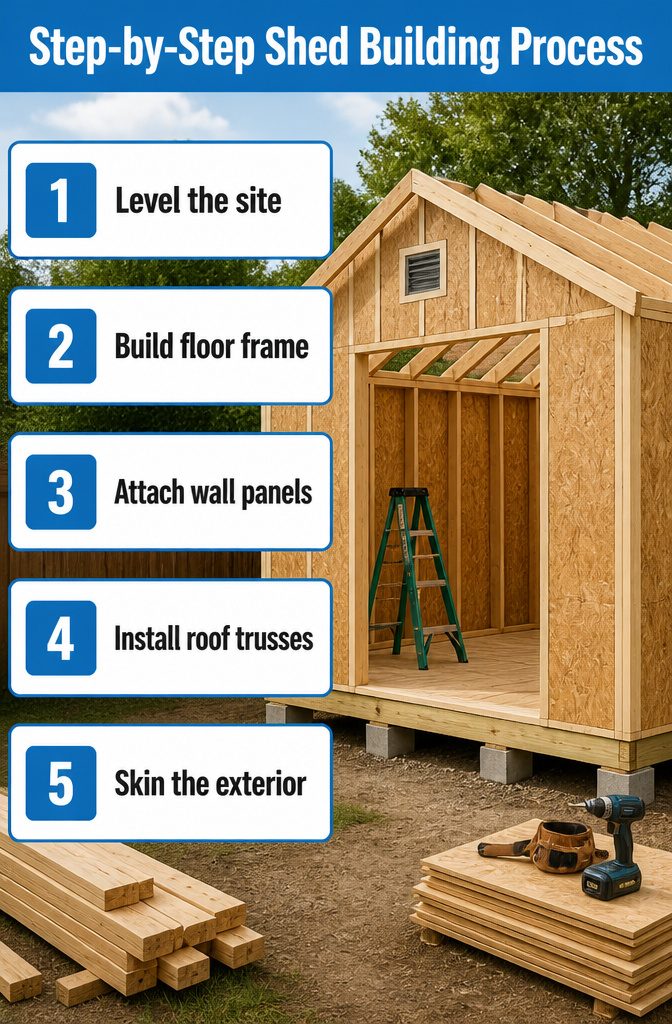
Most shed instructions open with a perfect slab of concrete or a groomed gravel pad already in place. Mine was a patch of packed dirt that sloped toward the fence, so the first real step was leveling it, a job the manual reduced to a single line about site prep. I spent a Saturday with a rake and a long 2×4, checking with a borrowed spirit level every few feet, and still the frame sat a quarter-inch high on one corner when I stood back to look.
The sequence itself is logical enough: floor frame, wall panels, roof trusses, then skin the outside. What the diagrams skip is how long pressure-treated lumber needs to sit before you start cutting. I built the frame the morning after the delivery, and two weeks later the doors stuck because the floor joists had dried and twisted slightly in the sun. Let green lumber rest two or three days in the stack, stickered so air moves, before you make your first cut. The instructions never said, and I never thought to ask the yard whether the load was fresh from treatment.
Roofing went faster than the walls because the panels are forgiving; a half-inch gap at the ridge cap hides under the overlap. But the instructions assumed two people for the plywood sheets, and I did it alone with a clamped 2×4 as a temporary ledge. It worked, though one sheet dropped edge-first and split a corner I had to sister with scrap. That repair is still under the shingles, invisible unless you know to look.
Design Variants I Considered and Rejected
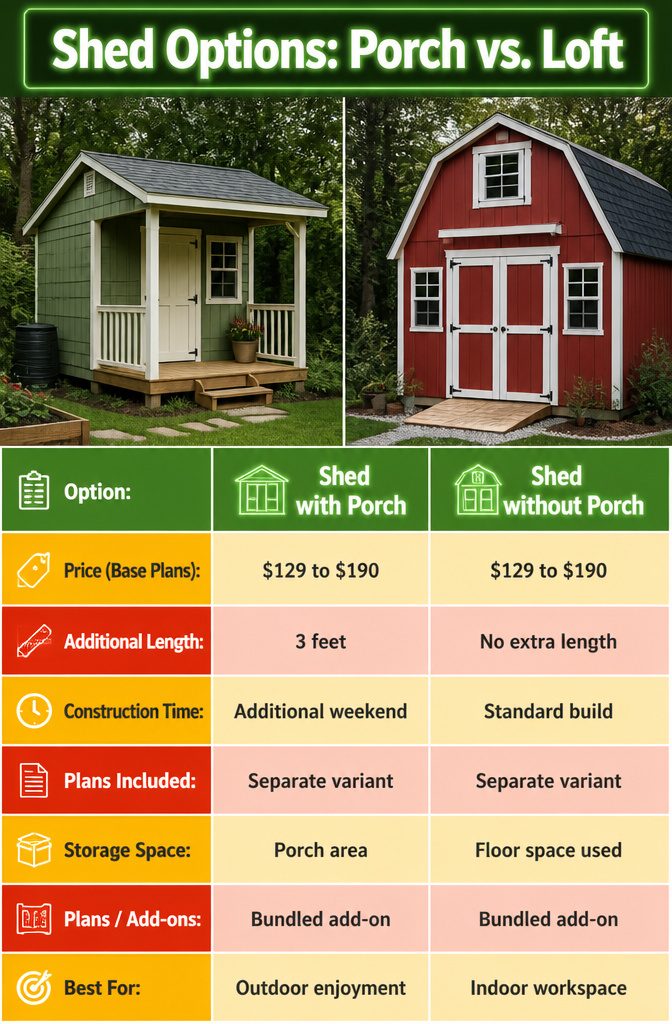
A porch adds roughly three feet to the footprint and a weekend of joist and railing work before the walls even start. Sources list these as separate variants, shed with porch or without, and the price splits run $129 to $190 for the base plans. For my yard, that extra depth meant losing the narrow strip where the compost bin sits, and the bin was non-negotiable.
The loft variant, usually tagged shed with loft, promises overhead storage or a cramped sleeping nook. What sold me against it was the head math: a 6:12 pitch roof gives maybe four feet of usable height at the peak, enough for bins but not for moving around. The plans bundle these as add-ons, CAD files and material lists adjusted upward, yet neither solved my actual problem. I needed floor space for a mower and a workbench, not vertical drama. So I stayed with the simplest footprint, no porch overhang, no second level, and put the saved lumber budget into a better door.
Frequently Asked Questions
What are some small backyard shed ideas?
Storage sheds with built-in shelves and hooks, garden sheds with a potting bench, playhouse sheds in bright colors, workshop sheds with a workbench, tiny house sheds finished as guest space, and the Kylie shed with a sun-regulating porch are all solid options. Each trades interior room for a different advantage: outdoor living space, tool organization, child-friendly design, or overnight stays.
How much does it cost to build a small backyard shed?
Plans for the small backyard sheds covered here run $129 to $190 depending on format, with printed plus electronic at the top of that range. That covers the blueprints, CAD set, material list, tool list, and a construction guide. The actual lumber and hardware sit on top of that, and finishing a shed as guest space can double or triple the total spend once insulation, electrical, and moisture barriers are added.