
I start by fluffing my tree from the inside out, testing lights for duds, and picking a theme that excites me. Then I anchor my topper slightly below the tip using floral wire as a securing method and spiral garland down in two to four turns depending on height, securing it at every twist.
Big ornaments go low, tucked deep into branches with hangers hidden, while I build upward with smaller pieces. I finish by weaving ribbon, clustering picks, and angling berries outward to catch the light. This layered approach creates a fuller, more visually interesting tree.
Prep, Fluff, and Choose Your Christmas Tree Theme
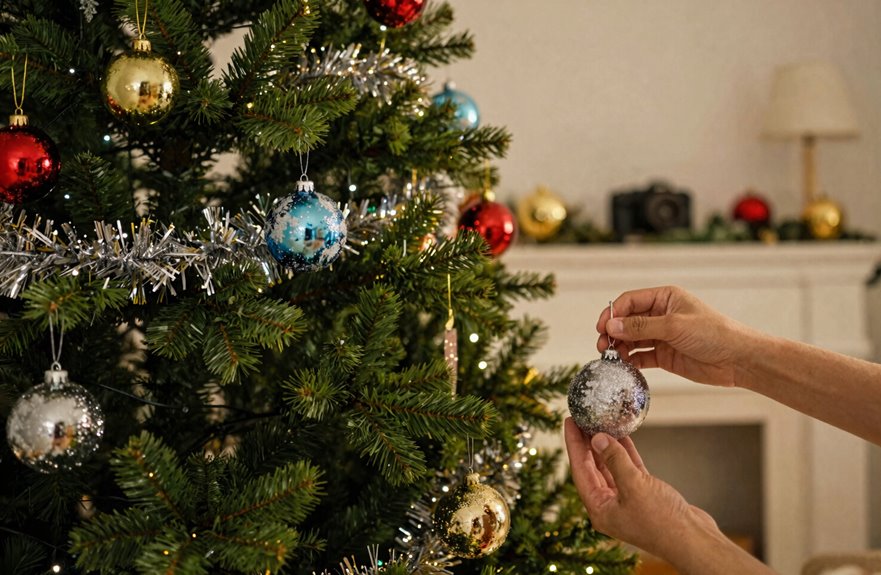
Where do I even begin? I always start by gathering my tools: ornament hooks, floral wire, pipe cleaners, zip ties, wire snips, scissors. This prevents scrambling later. Then I check my lights, plugging them in to catch any duds before they tangle in my branches.
Next comes the Fluff. I work from the inner branches outward, shaping each section until my Christmas tree stands full and straight from top to bottom. It’s tedious, but skipping this step results in a noticeably sparse appearance.
For decor planning, I build a mood board to lock in my theme and color palette. This guides every choice, from ornaments to the topper I’ll place slightly below the tip. That cohesion transforms scattered decorations into something that feels like home.

Berry Christmas Decorations: Gold berry stems decor includes 20 branch.

Complete Christmas Pearl Picks Pack: this 24 pack artificial pearl branches ornament set comes with 6 distinct elegant styles, sufficient pearl picks for winter holiday DIY crafts, Christmas tree trimming, gift wrapping and wreath making to meet all seasonal decor demands. The stem is fixed with wire; it is not a real branch.

66 Pcs Christmas Glitter Picks Set: This set includes 66 Christmas glitter picks in 6 assorted styles, including leaf stems, berry branches, pine sprays, curly twig picks, and decorative glitter branches; Style 1, 2, and 3 include 10 pieces each, while style 4, 5, and 6 include 12 pieces each, giving you enough pieces for tree decorating and holiday arrangements
Build Your Topper and Spiral the Garland Down
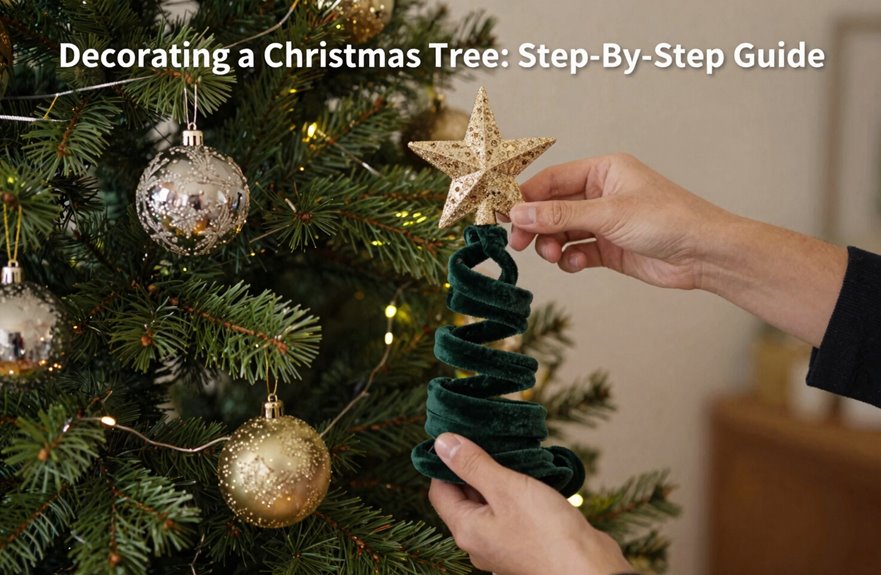
Three elements transform a tree from decorated to dazzling: a strong topper, flowing garland, and the patience to build them in layers. I nestle my topper slightly down from the tippy-top, never right on it, as that looks awkward. I anchor it with floral wire, burying the attachment deep into branches for seamless integration. Then I build in tiers: fuller picks below, shorter ones near the crown.
For garland, I start about one-fifth down, securing to my artificial tree with more floral wire. I spiral at an angle with two to three turns for a six-footer, three to four for taller trees. Layering creates depth and movement when I stagger placement, never overlapping. The cohesion produces visual interest and dimension through intentional structure.
| Layer | Action | Purpose |
|---|---|---|
| Base topper | Anchor with wire, bury attachment | Stability |
| First picks | Place below top | Foundation |
| Second picks | Add 3–4 shorter, fuller stems | Volume |
| Third picks | Crown with shortest picks | Finish |
| Garland | Spiral down, wire every turn | Flow |

Long enough: 38 Yard/ roll, a total of 114 yards/ 342 feet, green paddle wire 22 gauge is good for strengthening and protecting bunches of flowers and green plants. Suitable for crafts and projects

Berry wreath: artificial berry vine, red in color, excellent for DIY projects, home office decor, etc.

2 spools of green floral wire – 22 gauge, 55 yards per spool, 110 total yards. Center hole for storage or mounting. Side notch keeps wire end secure – no tangles, no mess
Anchor Large Ornaments at the Bottom
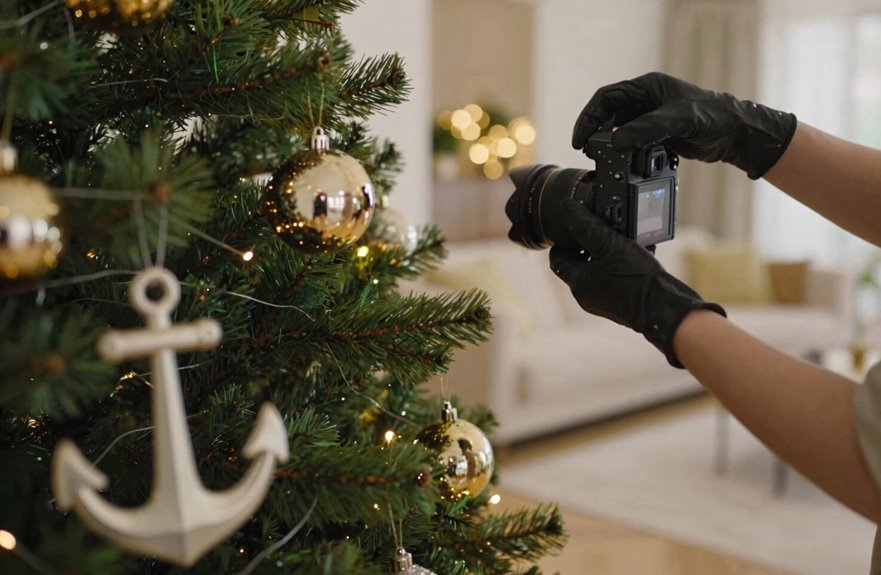
With the topper set and garland spiraling down, I’m ready to give this tree some real presence. I grab my largest ornaments, those oversized shatterproof balls from Michaels, and focus on bottom placement. This creates a grounded silhouette that won’t look like it’s about to tip over.
I use a triangle arrangement, spacing three big pieces around the lower third. No clustering allowed. For interior placement, I nest each ornament deep into the branches rather than letting them dangle like sad fruit. This adds depth and hides the hangers. Heavy pieces get floral wire for ornament security; last year I learned that lesson when my cat launched an assault. These anchor points guide everything that follows during tree layering.

Heavy-Duty Strength: Securely hang large and small ornaments with these 450 green hooks, each holding over 3 lbs without bending. Perfect for Christmas trees, wreaths, or garlands, their robust design ensures reliable support, preventing drops and damage during holiday decorating or storage.

INCLUDES: 50 Green Metal Ornament Hooks. It is a perfect amount for the Christmas decoration. It is a set of 50 pcs ½” Green Metal Ornament Hooks.

Adequate quantity: there are 100 pieces of Christmas transparent hooks in the package, every 10 pieces of Christmas wreath hangers are connected together, you need to manually disassemble them before use
Layer Ornaments and Fill From the Trunk Out
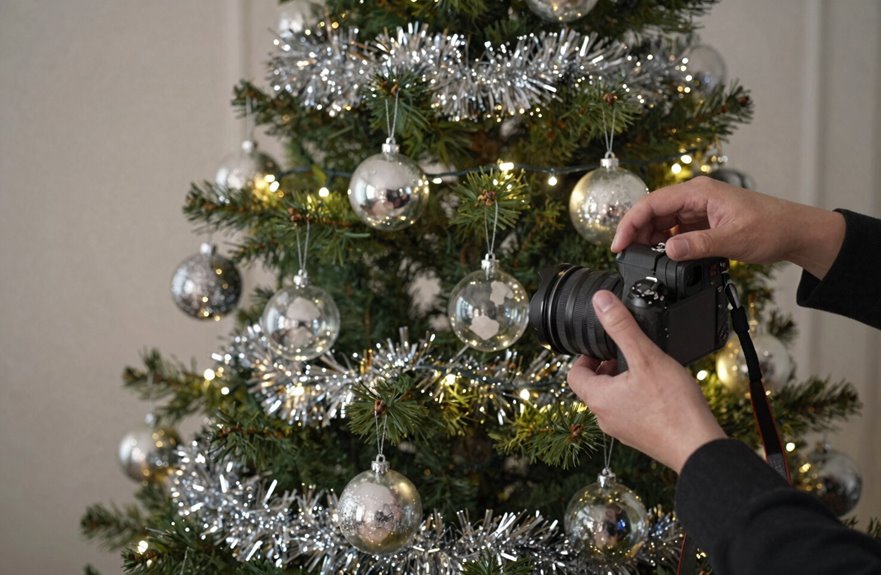
Someone has to be brave enough to reach deep into the tree first, and it might as well be you. I start my ornament placement by tucking large ornaments near the trunk with no hanger showing, just depth radiating outward in loose triangles. For a 6-foot tree, I’ll use two or three oversized pieces; nine feet gets three or four, staggered evenly.
I layer floral picks first, using three to five textures to build structure, then fill gaps with medium and small ornaments. Heavier ornaments get floral wire or pipe cleaners so they nestle inside branches rather than dangle. Interior filling creates that professional, glowing look.
| Layer | Placement | Purpose |
|---|---|---|
| Floral picks | Deep, radiating from trunk | Establish structure |
| Large ornaments | Near trunk, hidden hangers | Create depth |
| Medium ornaments | Mid-layers, filling gaps | Build balance |
| Small ornaments | Throughout, outer edges | Complete cohesion |
| Final check | Step back, adjust | Ensure even flow |
After interior filling, I add outer-layer ornaments, mixing sizes for balance and color flow that welcomes everyone home.

Christmas Ball Ornaments--Our oversized mercury Christmas ball ornaments are uniquely designed to make Christmas trees and house decorations more attractive under the lights. There are different color mercury balls to choose from to suit any theme of your holiday party, wedding, Christmas Tree and other decorations.

SHATTERPROOF LARGE CHRISTMAS ORNAMENTS -- These ornaments are less prone to breaking compared to traditional glass ornaments, making them pet and child-friendly.These Comes packed in a secure box, making this a perfect gift and easy to store for seasons to come.

【Environmental & Material】TThese Christmas tree balls are made of plastic,these shatterproof ornaments are durable,lightweight and safe compared with traditional glass products.these Christmas Balls Ornaments are safe around kids and pets.
Add Picks, Ribbon, and Finishing Touches
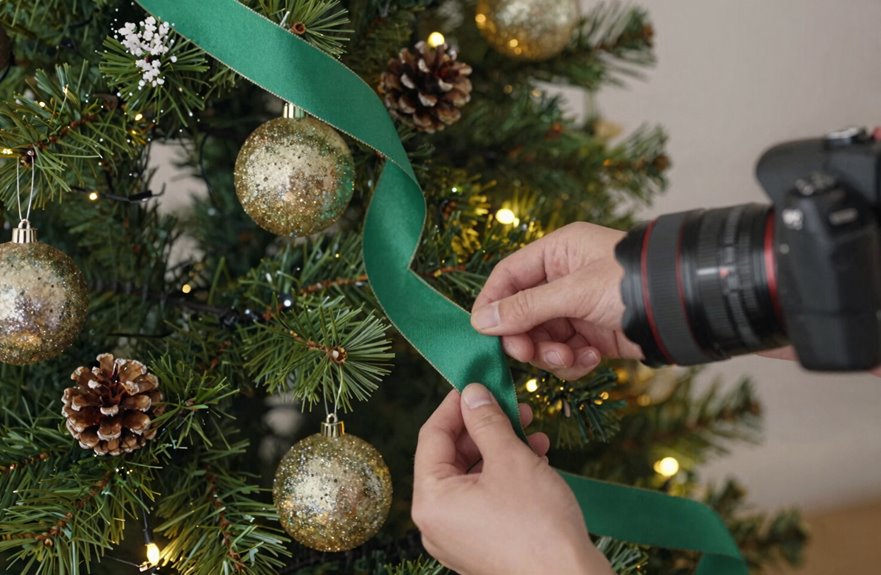
How do you know when the demanding work is done and it’s time for the fun part. I grab my picks and floral sprays, three to five textures, no need to overthink, and plunge the biggest ones straight down through the top. They’ll hold themselves, mostly. I gauge the space, then weave ribbon in loose loops, letting it dance between ornaments without hiding your favorites.
Next come clusters: three or four stems wrapped together, zigzagging down to build texture that pulls you in. Medium ornaments fill holes, balancing tree depth across every layer. Finally, I angle berry sprays and poinsettias outward, downward, covering gaps. These finishing touches add dimension, transforming flat to full. Step back, breathe. You’ve built something together; depth, warmth, and belonging. Your tree finally feels like home.

Holiday Crystal Garland: gold crystal Christmas garland adds a festive glow to your seasonal setup with alternating navette accents and round beads that catch holiday lights beautifully on a Christmas tree, mantel, staircase, or window frame

Made of high quality materials which suitable for all your decorating needs never tear or crinkle or unravel. High quality wired ribbon is easy to manipulate and held shape well, gave the bows a bit more "dimension".

THE PACKAGE INCLUDES: 2 rolls of Christmas theme wired ribbon in different designs, delicate styles that is quite suitable for crafts making and wrapping