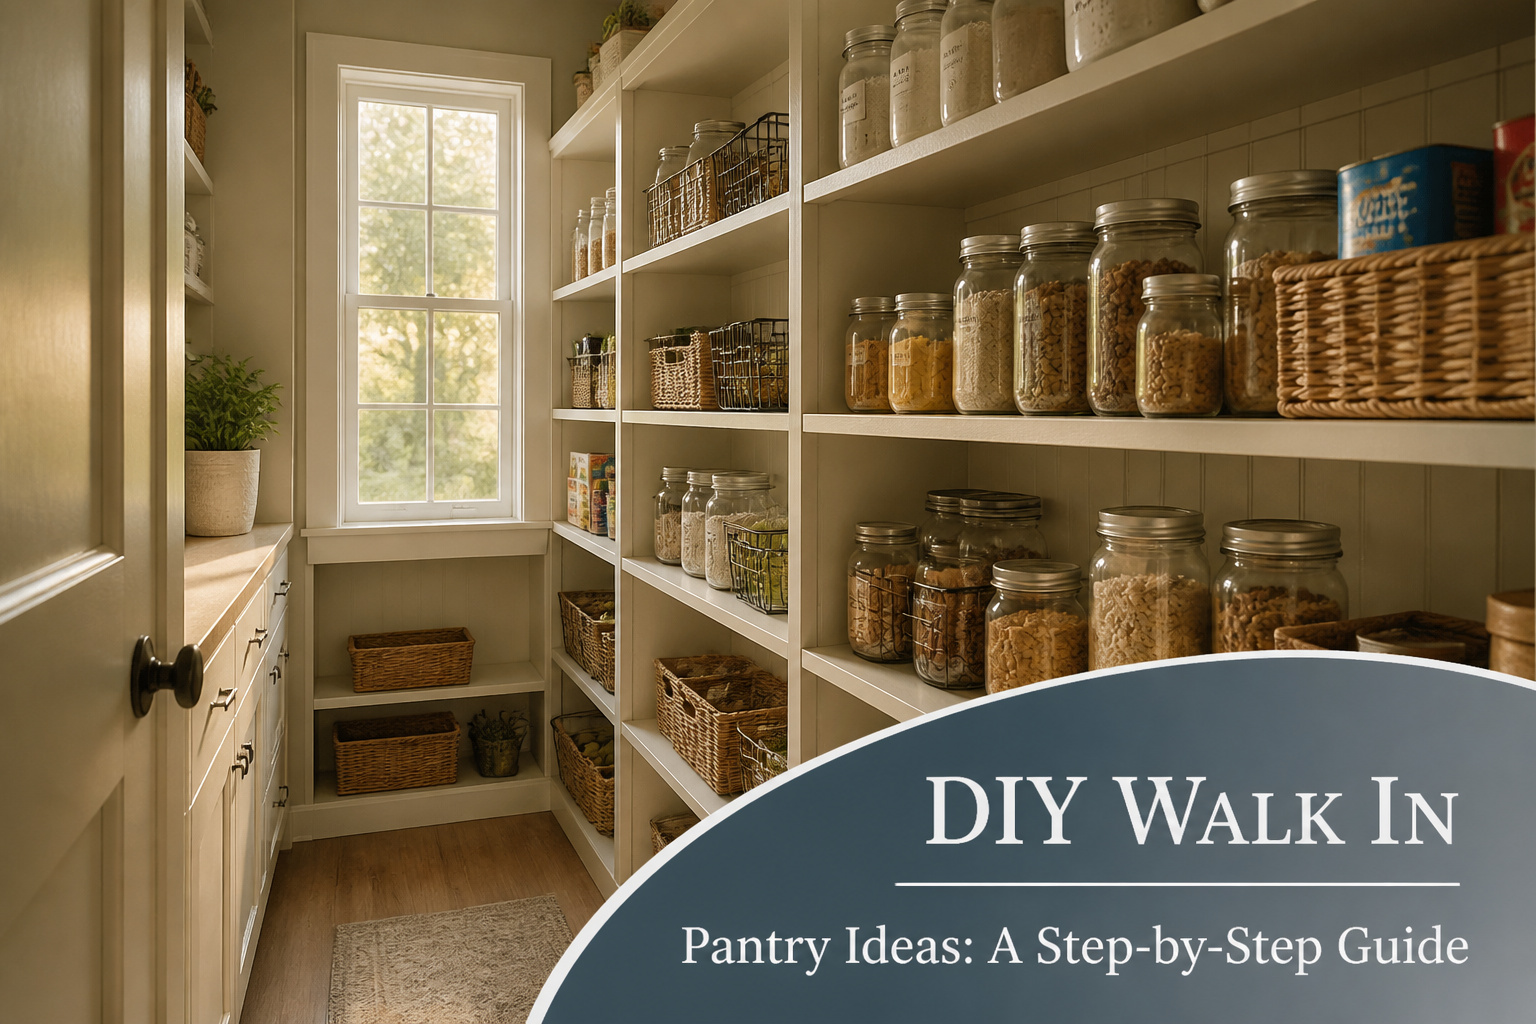
A walk-in pantry is a small room or closet off the kitchen dedicated to food storage and prep, built out with shelving, counters, and lighting rather than left as bare walls. The project only stays affordable if you settle your measurements before buying anything; a complete build came in at $650 because every shelf and panel was sized to stock 4′ x 8′ MDF beadboard and standard prefab cabinets, not custom cuts.
Planning the Layout
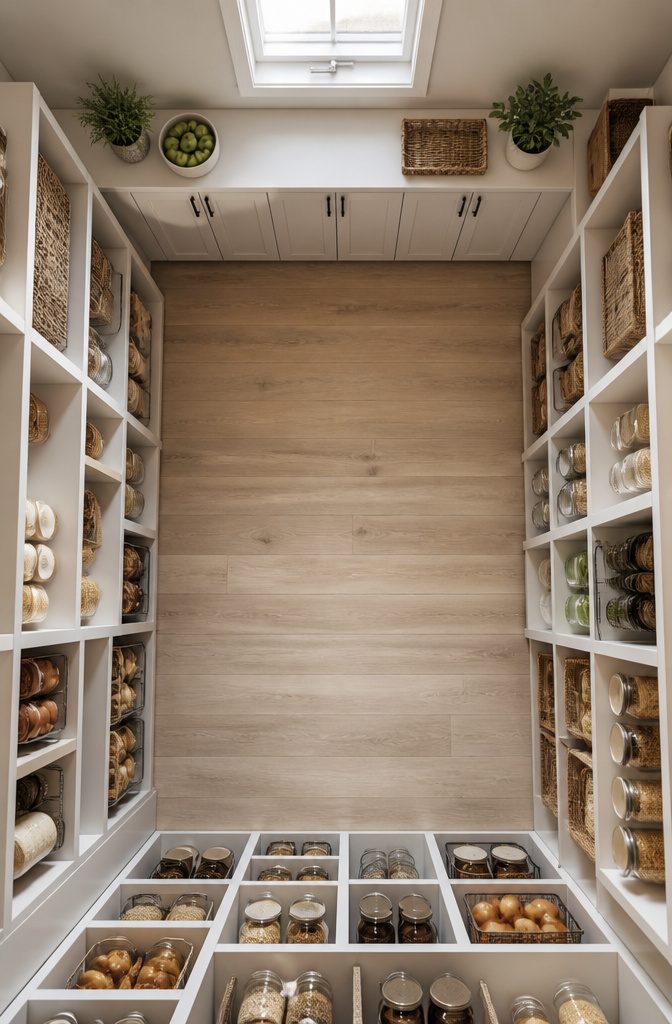
A walk-in pantry can work at almost any footprint, but the measurements you settle on before buying a single shelf or cabinet matter more than the total square footage. 24 inches is the standard depth for lower cabinets and countertops, and most designs build outward from there. If your space is tighter, trimming a few inches off the depth is entirely doable; the key is deciding early so every element that follows lines up.
Ceiling height shapes the vertical plan just as much as floor space. One build with 10-foot ceilings stacked an 80-inch IKEA pantry cabinet with a 20-inch wall cabinet above it, leaving a gap that could have been eliminated with a custom upper instead. That dead space is the kind of compromise you live with when you buy prefab before measuring the full height.
Width and length get adapted to whatever closet or corner you are working with. The same components, from the same sources, have been stretched and trimmed to fit pantries of completely different dimensions. What does not bend is the need to know your numbers before the first purchase. One complete project landed at $650 total, a figure that only held because the builder sized everything to stock materials rather than ordering custom cuts.
Wall Paneling
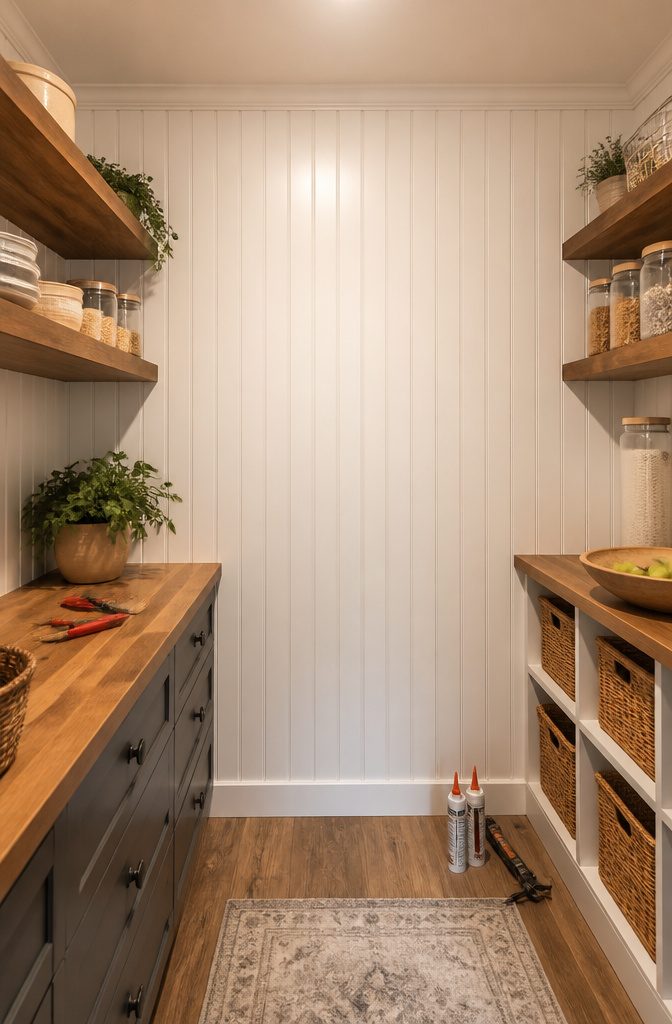
MDF beadboard panels turn a rough pantry wall into something that looks intentional, and the sheets from Lowe’s run about $20 each for a 4′ x 8′ surface. The material is lightweight enough to manage solo even at that size, though a circle saw or table saw makes the rip cuts far cleaner than freehanding it.
Because these panels are MDF, moisture is the weakness. A steamy bathroom will warp them, but primer and paint seal them well enough for pantry duty where the air stays dry. I would not chance them behind a sink or near a washer.
Installation goes faster with two adhesives working together. A few dabs of Liquid Nails across the back, spaced roughly every two feet, gives the panel something to sit on while you follow with brad nails every two feet along edges, corners, and a square pattern through the center. Hitting studs is ideal; if your walls are old solid barge board like the ones I read about, the nails bite anywhere.
Caulk is where the finished look actually happens. Every seam, every nail hole, every panel joint gets paintable caulk. The beadboard arrives primed, so once the caulk dries you can move straight to color. Sherwin-Williams Intimate White SW 6322 in Emerald Designer Edition is the shade that keeps showing up in these projects, a warm white that reads clean without feeling sterile against wood shelves and butcher block.
Building the Base
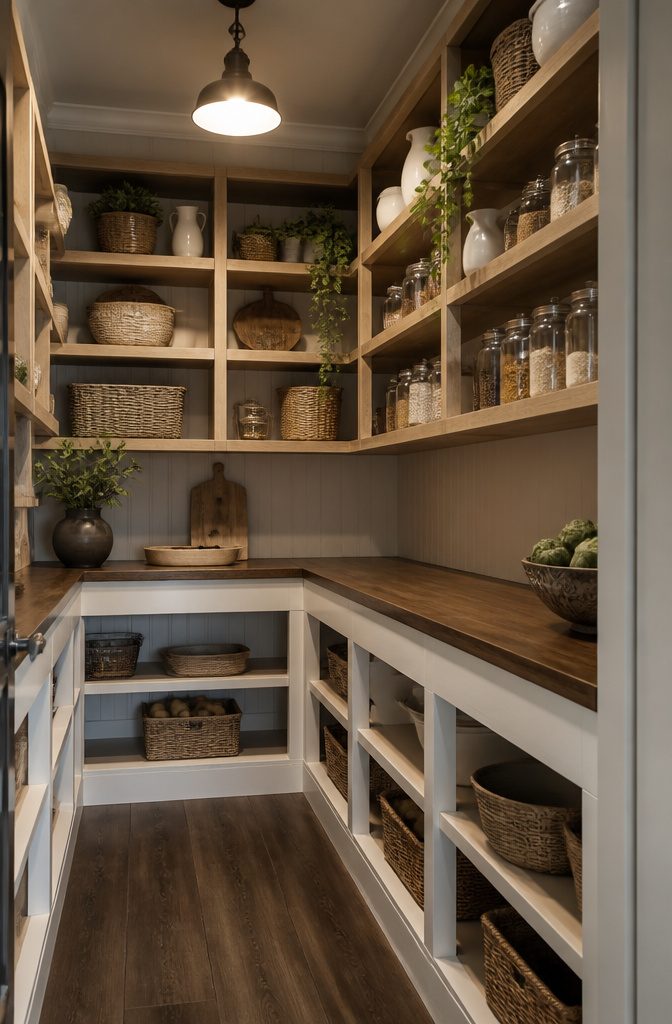
Most prefab cabinets sit 30 inches tall, which leaves the counter surface far below the comfortable working height of a standard kitchen counter. A 2×4 base frame solves this cleanly. The first board anchors flat to the wall at floor level, perpendicular pieces run out from each end and at the joints where cabinets meet, and a final board spans the front to lock the rectangle square. Screws through the wall-side 2×4 into studs carry the load; the rest of the frame simply lifts the cabinets to 36 inches finished height, the same as any kitchen run. Paint the frame before the cabinets go in, since gaps between units will expose it. The hardware that comes with the cabinets handles the rest, screwing through the cabinet backs into the wall and down into the base. Two days is realistic for the whole pantry build if this step stays measured rather than guessed.
Prefab Cabinets
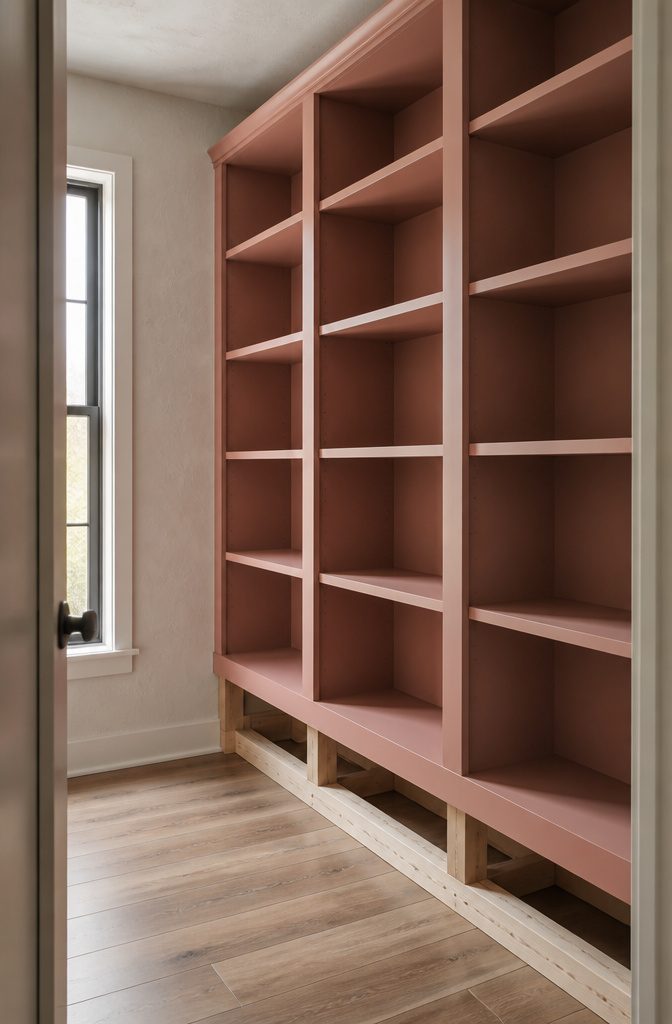
Prefab cabinets from a big-box store can look surprisingly custom once they are painted and locked in place. The trick is building a solid base first; most stock cabinets sit 30 inches tall, while a comfortable counter height lands closer to 36 inches. A rectangle of 2x4s screwed to the wall and across the front gives you that lift and a level surface to work from. Sherwin-Williams Roycroft Rose SW 0034 in Urethane Trim Enamel is the color that keeps coming up for this, warm enough to feel intentional and tough enough to shrug off the scuffs a pantry sees. Install hardware anchors the units to the wall and the base both, which matters more than people guess in a space where you will load and unload weight daily. Against custom-built, prefab saves hundreds and ships today; the trade is fixed widths that may leave you with a six-inch gap to solve. Paint and good hardware close most of that gap.
Butcher Block Countertop
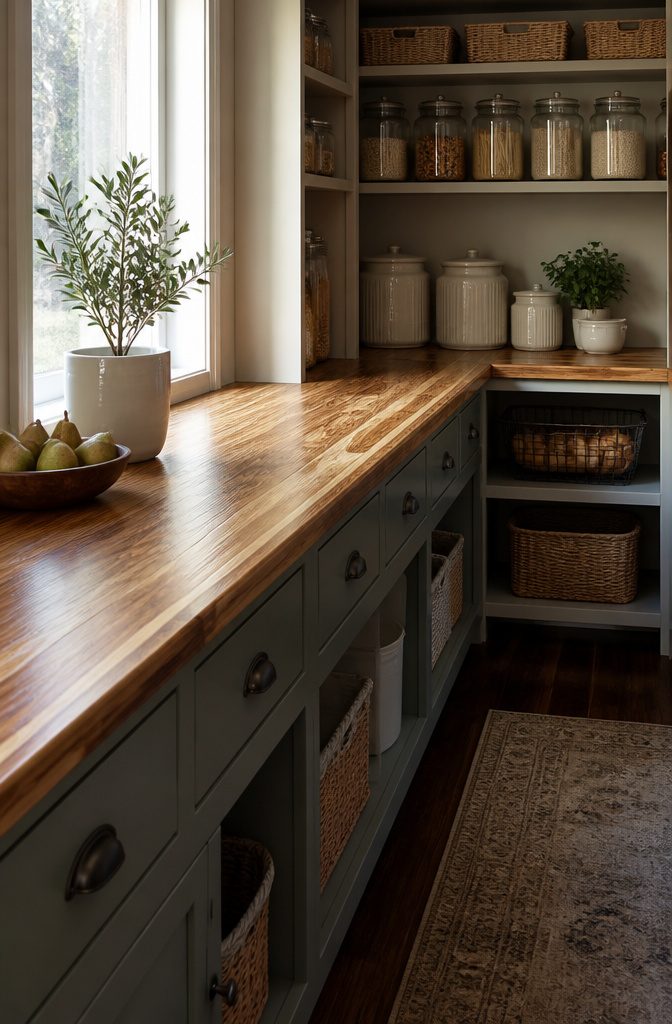
Ash wood gives a pantry workspace warmth that laminate never quite matches and stone would over-deliver for the price. The board for my own install was a single 12-inch depth cut to length from a local yard, about $170, and the grain looked better after a few coats of Howard’s Cutting Board Oil brought out the tone.
Securing it is the part no one details well. The method is straightforward: screw up from underneath the cabinetry so the fasteners stay hidden and the top stays unmarred. A solid wood slab this size is heavy enough that it does not shift once anchored, but the screws need to hit framing or a hardwood sub-top, not just the cabinet box.
Laminate would have run less and stone would have run far more, either of them with a colder surface for sorting jars or rolling dough. Ash sits in the middle on cost and wins on feel, which matters in a pantry you actually work in.
Custom Shelving
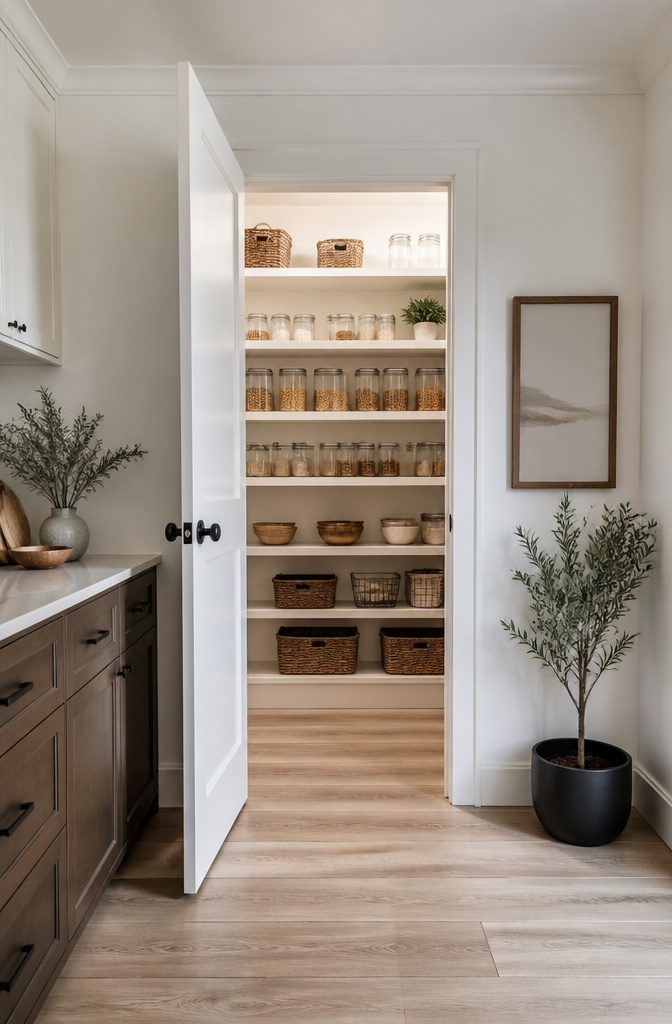
The spacing between shelves matters more than most people think when they start a pantry build. 15 inches from the floor to the first shelf gives you room for stock pots, bulk bins, and the tall appliances that otherwise colonize kitchen counters. Drop to 11 inches for the remaining shelves, and you end up with four more rows that fit standard cans, jars, and cereal boxes without wasting vertical air. That top shelf still sits about 36 inches below the ceiling, which is dead space for anything you need monthly, not daily.
I went with 1×10 select pine boards after weighing the usual suspects. MDF swells the second humidity hits it, which makes it a poor tenant in any room that holds onions and potatoes. Solid hardwood costs nearly double and dents almost as easily as pine under a loaded canister. Select pine sits in the middle: soft enough to cut cleanly with a circular saw, hard enough to hold a screw without stripping, and the grain takes paint without the blotching you fight with cheaper boards. I used it for both the shelves and the vertical columns, doubling two boards together to get that 1.5-inch thickness that feels substantial when you grab a shelf edge.
The finished look comes from capping those doubled columns with flat 1×2 trim. It hides the seam and gives the whole unit the built-in feel that prefab kits never quite match.
Corbels for Support
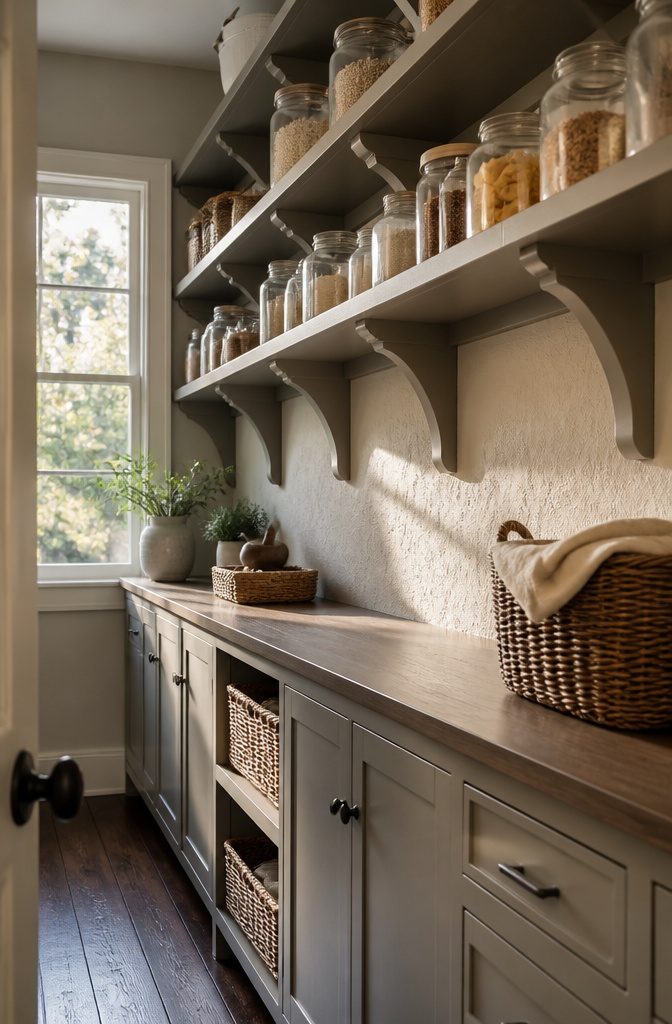
Corbels turn a basic shelf job into something that looks intentional. The angled brace does the actual work of carrying weight, especially on longer spans where boards start to sag under a load of cans or small appliances. What sold me was seeing how they hide the seam where the shelf meets the wall; that shadow line disappears behind the curve of the bracket, and the whole thing reads as furniture instead of lumber.
Installation is straightforward if you plan for it before the shelves go up. A corbel needs to hit studs or solid blocking, not drywall alone. I mark the height, pre-drill the wall side, then drive the first screws while the corbel is level. The shelf board sits on top and gets screwed down through the corbel’s upper plate. Paint-grade pine corbels run a few dollars each; hardwood or something with actual carving costs more but takes stain evenly if the pantry opens into a kitchen where the finish matters.
The one place they fail is when people size them too small. A six-inch corbel under a fourteen-inch shelf looks like an afterthought. Match the corbel depth to at least two-thirds of the shelf depth, and the proportions handle themselves. For vertical supports between shelves, you can face-mount corbels back-to-back or use a simpler L-bracket inside and save the decorative piece for the visible ends. Either way, the pantry stops looking like a closet with boards and starts looking like a room that was designed.
Lighting Solutions
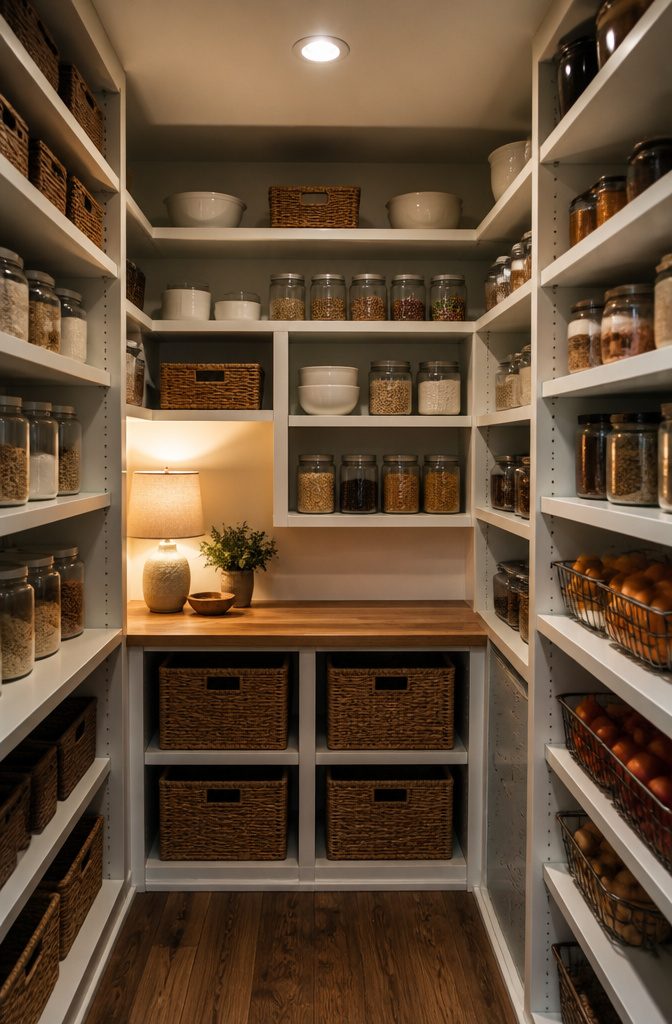
A pantry without light is just a closet you lose food in. I learned that the hard way after installing shelves in a windowless space and discovering that even mid-morning, the back corners turned into black holes where cans went to expire. One recessed can in the ceiling is the baseline most owners aim for, wired during framing before drywall closes you out. For renters, that electrical path is usually blocked, which is where a mini-lamp on the countertop saves the entire project. The Target options run cheap enough that you can swap styles when the mood shifts, and placement matters more than wattage: set it where your body won’t cast shadow on what you’re reading. Owners should think about switch location while walls are open. A pull-chain in a pantry is a small annoyance that compounds every single trip for pasta, and retrofitting it later means cutting finished drywall. Renters keep it simpler. A lamp travels with you, needs no permit, and lands you at the same functional result without the landlord conversation.
What This Costs
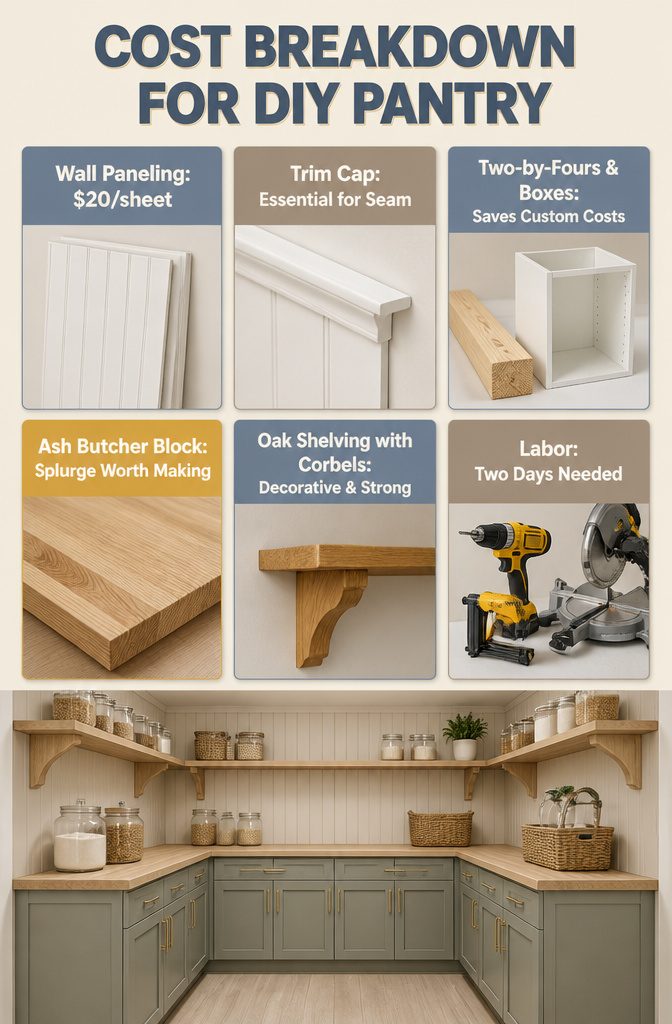
The $650 ceiling is where this project lives or dies, and every dollar has a job. Wall paneling from Lowe’s runs about $20 a sheet and eats up the first chunk; the 4-inch trim cap hiding the top seam is non-negotiable if you want the boards to look intentional rather than apologetic. Two-by-fours for the cabinet base, prefab boxes to sit on it, and urethane enamel paint to armor them against the scratches that pantry cabinets actually take: that sequence keeps you out of custom territory without looking like you gave up.
Ash butcher block and 1×10 oak shelving with Lowe’s corbels are where the money starts to hurt. The ash is the splurge that pays back. A softer wood in a pantry takes dings from cans and grain bins; hardwood survives the beatings you will give it before coffee on a Tuesday. The corbels look decorative and do real work, which is the best kind of pantry money.
Paint, caulk, primer, and the brad nails you will bend and replace: the small stuff still adds. Two days of labor assumes you already own the drill, miter saw, and brad nailer. If you do not, that $650 assumes you have a friend who does, or a rental counter nearby.
Tools That Matter
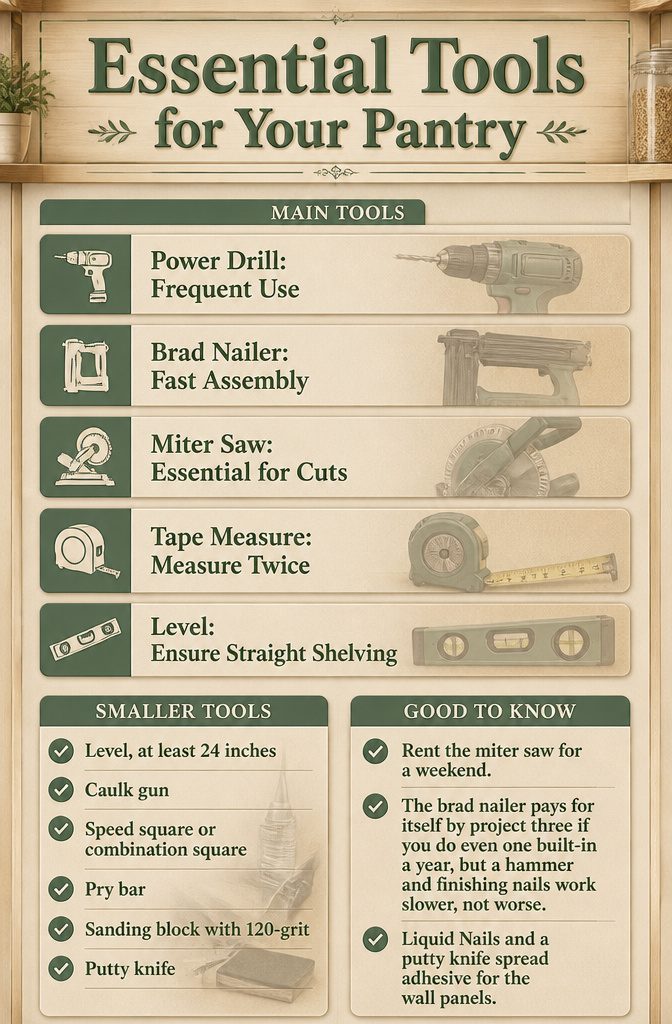
A power drill, brad nailer, and miter saw handle most of the cutting and fastening, though a jigsaw or circular saw comes in handy for the paneling if the miter saw’s crosscut capacity won’t reach. Borrow the miter saw if you can; the drill and nailer you’ll reach for ten times an hour once shelves go up.
Smaller tools that earn their keep:
- Tape measure and stud finder: every shelf run starts here, and guessing stud location costs you a redo
- Level, at least 24 inches: long runs of shelving show every drift
- Caulk gun: paintable caulk seals every seam and nail hole in the paneling
- Speed square or combination square: marking repeatable shelf bracket locations without thinking
Liquid Nails and a putty knife spread adhesive for the wall panels. A pry bar helps when the first panel goes up crooked and needs persuasion. Sanding block with 120-grit, not a power sander; the enamel paint on cabinets needs a scuff, not a strip.
Rent the miter saw for a weekend. The brad nailer pays for itself by project three if you do even one built-in a year, but a hammer and finishing nails work slower, not worse.
Materials Compared
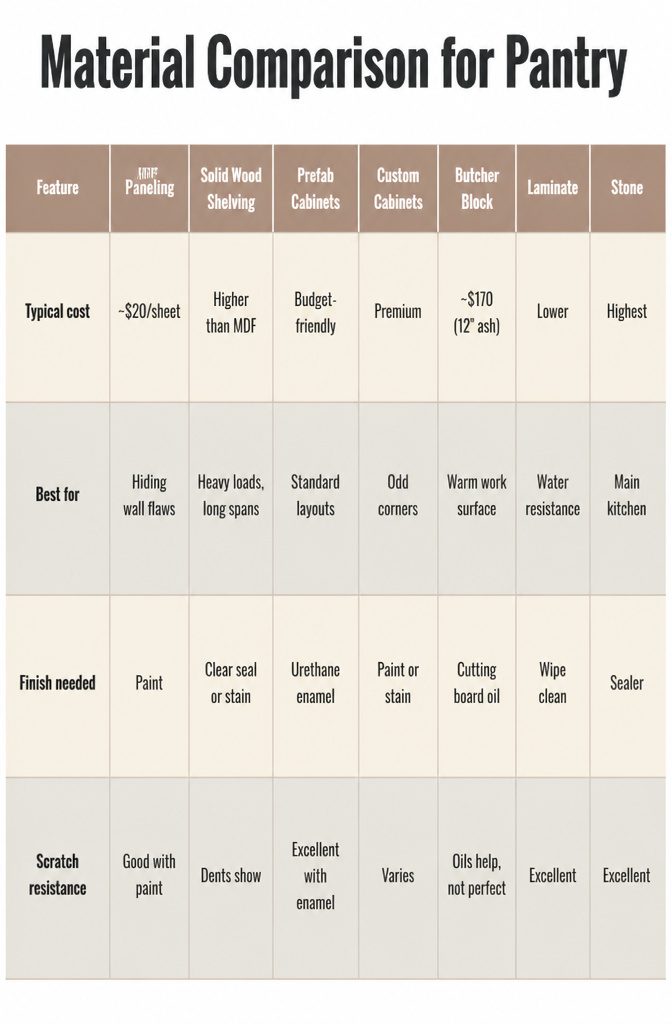
MDF paneling runs about $20 a sheet at the big-box stores and hides wall flaws as well as anything pricier. Solid wood shelves, like the 1×10 oak boards I kept seeing in builds that held up, cost more upfront but carry weight without sagging across a 30-inch span. Prefab cabinets keep a pantry project under a few hundred dollars and paint up fine with urethane enamel for scratch resistance. Custom builds only make sense if your corner is truly odd.
For the work surface, ash butcher block cut to length ran one builder about $170 for a 12-inch depth and took Howard’s Cutting Board Oil well. Laminate costs less and shrugs off water. Stone belongs in the main kitchen; in a pantry it eats budget that could go to better shelving.
| Feature | MDF Paneling | Solid Wood Shelving | Prefab Cabinets | Custom Cabinets | Butcher Block | Laminate | Stone |
|---|---|---|---|---|---|---|---|
| Typical cost | ~$20/sheet | Higher than MDF | Budget-friendly | Premium | ~$170 (12" ash) | Lower | Highest |
| Best for | Hiding wall flaws | Heavy loads, long spans | Standard layouts | Odd corners | Warm work surface | Water resistance | Main kitchen |
| Finish needed | Paint | Clear seal or stain | Urethane enamel | Paint or stain | Cutting board oil | Wipe clean | Sealer |
| Scratch resistance | Good with paint | Dents show | Excellent with enamel | Varies | Oils help, not perfect | Excellent | Excellent |
Frequently Asked Questions
What materials do I need for a DIY walk in pantry?
You will need MDF beadboard panels for walls, 2×4 lumber for the cabinet base, prefab cabinets, ash butcher block for the countertop, 1×10 select pine boards for shelving, and paint-grade corbels for support. Fasteners include Liquid Nails, brad nails, wood screws, and paintable caulk. Budget around $650 total if you size everything to stock materials.
How do I install shelves in my pantry?
Mount corbels to studs or solid blocking first, not drywall alone, then set the shelf board on top and screw down through the corbel’s upper plate. For vertical supports between shelves, you can face-mount corbels back-to-back or use an L-bracket inside. Match the corbel depth to at least two-thirds of the shelf depth so the proportions look right.
What is the best way to light a pantry?
One recessed can in the ceiling is the baseline for owners, wired before drywall goes up. If you cannot run electrical, a mini-lamp on the countertop works well; place it where your body will not cast a shadow on what you are reading. Avoid pull-chain switches, since retrofitting them later means cutting finished drywall.