A thoughtful gift basket runs $25 to $50 and takes an hour or two to arrange, wrap and finish.
Most builders either cram everything in at the same height so nothing stands out, or they skip the step that keeps items from sliding around in transit.
The difference comes down to layering and whether you anchor things before you wrap. Shredded paper lifts items to different heights, and glue dots or skewers lock them in place so the arrangement survives being handed off.
1. Choose a Theme and Plan Around the Recipient
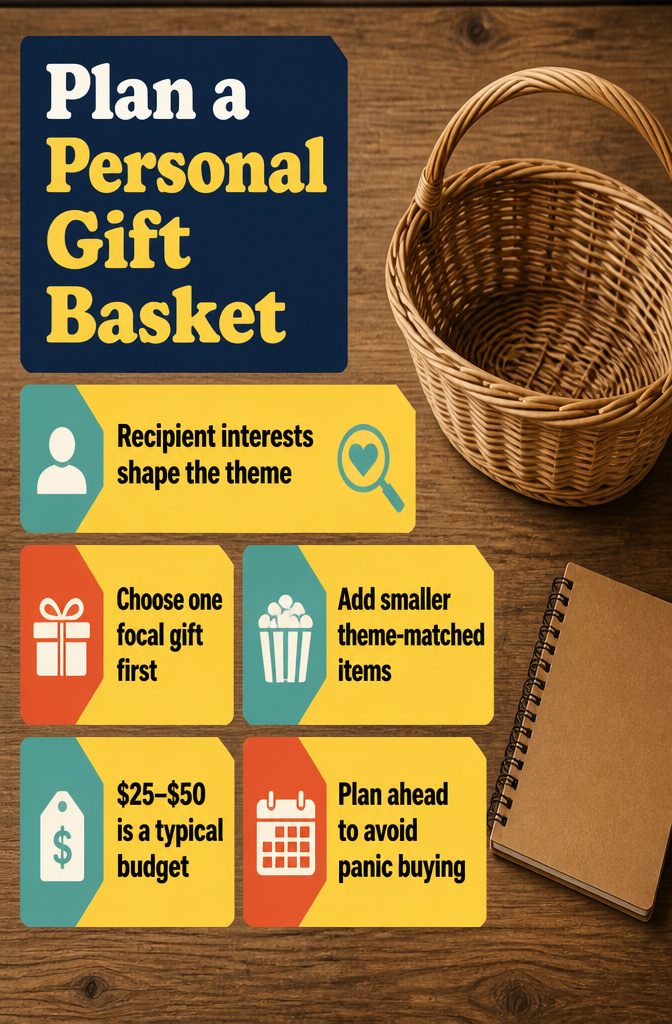
The recipient’s interests decide which items go in and whether the basket feels personal or generic.
Start by thinking about hobbies, favorite things, or the reason you’re giving it — a birthday basket looks different from a "get well soon" one, and someone who loves gardening wants different contents than someone who spends weekends grilling.
I recommend picking a focal gift first, then filling around it with smaller items that connect to the same idea.
A movie-night basket might center on a streaming gift card, then add popcorn and candy; a spa basket starts with bath salts or a good face mask.
Setting a budget before you shop keeps the project from spiraling.
A memorable gift basket typically runs $25 to $50, and planning ahead gives you time to find thoughtful pieces instead of panic-buying at the last minute. The theme makes decisions easier once it’s set, because you know what fits and what doesn’t.
2. Pick a Container That Matches the Theme
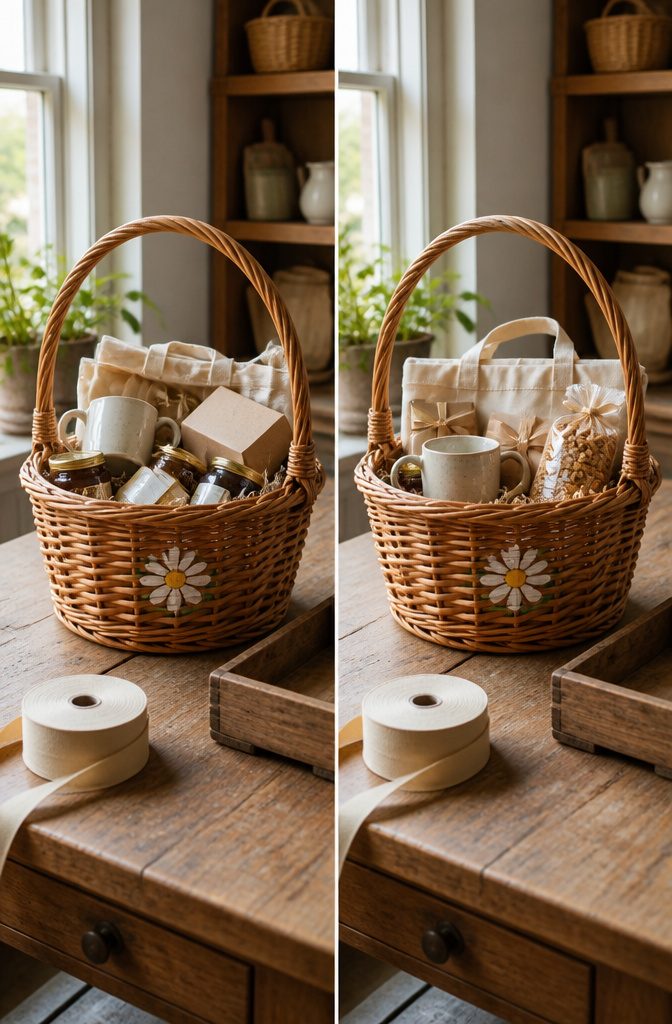
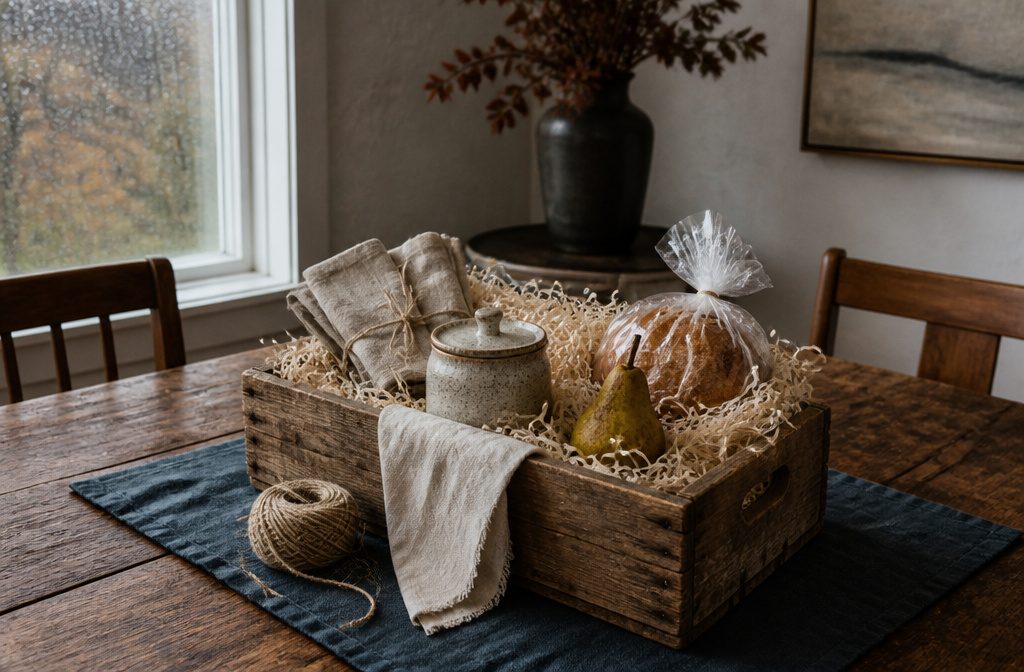
The container sets the stage before anyone sees what’s inside. A wicker basket stays classic, a wooden crate adds texture, and a metal tin can land somewhere between polished and practical.
Decorative boxes work when the gift leans formal. I look for reusable options first, because a stylish tote bag or a bucket the recipient can keep feels more generous than something destined for storage.
Size matters more than shape. The container needs to hold everything comfortably without looking cramped or so roomy that items slide around.
Check that your largest piece fits and that smaller items can nest beside it without toppling. If you’re shipping the basket, measure the box you plan to mail it in before you commit to an oversized base.
Match the container to the theme when you can.
A painted basket suits something bright and cheerful, a canvas bag fits eco-friendly gifts, and a crate brings rustic or homemade themes together. The base should feel like part of the gift, not just the thing holding it.
3. Select the Contents and Filler
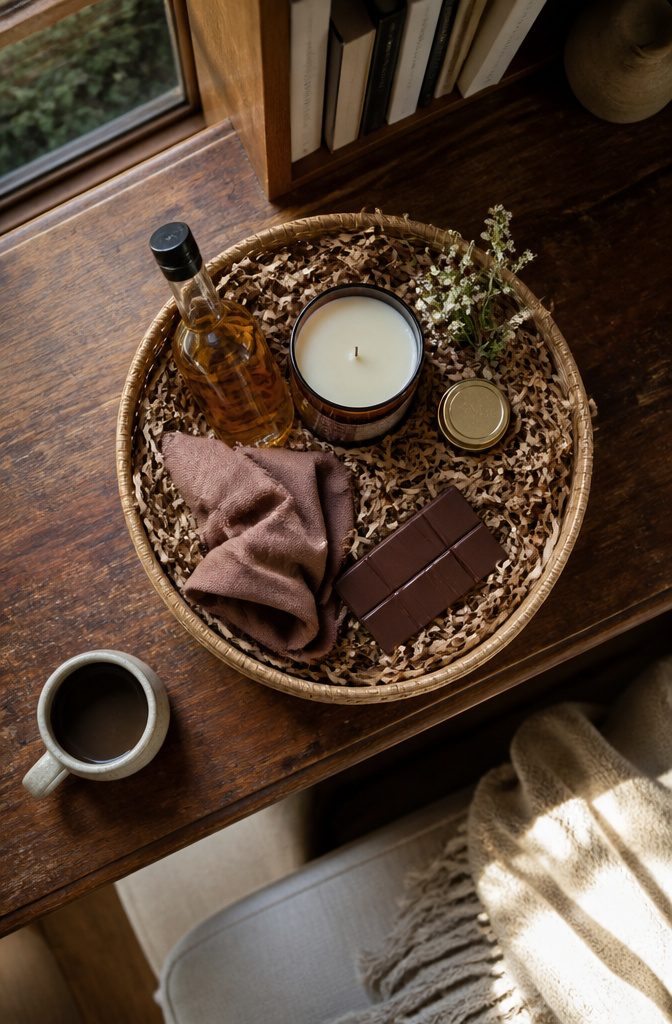
Start with one focal item or a clear theme, then add four to eleven more pieces that support it.
The focal item might be a bottle of wine, a hand-knit scarf, or a specialty candle; everything else circles back to that anchor.
If you’re building a spa basket, the theme holds even without a single dominant piece—chamomile tea, a mug, an adult coloring book, and lotion bars all point the same direction.
Vary the size and texture of what goes in. A basket with five same-sized jars reads flat; mixing a tall bottle, a small tin, a soft scarf, and a flat chocolate bar gives the eye somewhere to move.
I look for at least one edible item, one the recipient can keep, and one that makes the whole thing look finished—a ribbon-wrapped candle or a bar of handmade soap does that work.
Filler matters more than it looks like it should.
Shredded paper from the dollar store cushions the contents and lifts them so they sit at different heights, but vase filler or a galvanized container the recipient can reuse later turns packing material into part of the gift.
4. Build the Base and Arrange the Items
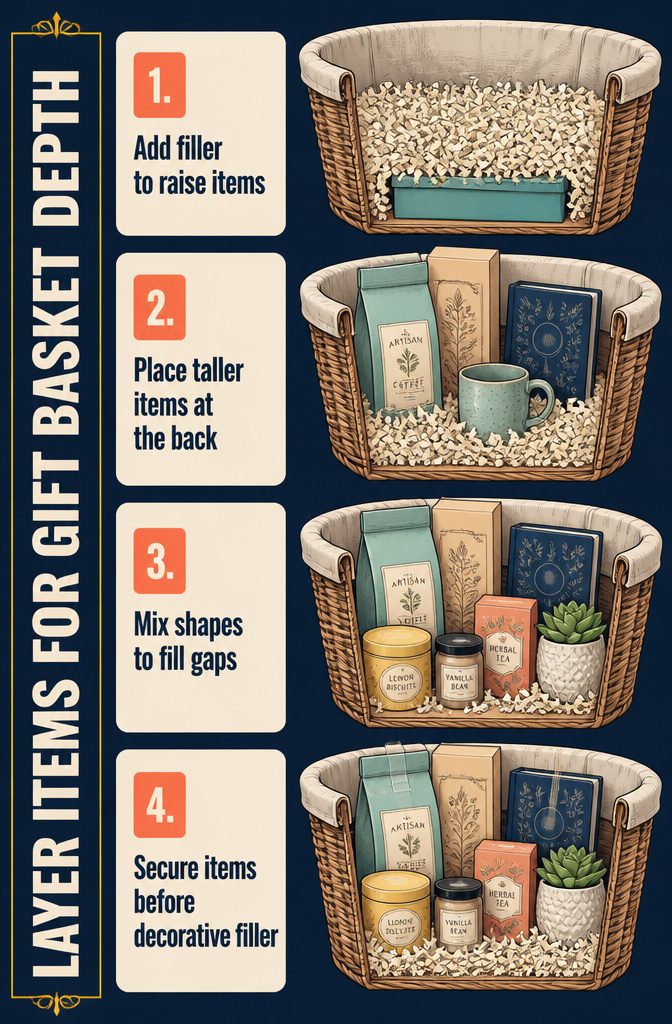
- Add filler to raise items and create depth. Crinkle paper, shredded tissue, or basket grass gives you a padded base that holds things upright. If the container is deep, use a small box underneath to bring items closer to the rim. I’ve used empty product boxes this way when the original packaging fits the theme, which saves the recipient storage space later. For glass jars or mugs, tuck a little filler inside so they don’t look hollow.
- Place taller items at the back. This is where you set the largest piece as a backdrop. Work forward from there with mid-height items in the middle layer and the smallest ones at the front edge. Flare things outward rather than lining them up in rows so everything is visible at a glance.
The best baskets are all about height and layering. Start with the largest item and use it as a backdrop.
That approach keeps every item visible without looking cluttered.
- Mix shapes and sizes to fill gaps. A basket with uniform items reads flat. Vary the proportions so you can tuck a small item between two larger ones, and add an extra lightweight piece if a corner looks bare. The contrast holds the eye better than matching everything.
- Secure items before adding decorative filler. Glue dots, skewers, or clear tape keep flimsy packages from sliding when the basket moves. I anchor things first, then fill the remaining spaces with shred so nothing shifts in transit and the arrangement survives being handed off.
5. Secure the Arrangement and Add Finishing Details
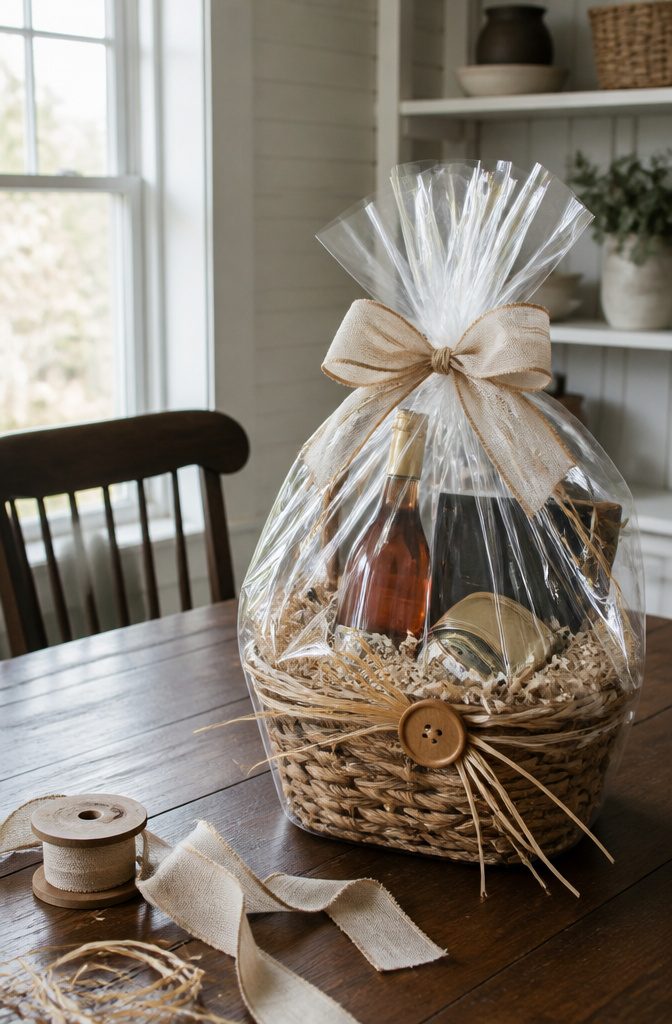
Once everything sits where you want it, the last step before wrapping is making sure it stays that way.
Use tape, glue dots, or skewers to stick items to the sides of the basket and to each other so nothing shifts during transport.
I anchor larger items first, then secure smaller ones against them. If you’re adding lightweight fillers like shredded paper or tissue around the arrangement, tuck those in after the main pieces are locked down.
After wrapping, tie a ribbon or bow around the gathered cellophane at the top. A handwritten note makes the gift feel more personal, and if the basket follows a theme, the note is a good place to explain it.
Tags, small ornaments, or other decorations that match your theme work well here too. On a rustic basket, I’ve seen raffia and a large wood button replace the bow entirely, which keeps the look grounded instead of fussy.
6. Wrap the Basket
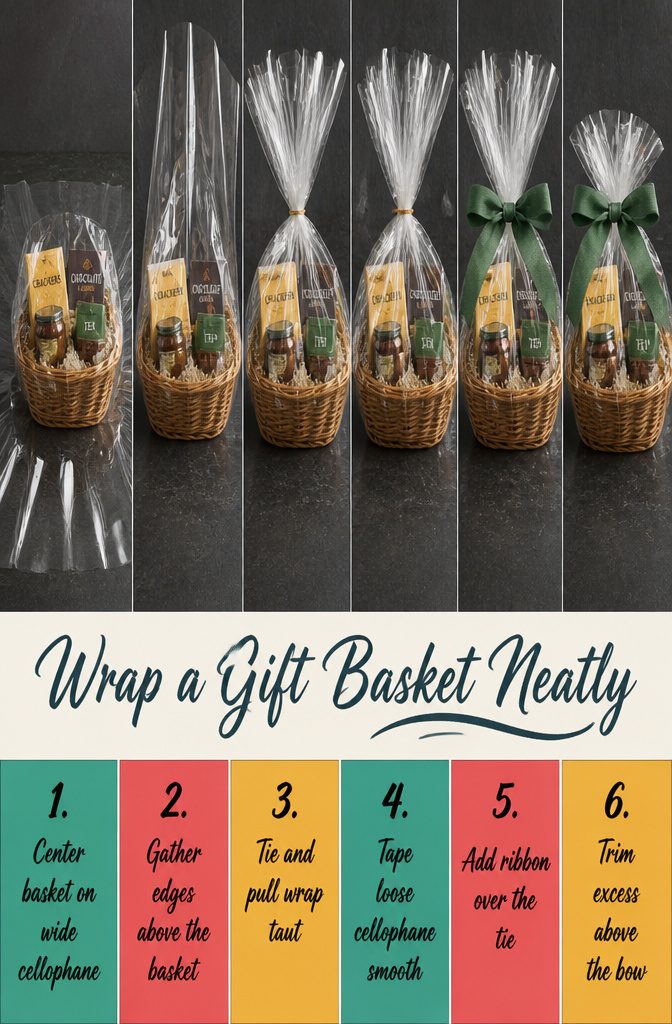
- Center the basket on a large sheet of clear cellophane. The cellophane should be at least 30 inches wide, with 6–8 inches extending above the top of the basket once gathered.
- Lift the cellophane from the front and back, gathering all edges at the top of the basket.
- Secure the gathered cellophane with a twist-tie, then give the cellophane a tug to pull it taut against the contents.
- Tape down any loose cellophane with clear tape so the wrap sits smooth and finished.
- Add a decorative ribbon or bow over the twist-tie. A 2-inch fabric ribbon reads more polished than paper bows.
- Trim the tips of the cellophane if they extend too far above the bow, though this step is optional depending on the look you want.
Not everyone wraps. Some builders prefer a lid or reusable fabric instead, especially if the basket itself is part of the gift and cellophane would hide the detail.
Tulle works as an alternative to cellophane and comes in more colors, though it’s less common for food baskets where visibility matters.
Containers That Double as Part of the Gift
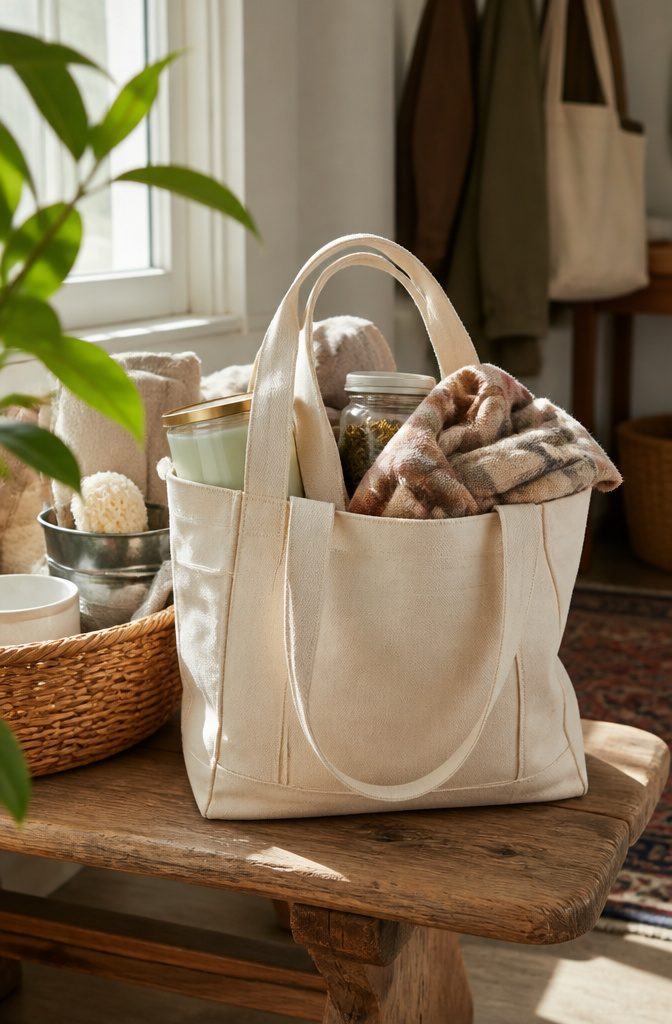
The container can be part of the gift instead of throwaway packaging. A mixing bowl, a sand bucket, a tote bag or a small laundry basket all hold the items you’re arranging and stay useful after everything inside is unwrapped.
I’ve seen embroidered straw baskets under $10 used this way, and they work especially well when the gift goes to someone whose style you know.
A lantern at the dollar store might run $5 and double as décor once the candles and tea inside are gone.
Think about what fits the person and the contents:
- Wicker basket — classic, sturdy, works for almost any theme
- Metal or plastic bucket — good for garden supplies, outdoor kits, cleaning bundles
- Crockpot or mixing bowl — practical for a cooking or baking gift
- Sand bucket — bright, fun, sized right for a child’s summer birthday
- Clear tumbler or mason jar — compact option for smaller items, cosmetics, office supplies
- Cloth basket or tote bag — folds flat after use, easy to personalize
Match the size to what you’re putting in and make sure it travels well. A flimsy container tips over or collapses, and that ruins the presentation before the recipient ever sees it.
Theme and Basket Ideas
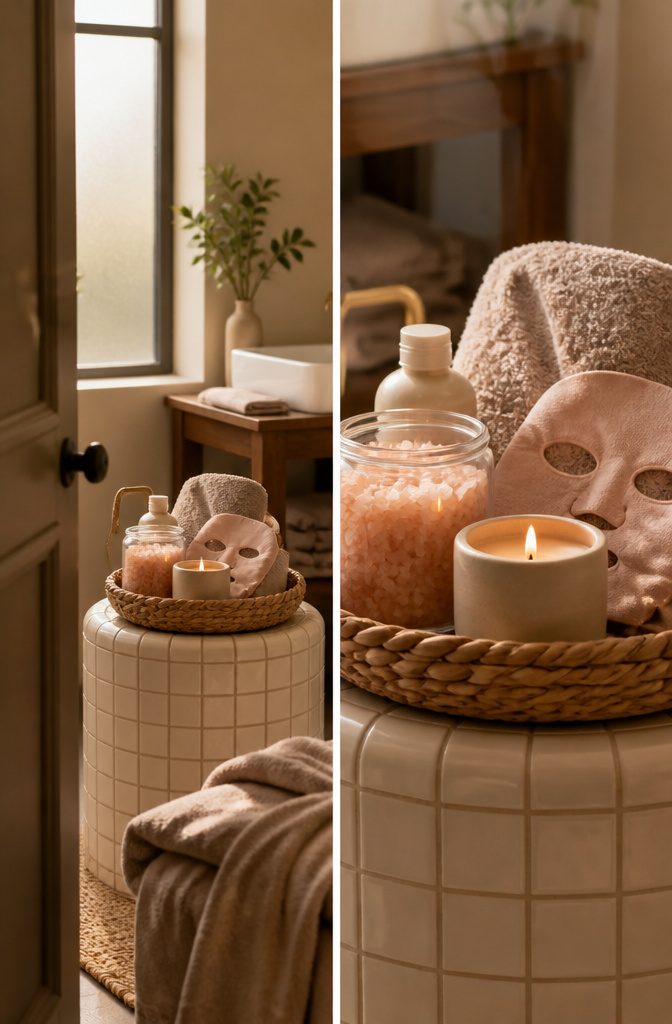
A theme makes the basket easier to build and faster to read when someone unwraps it.
Pick something tied to what the recipient already enjoys or needs: a spa basket with bath salts, a candle, and a face mask, a new-home set with kitchen tools and dish towels, or a book-lover collection with novels, bookmarks, and a reading light.
Food and wine baskets pull together quickly if you stick to one region or flavor profile, like an Italian gourmet basket with olive oil, pasta, and balsamic vinegar.
Hobby- and occasion-based themes give you direction without overthinking it:
- Self-care basket with body lotion, tea, and slippers
- Teacher appreciation with stationery, coffee, and a gift card
- Gardening basket with seed packets, gloves, and hand tools
- College student survival kit with snacks, energy drinks, and study supplies
- Bereavement or sympathy basket with comfort items like blankets, soup mixes, and a journal
The format is flexible: sources list more than 65 theme ideas between them. Match the container and contents to one clear thread instead of mixing signals.
Frequently Asked Questions
Do gift baskets make good gifts?
Yes, they work for birthdays, holidays, housewarmings, sympathy, and many other occasions. A theme makes the basket feel personal rather than generic.
How much should I spend on a homemade gift basket?
A memorable gift basket typically runs $25 to $50. Set your budget before shopping so you have time to find thoughtful pieces instead of panic-buying.
What should I put in a gift basket?
Start with one focal item or a clear theme, then add 4 to 11 pieces that support it. Vary the size and texture so the basket doesn’t read flat.
What can I wrap a gift basket in if I don’t have cellophane?
Wrapping paper, newspaper, brown paper, tulle, fabric scraps, scarves, or tablecloths all work. Tulle comes in more colors but is less common for food baskets where visibility matters.
How can you display gift cards or money in a gift basket?
Put them in an envelope with your card, tape or glue them to the largest item, or create a garland with ribbon or string for multiple cards. The envelope is the easiest option.
How to make a gift basket look more expensive?
Use a reusable container like a tote bag or embroidered basket that feels generous after the contents are gone.
Vary the size and texture of items so the eye has somewhere to move, and add at least one item the recipient can keep.
What makes a perfect gift basket?
A clear theme and thoughtful items the recipient will enjoy. The container should match the theme, contents should sit at different heights, and every piece should be visible at a glance.
How to elevate things in a gift basket?
Add filler like crinkle paper, shredded tissue, or basket grass to raise items and create depth. Use a small box underneath if the container is deep, bringing items closer to the rim.