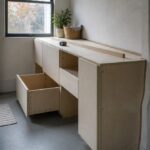
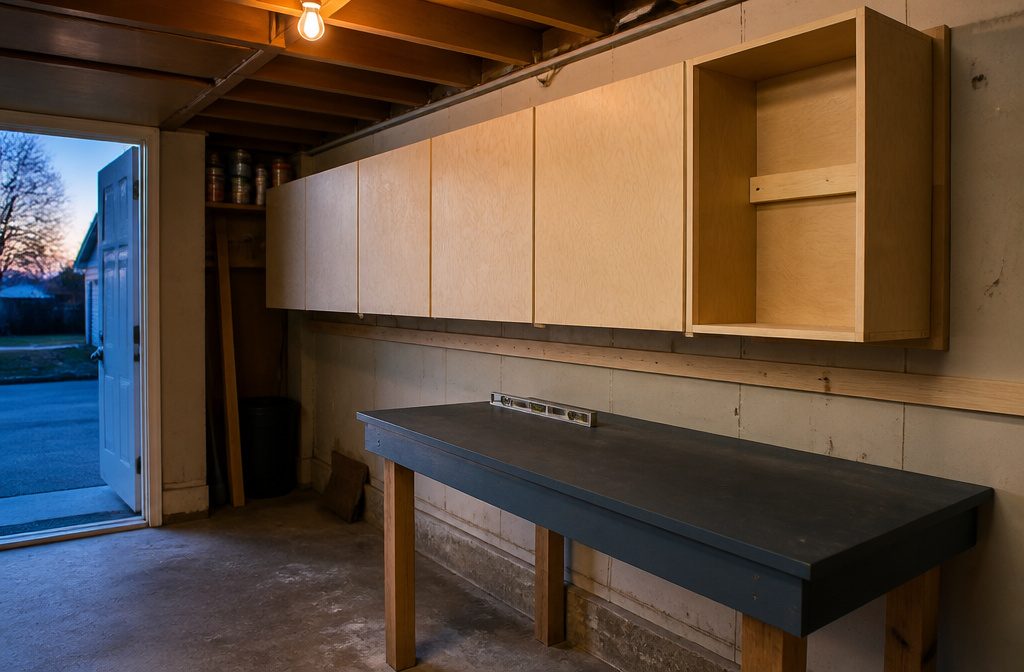
A full run of plywood garage cabinets costs $300–$500 in materials and takes a weekend if you own a drill and circular saw.
Most projects fail at the mounting stage because garage walls bow, studs sit off-center, and a cabinet that looks square on the bench ends up tilted once it’s screwed to drywall.
The fix is a temporary cleat fastened level to the studs: it holds each box in position while you drive screws through the back rails, which leaves both hands free and keeps the run straight even when the wall is not.
1. Assess the Space and Plan the Layout
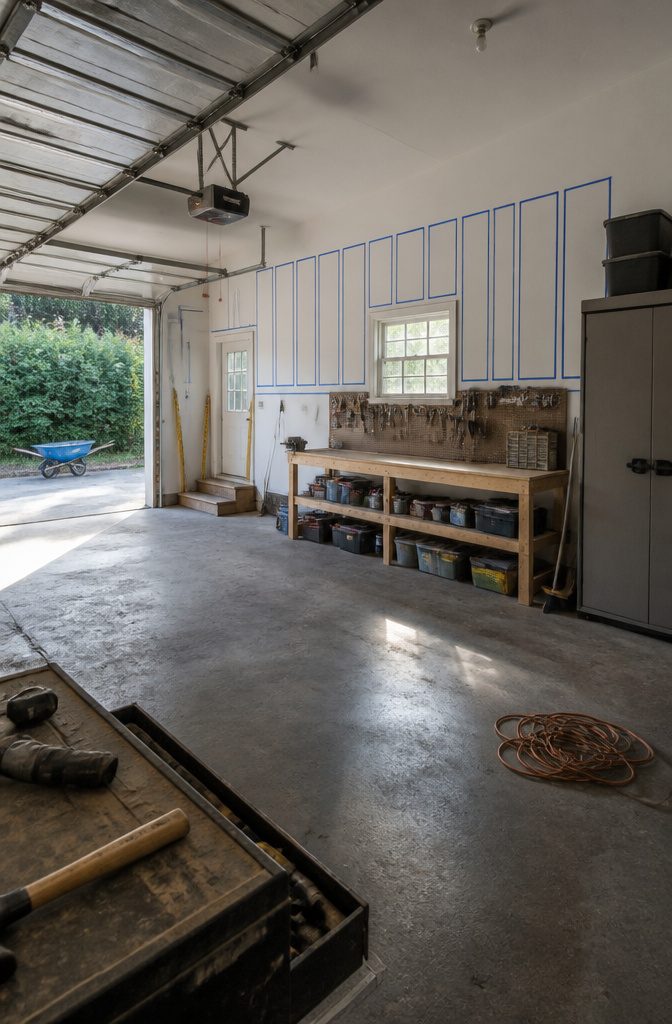
The first decision is where the cabinets can actually go, and that starts with measuring the wall space from corner to corner and noting where windows, doors, outlets and existing storage sit.
A nine-foot ceiling opens the option for tall upper cabinets around 50 inches high, which leaves clearance below for a workbench and pegboard without wasting vertical storage.
I measure height at several points along the wall, because garage floors and ceilings are rarely level and a cabinet run that looks straight on paper can end up tilted if the reference points vary by more than half an inch.
My main concern is that the doors will not work if the front of the cabinets are not straight and level. Interior walls are usually not even close to being straight.
That concern matters most for built-ins, where the cabinet face follows the wall line. Freestanding boxes tolerate an uneven wall better because you shim the back and keep the front plumb.
Sketching the layout on graph paper helps identify how much storage fits without blocking access to frequently used tools or forcing you to move one thing to reach another.
2. Choose and Cut Materials
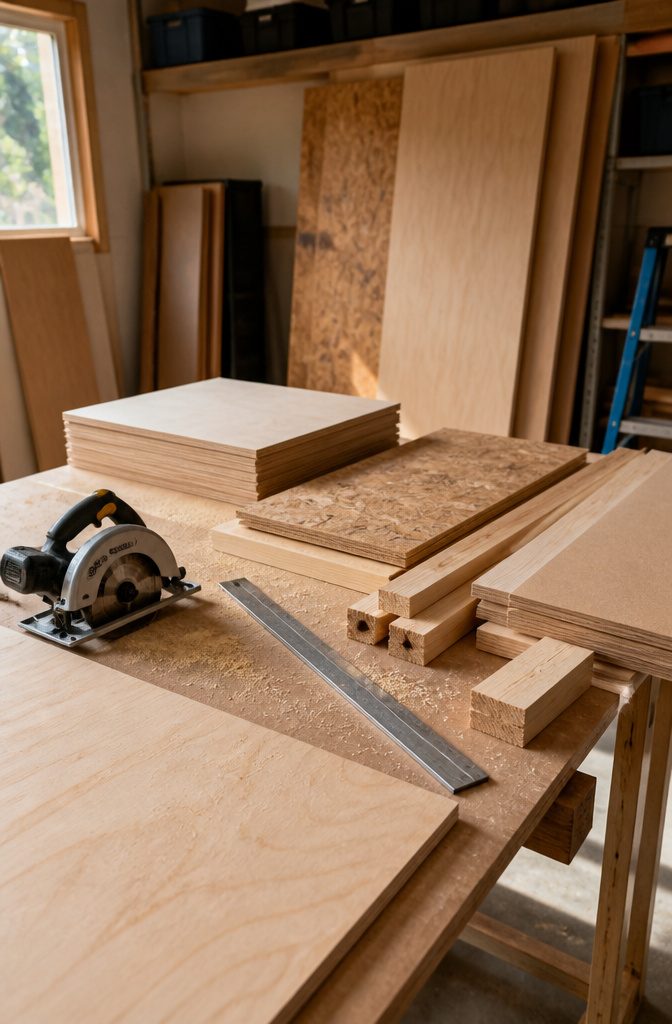
Flat, stable plywood is the standard choice for garage cabinets because it holds fasteners cleanly and keeps shelves from sagging under load.
I use 3/4-inch birch plywood for the cabinet box — the top, bottom, and sides — because it stays flat and finishes well. Quality birch plywood runs $50–$75 per sheet, which adds up fast if you’re building several cabinets.
OSB drops that cost to $10–$15 per sheet, and while it won’t look as clean, it’s a workable option if you’re prioritizing function over appearance. Use construction adhesive with OSB to reinforce the joints.
If you don’t have a table saw, a hardware store can rip the plywood sheets to width for you. You’ll still need to make cross cuts at home with a miter saw or circular saw.
Once the box dimensions are final, cut the frame pieces, shelves, and door stock from the same plywood. For door covers and side panels, 1/4-inch hardboard is lighter and cheaper than plywood but still hides mismatched finishes or gaps.
3. Drill Shelf-Pin and Pocket Holes
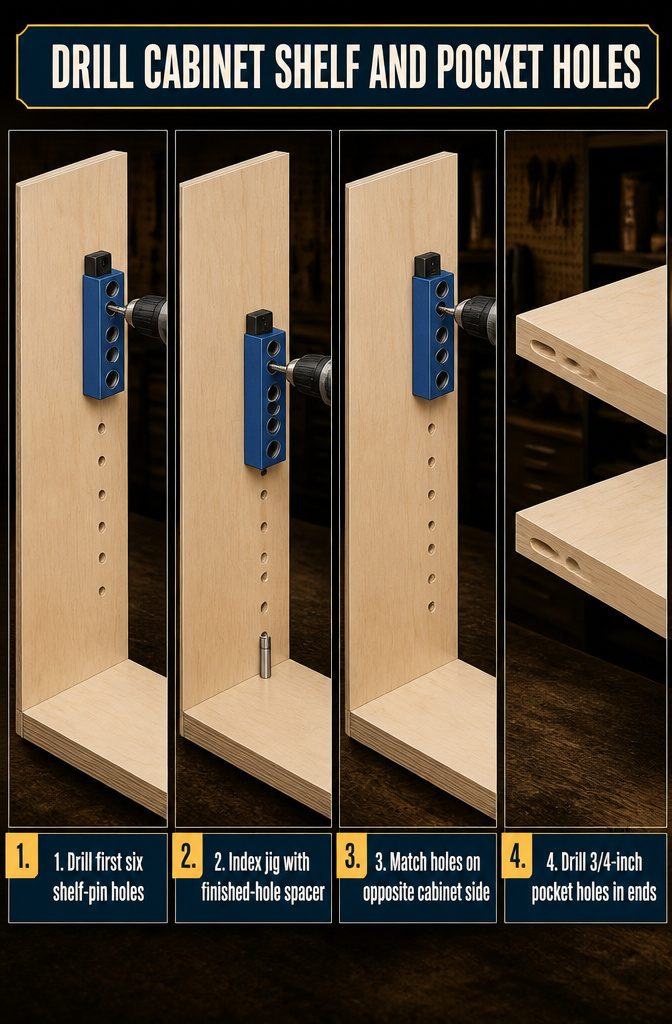
- Drill shelf-pin holes on both cabinet sides using a shelf-pin jig. The jig has a guide on one end, and you drill through the holes to create evenly spaced points where adjustable shelves will rest later.
- Drill the first six holes along one cabinet side, keeping the jig aligned with the edge.
- Place the jig’s spacer into the bottom hole you just finished, slide the jig over the spacer, and drill the next set. Continue this pattern until you have as many shelf-pin holes as you need for the range of shelf positions you want.
- Repeat the process on the opposite cabinet side so both walls match.
- Drill 3/4-inch pocket holes into both ends of the top and bottom cabinet pieces using a pocket-hole jig. These angled holes let you drive screws at cabinet joints without visible fastener heads on the outside.
4. Assemble the Cabinet Box and Frame
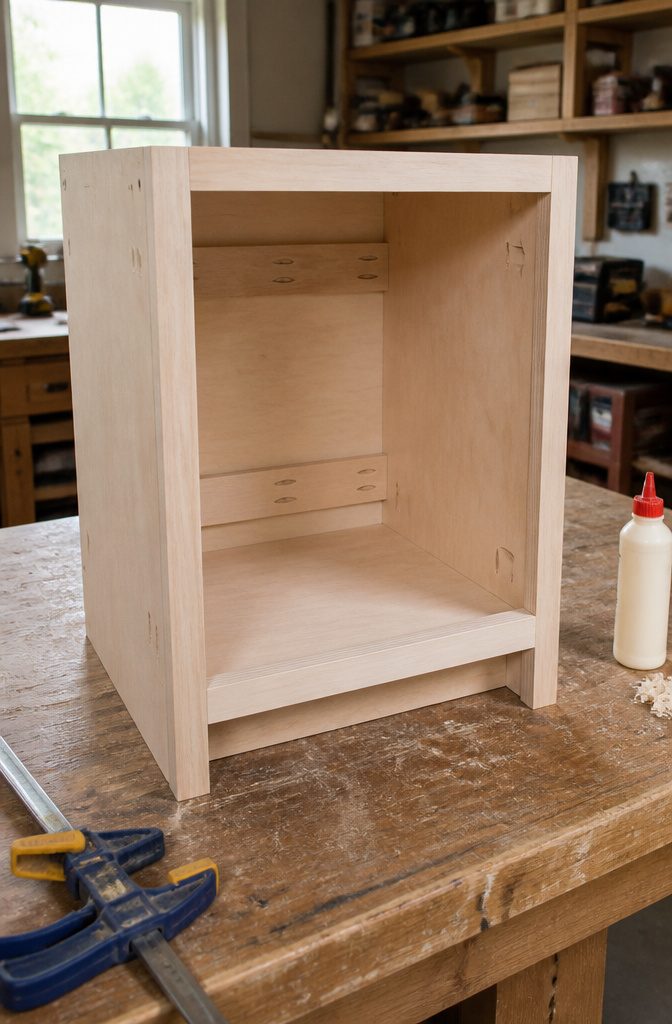
Start by running a line of wood glue along the ends of the top and bottom pieces, then attach them to the cabinet sides with 1 1/4-inch pocket-hole screws.
The pocket holes on the top should face up, and the ones on the bottom should face down.
The top piece sits flush with the top of the cabinet, but the bottom gets placed 3/4 inch up from the cabinet bottom. That offset gives you room for a toe kick once the cabinet is installed.
Cut back braces next and drill 3/4-inch pocket holes into the ends and one side of each piece.
Attach them to the top, bottom, and sides so they sit flush with the back of the cabinet. These braces keep the box square during handling and installation.
For the face frame, measure and cut the side pieces, then drill 3/4-inch pocket holes into each end.
Join them to the top and bottom pieces with wood glue and 1 1/4-inch pocket-hole screws. Apply a thin line of glue to the front edges of the cabinet box and attach the frame with 1 1/4-inch brad nails.
The sides and top of the frame should be flush with the cabinet edges, and the bottom aligns with the top of the bottom shelf.
5. Attach the Back and Build the Doors
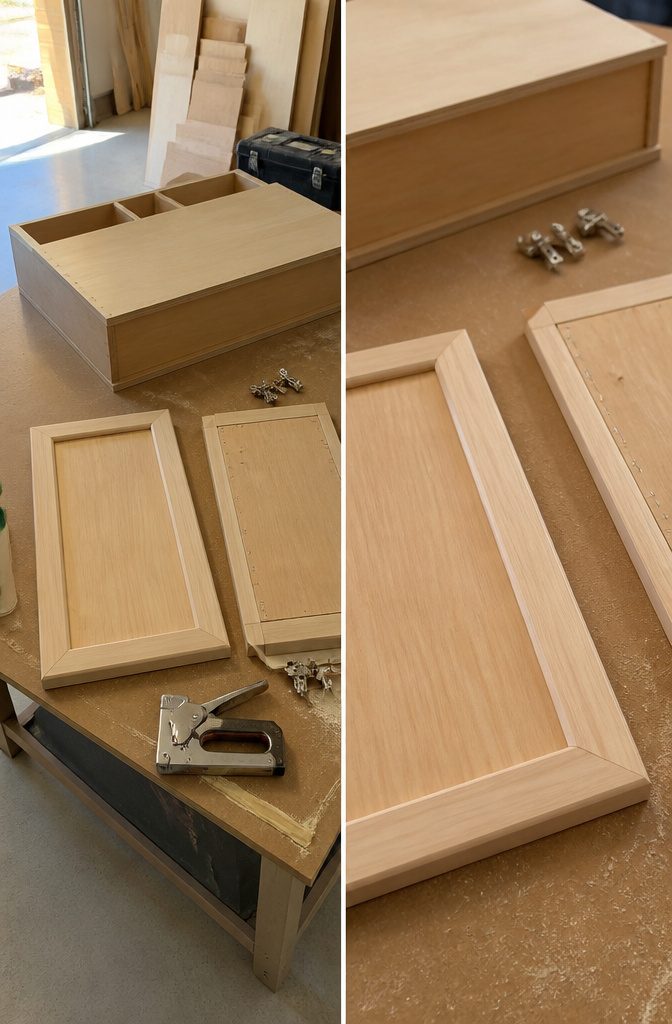
Flip the cabinet face-down and attach the 1/4-inch hardwood plywood backing with 3/4-inch staples and wood glue.
Space staples every six inches along the perimeter, working from one corner across to keep the panel flat against the frame. A brad nailer works here if you don’t have a stapler, though staples grip better on thin material.
For the doors, measure and cut trim to frame each opening, then drill 3/4-inch pocket holes in the ends of the vertical pieces.
Fasten them to the horizontal rails with 1 1/4-inch pocket screws and glue. Cut 1/4-inch plywood panels to fit each frame and staple them to the back side the same way you did the cabinet backing.
Before you paint anything, hang the doors with their hinges and check the fit. Gaps should be consistent, and the doors should swing without binding.
Once you’re satisfied, pull the hinges back off. You’ll paint the cabinets and doors separately, then reinstall the hardware after everything dries.
6. Prepare and Secure the Installation
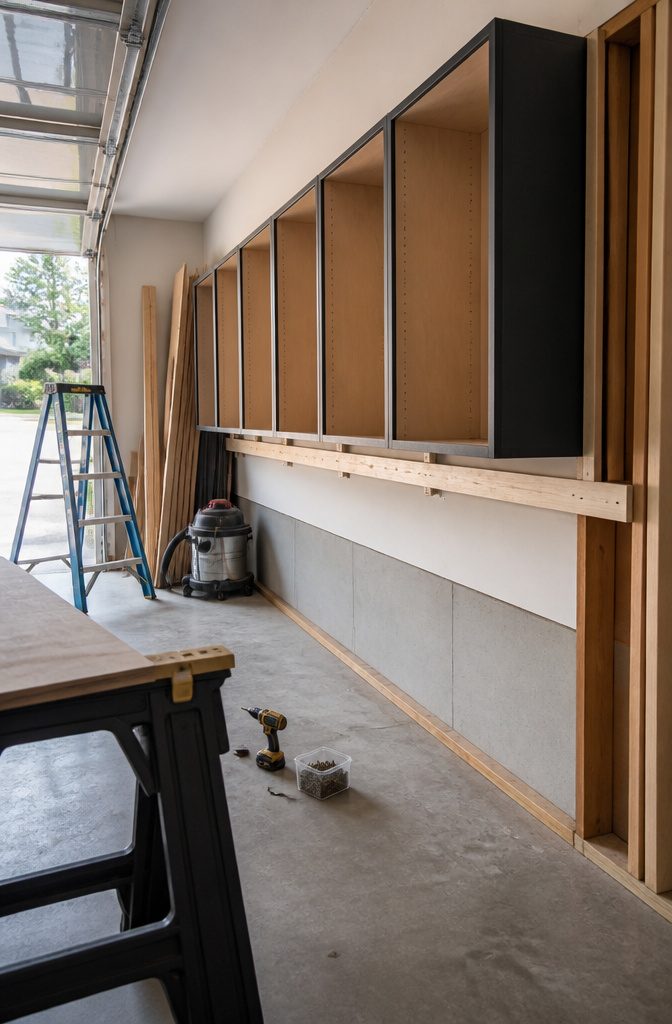
I fasten an 8-foot 2×2 scrap across the wall as a temporary cleat that holds each cabinet level while I drill into the studs.
The cleat gets attached to studs with 3-inch wood screws, and I mark every stud location before the first cabinet goes up so I know exactly where to drive fasteners through the cabinet back.
The cabinet rests on top of the cleat, which leaves both hands free to position it and sink screws through the mounting rails into the framing.
If the run spans more than eight feet, I add a second cleat farther down the wall.
Another approach is to lag-bolt a 2×2 ledger directly to the wall and shim behind it until it reads level. That permanent ledger supports the cabinet weight long-term instead of acting as install-only staging.
For walls that bow or lean, a dadoed 1×3 ledger lets you nestle the cabinet back into a shallow groove, which pulls the box tight to the wall even when the surface is not flat.
Some cabinets sit on the floor rather than hang.
I build a 2×4 base frame for those, level it with shims where the slab dips, and fasten the cabinet down to that frame. The base lifts the cabinet off concrete and gives a clean surface to anchor into.
7. Mount and Fasten the Cabinets
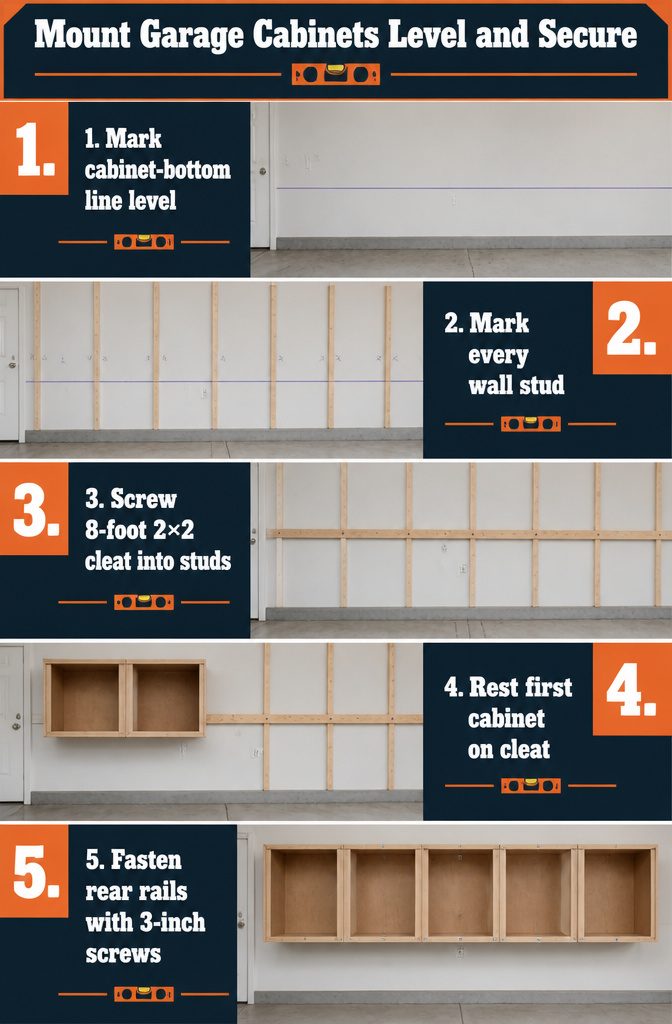
- Mark a level reference line along the wall where the bottom of your cabinets will sit, using a four-foot level and a pencil. Measure up from the floor or down from the ceiling depending on whether these are base or upper cabinets, and extend the line across the entire run.
- Locate and mark every stud behind the wall using a stud finder. Mark them clearly above and below your reference line so you know exactly where to drive screws once the cabinets are in place.
- Attach a temporary cleat to the wall along your reference line. An eight-foot 2×2 works well for this. Screw it level into the studs with 3-inch wood screws. This ledger supports the cabinet while you fasten it and keeps each box level with the next.
- Lift the first cabinet and rest it on top of the cleat. The cleat does most of the work, so you can hang cabinets alone without a helper.
- Drive 3-inch flat-head screws through the top and bottom rear rails into the studs behind the wall. Use a washer between each screw and the cabinet to prevent the screws from slipping over time.
- Repeat for each cabinet box. If your cabinets span more than eight feet, add another cleat to keep everything supported and aligned.
8. Finish and Fit Out
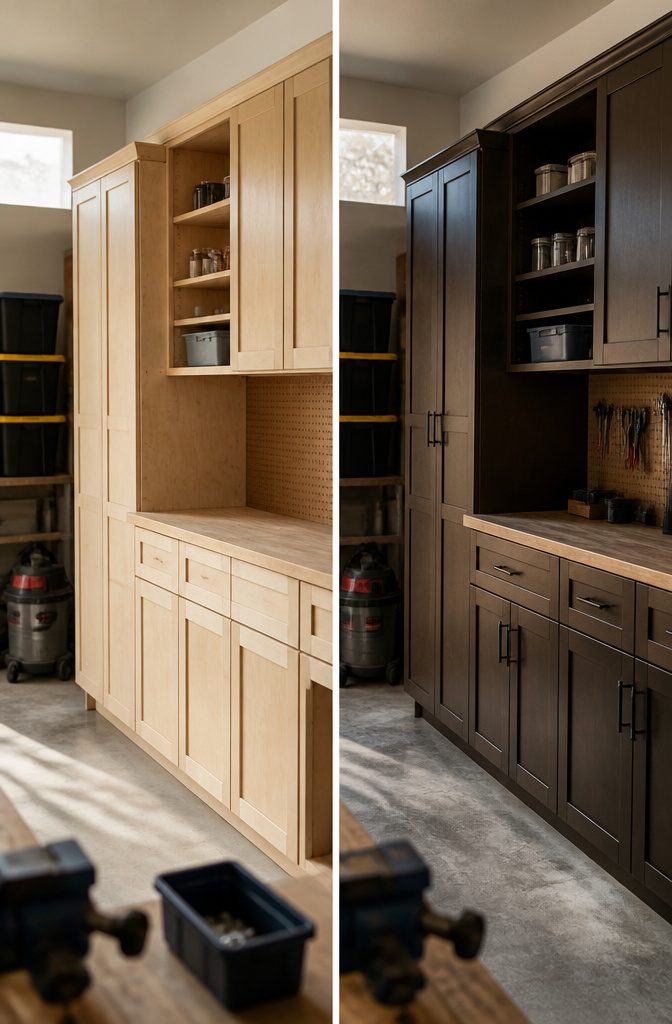
Once the cabinets were secured to the wall, I painted them with two coats of Urbane Bronze by Sherwin-Williams.
The colour sat dark enough to hide scuffs without reading as flat black. After the paint dried, I attached the doors using the existing hinges, then used a Kreg Cabinet Hardware Jig to position the pulls consistently across every door.
The jig matters more than it sounds like it should: freehand drilling on cabinet doors shows variation fast.
I cut shelves to width and dropped them onto shelf pins. Adjustable spacing lets you reconfigure storage as tools and bins change size, which they will.
If you’re working with mismatched or salvaged cabinets, the finish step takes longer.
Fill gaps with wood filler, sand smooth, then apply an oil-based primer before topcoats. One project used several coats of Sherwin-Williams Swiss Coffee over primed surfaces, and reinstalling doors was the last step before the space was usable.
Garage Storage and Organization
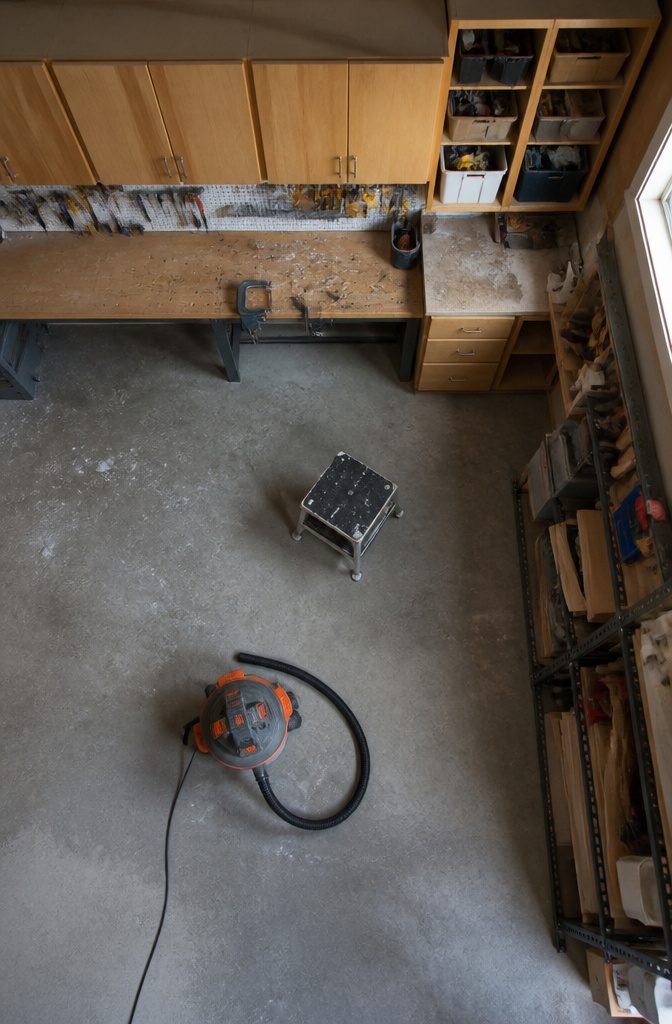
Cabinets are what turn a garage from a place to dump things into a place where you can actually find what you need.
I’ve seen too many workshops where the drill bits live in five different drawers, none labeled, and every shelf collects sawdust until the whole system becomes a reason not to start the next project.
Upper cabinets with doors solve both problems at once—they keep dust off paint cans and adhesives, and they force you to assign each category a home.
Owners on Reddit mention that doors make the difference between a clean look and a garage that always feels half-finished, even when everything has a spot.
Built-in cabinets go floor to ceiling and use the wall studs for structure, which means you can skip the back panel and the top.
That saves material cost, and the frame mounts directly to the 2×4s already there. Floating cabinets hang above a workbench or pegboard and leave the floor open for a step stool or shop vacuum.
I lean toward floating cabinets in a workshop because they give you wall space below for tools you grab constantly, and you’re not opening a base cabinet door every time you need a clamp.
Combining reused and new cabinets is common in a garage makeover, especially when budget matters more than matching grain.
In one video walkthrough, the builder used salvaged base cabinets for the lower run and built cubbies from plywood for the uppers, then screwed everything together into one cohesive unit.
The mix works as long as you level the base and secure the whole assembly to the wall—it won’t matter that one section came from a kitchen remodel and the other from a sheet of 3/4-inch plywood if both hold your table saw accessories and finishing supplies without shifting.
Buying or Reusing Cabinets Instead of Building
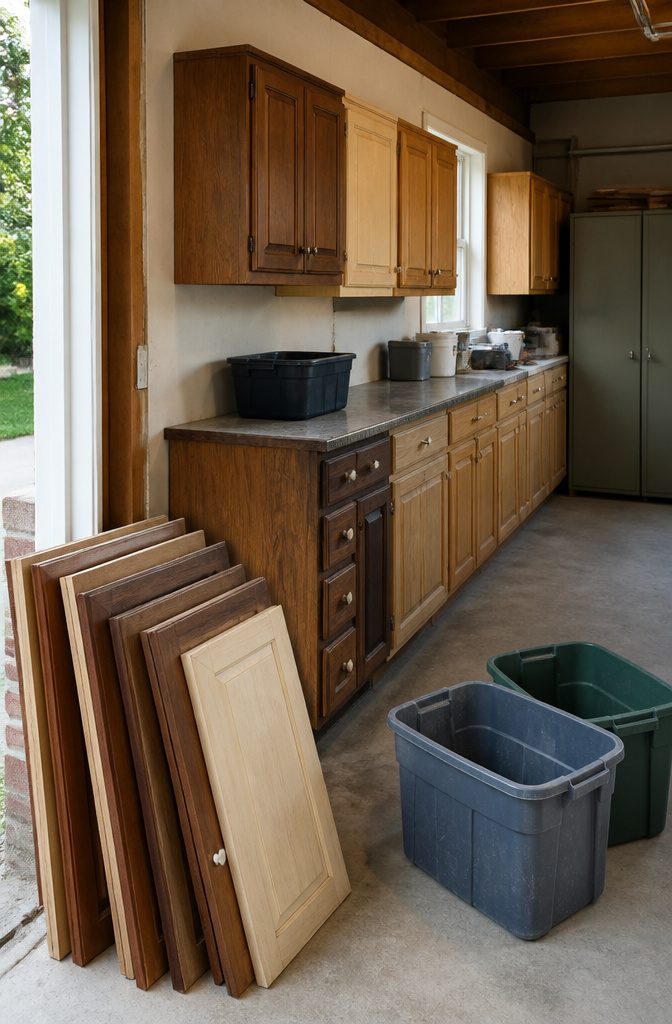
Salvage shops and used kitchen cabinets turn up full sets for around $100, and metal cabinets show up free to $50 each if you watch long enough.
I picked up twelve reused kitchen cabinets when someone demoed their house—seven stayed in the basement for later projects, two went into the garage locker makeover, and the rest became shallow base cabinets under a window.
They were upper cabinets in their old life, heavy hardwood instead of MDF, so they held up fine once I added a plywood countertop.
Side-wall cabinets at 12 inches deep fit tight against a wall without stealing floor space, and the back-wall base cabinets ran 24 inches deep and 99 inches long, which meant building a frame and using composite countertop instead of plywood.
Facebook Marketplace fills gaps when you need one more unit to finish a run, and unfinished cabinets from Lowe’s or similar work when you want new but cheap.
Cabinet Types and Storage Configurations
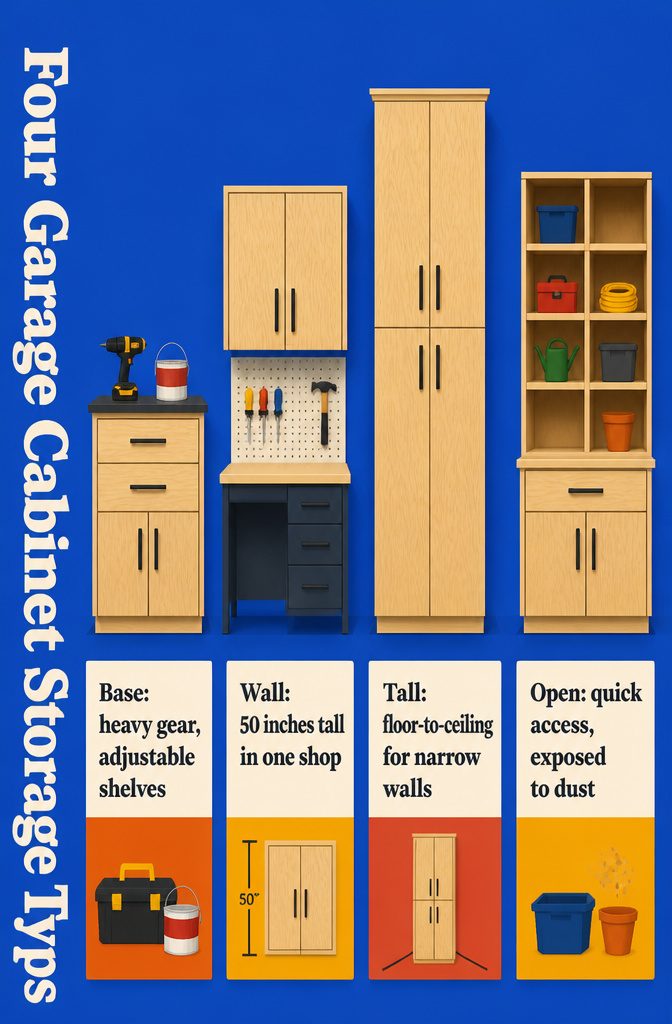
Garage cabinets fall into four categories, each shaped by how high they sit and what you store inside. A short lead-in:
- Base cabinets rest on the floor and hold the heaviest gear—power tools, paint cans, anything that needs a sturdy foundation. I build them with adjustable shelves and drawer boxes so the interior can shift as the tools change. Plywood and pocket-hole joinery keep them solid; drawer slides let you reach what’s at the back without crouching.
- Wall cabinets mount above the workbench or along open wall, which keeps the floor clear and puts smaller items at eye level. One builder made hers 50 inches tall in a shop with 9-foot ceilings, leaving room below for pegboard and a work surface. Adjustable shelves inside let you fit spray bottles on one level and long-handle brushes on another without wasted height.
- Tall cabinets run floor to ceiling when vertical space matters more than reaching every shelf daily. They suit corners or narrow walls where a base-and-upper pair would eat too much depth.
- Open shelving skips doors entirely, which speeds access but leaves everything exposed to dust. Combining shallow base cabinets with open cubbies above splits the difference: enclosed storage below for what you want protected, open bins above for what you grab constantly.
Frequently Asked Questions
How high should I mount garage cabinets?
Upper cabinets typically mount 30 inches above the countertop or workbench. In a garage with 9-foot ceilings, you can build wall cabinets around 50 inches tall, which leaves clearance below for a workbench and pegboard without wasting vertical storage.
Is it cheaper to build your own cabinets?
Building cabinets from new materials costs $50–$75 per sheet for birch plywood, which adds up quickly across multiple cabinets.
Salvage shops and used kitchen cabinets often run around $100 for full sets, and metal cabinets show up free to $50 each, making reused units far cheaper than building from scratch.
What are the steps involved in making cabinets?
Start by cutting plywood for the box, then drill shelf-pin holes and pocket holes for assembly.
Attach the top and bottom to the sides with pocket screws, add back braces to keep the box square, then build and attach the face frame.
Finally, staple on the backing, build doors with trim frames, and paint everything before installing hardware.
What kind of shelf pins should I use for garage cabinets?
Standard shelf pins work for adjustable shelving in garage cabinets. Drill evenly spaced holes along both cabinet sides using a shelf-pin jig, then drop shelves onto the pins at whatever height you need.