
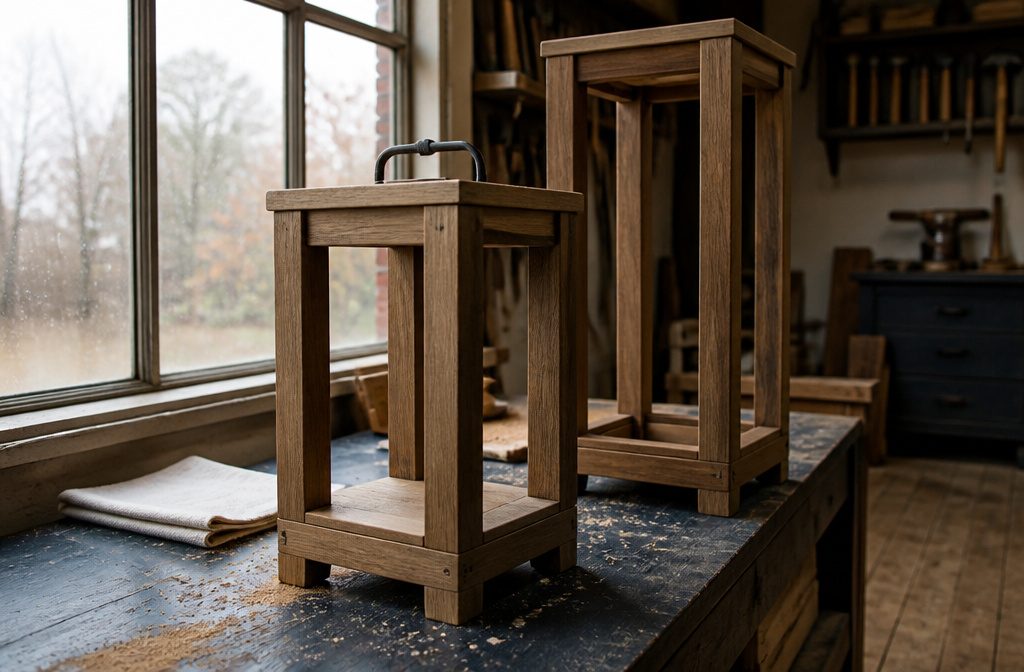
A wood lantern takes 12 to 21 inches of pillar stock, a miter saw, and an afternoon if you work from a cut list.
Most builders lose square at the base, where four legs meet a corner and there’s no room to clamp from the side.
Pre-drilling keeps the joints tight without splitting, and flipping the base upside down gives you access to screw straight up through the bottom into each leg.
1. Choose Your Lantern Size and Design
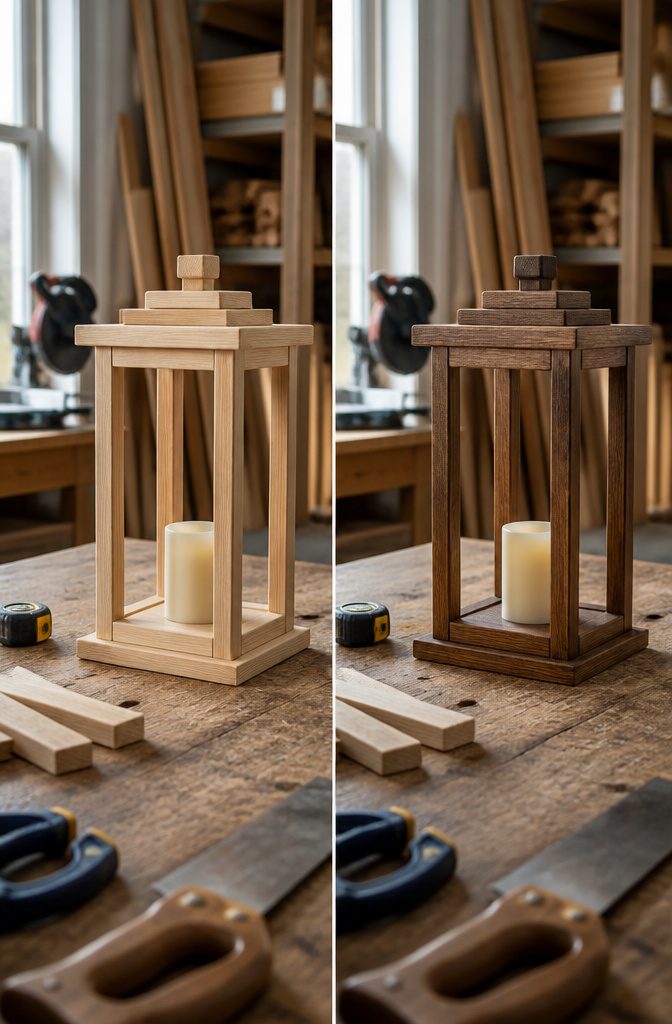
The first decision lands before you pick up a saw: how tall the lantern will be and whether it gets a topper.
I start with the light source, because everything else has to fit around it. If you’re dropping in an LED pillar candle, measure its height and add at least three inches for clearance at the top.
A battery-operated votive needs less vertical space, and a real flame needs more ventilation than a sealed box can offer.
Most builds I’ve seen fall between 12 and 21 inches tall. A 12-inch version keeps the proportions compact and works on a side table or stair tread.
A 15¾-inch lantern feels balanced without crowding a dining table, and you can stretch or shrink it by changing the pillar length rather than redrawing the whole thing.
A 21-inch build reads more formal and holds a taller candle, but it takes up real estate on a mantel or porch ledge.
Width follows from there: make the base wide enough that the light sits stable and the frame doesn’t tip when you move it.
Before you nail anything, check the fit. Dry-assemble the frame to catch sizing mistakes while they’re still reversible.
2. Select Materials and Gather Tools
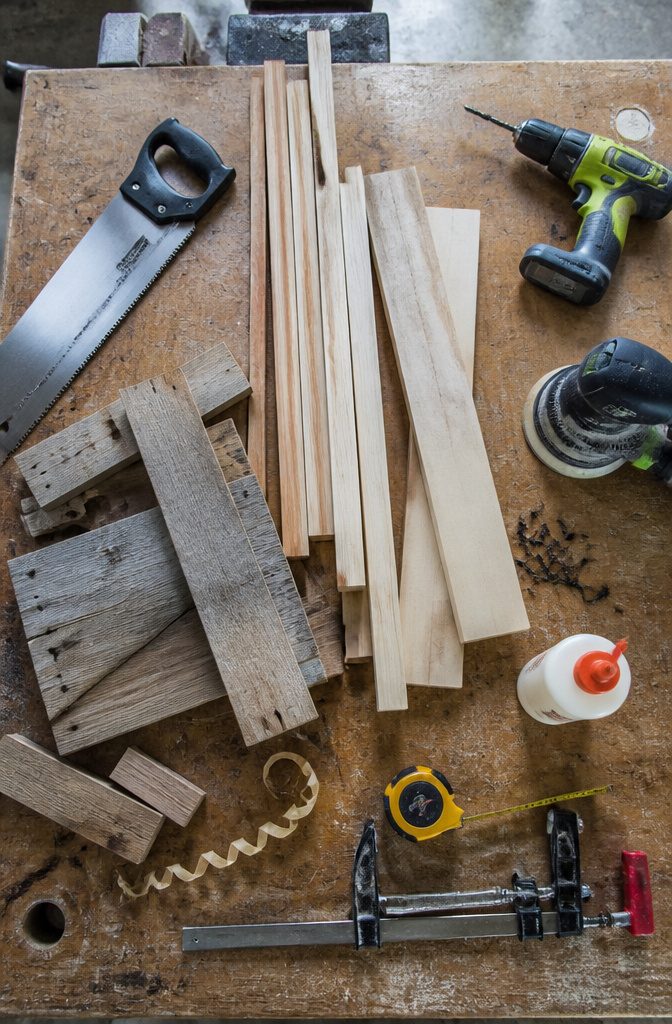
You need a saw, a drill, a sander, and something to hold pieces steady while glue dries. Here’s what shows up across working builds:
- Pine, poplar, or whitewood boards form the base and top — 1×6, 1×8 or 1×10 depending on lantern size. Poplar cuts and nails easily, takes stain or paint, and stays lightweight.
- ¾-inch square pieces for the vertical frame. You can buy ¾" square dowels at most home centers, or rip strips from a wider board if you have table-saw experience. Ripping that narrow a strip is difficult and should not be attempted without it.
- Furring strips or pallet wood work if you’re building from scrap. Pressure-treated 3/4" stock holds up outdoors.
- Titebond-3 Wood Glue, a bar clamp, and either a brad nailer (Ryobi 18GA) or 1½" to 2" pocket-hole screws (Kreg Jig screws). Some builders use trim screws; others prefer finishing nails.
- Cutting and finishing tools: DEWALT Sliding Miter Saw for square cuts, an Orbit Sander, drill with bits for pilot holes or pocket holes, and measuring tape.
3. Cut and Sand the Parts
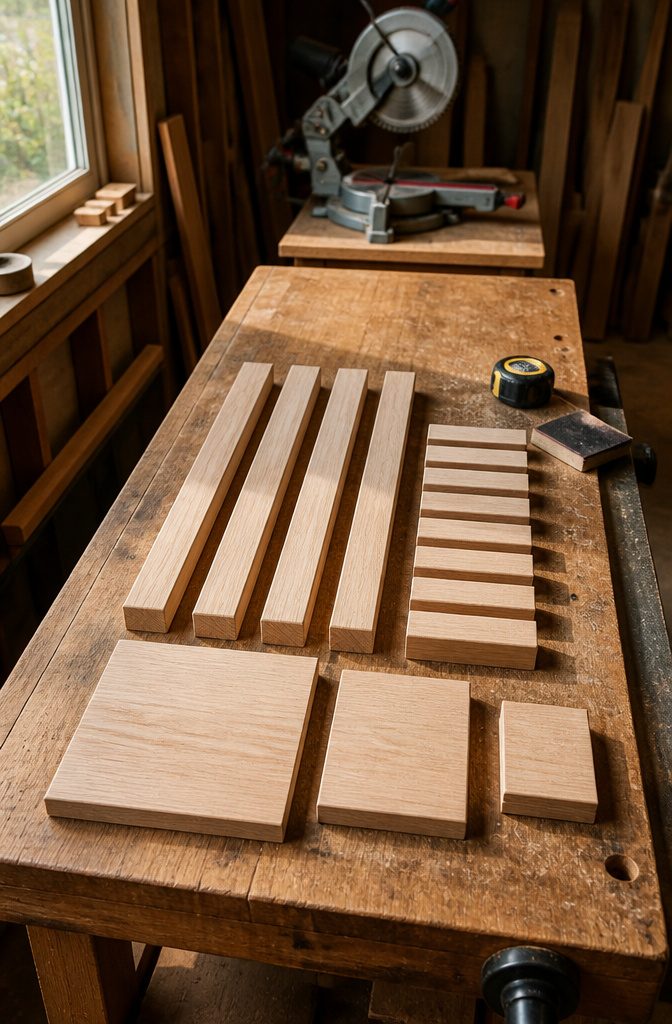
Dimensions change with every plan, so match the cut list to whichever design you follow. One plan cuts four 10-inch frame pieces and eight 3¼-inch pieces per lantern, plus 5½-by-5½-inch base and top squares and 4½-by-4½-inch squares.
Another calls for a 6-by-6-inch piece, four 15-inch pieces, and 4½-inch pieces. A third uses four 7-inch 1×4 pieces and four 16-inch 2×2 pieces.
A fourth runs four 12-inch 2×2 legs with two 6-inch 1×6 pieces. The tallest version cuts two 5-by-5-inch deck-board squares, four 1-by-8-inch pieces, and one 3½-by-3½-inch piece.
A chop saw gives the cleanest square cuts, though a jigsaw, hand saw, or band saw all work. After cutting, sand with 120-grit followed by 220-grit, or start at 180 if the wood is already smooth.
4. Build the Frame and Attach the Base
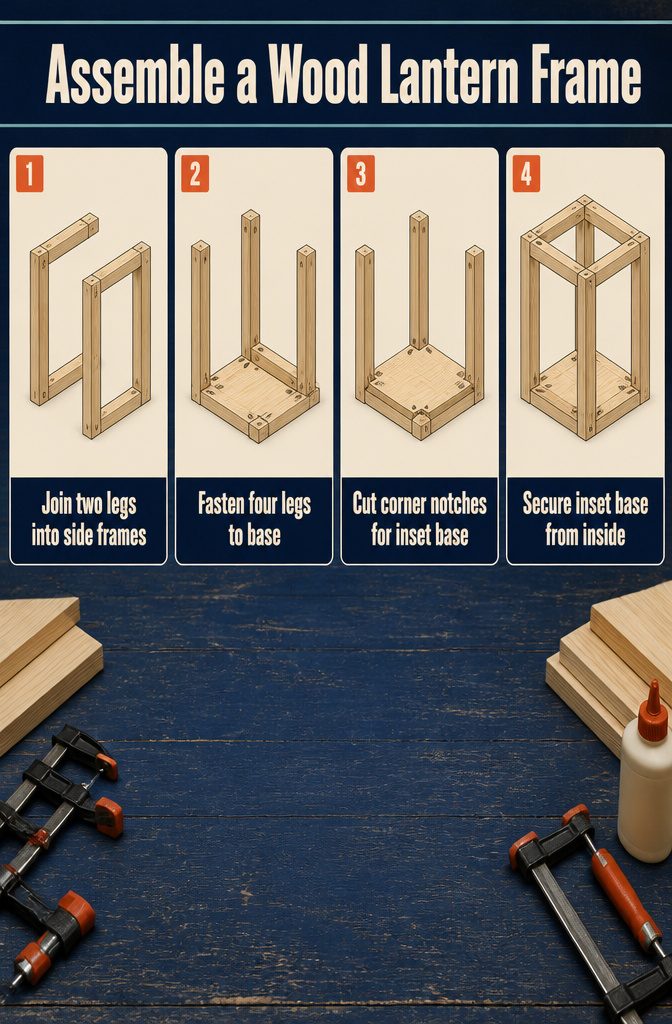
- Assemble the side frames first. Start by joining two of your cut legs at a time using wood glue and clamps to hold them square while you work. Pre-drill pilot holes if you’re using nails to avoid splitting the wood. Drive 1¼-inch brad nails or 1-inch screws through the joints. Keep glue ½ inch back from the edges so it doesn’t squeeze out when you clamp.
- Attach all four legs to the base. Once the sides are together, flip the base upside down and position the legs at each corner. For a 6-by-6-inch base, pre-drill through the bottom, apply glue to the contact points, then secure with 1-inch screws driven up through the base into each leg. If you’re using pocket holes, drill 1½-inch holes at the bottom of each leg and fasten with 2-inch pocket-hole screws.
- Notch the base if needed. If your design calls for an inset base, cut ¾-by-¾-inch notches at each corner with a jigsaw before attaching. Position the base inside the legs and secure from the inside with 1¼-inch brad nails and glue. For a simpler build, skip the notches and nail the base from below.
5. Add the Top and Any Topper or Handle
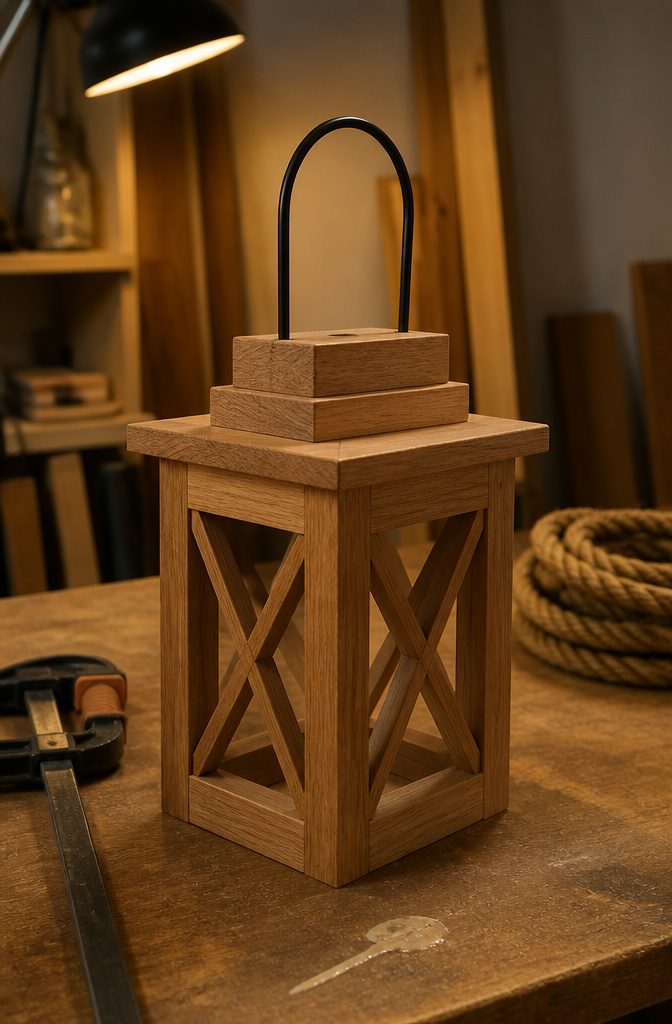
The top closes the structure, and how you finish it changes the whole look.
Drill a hole through the center for a hook if you want a simple hanging loop — thick wire bent into a half-circle handle fits through and holds weight without hardware showing.
For a stacked-topper look, glue a 2×4 cut to 3½ inches and a 1×3 cut to 2½ inches together, then clamp both to the lantern top. A centered 1×4 accent with a 1×6 topper and a finial gives more height and a finished silhouette.
Pre-turned furniture-leg knobs with threaded studs work as toppers too.
Drill a hole slightly smaller than the stud diameter, fit the threaded end through, and glue it in place. For a rope handle, test the length before cutting — around 20 inches clears most lantern tops.
Glue ⅜-inch craft rope into metal clasps, screw eye screws into the frame, and clip the clasps on. A single 1-inch eye hook screwed into the top center is enough if you only need hanging, no handle.
Finish the Wood
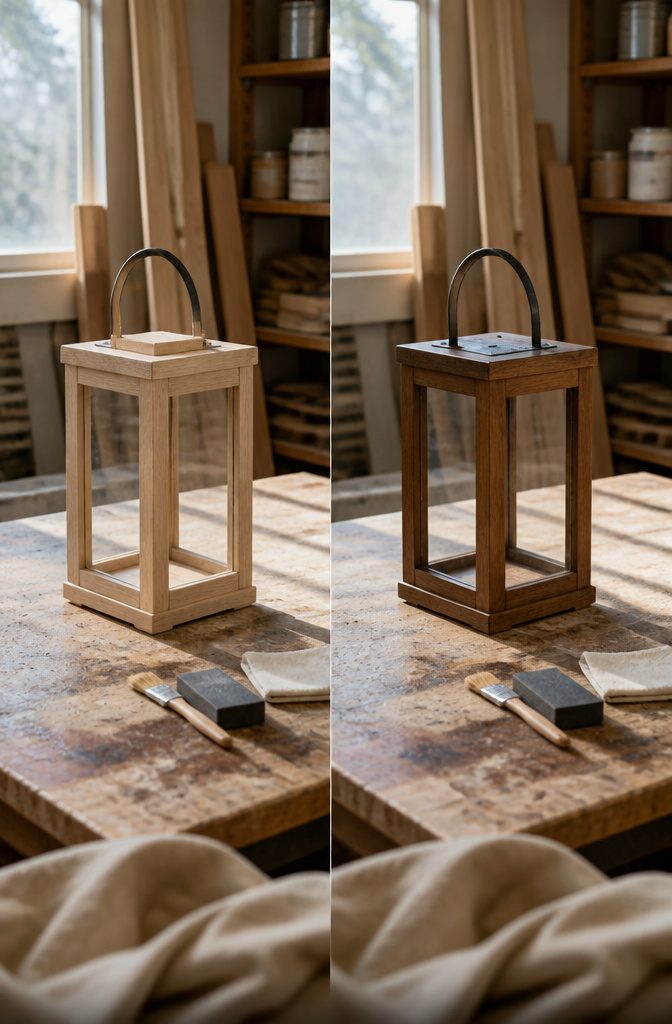
Paint, stain, and a protective topcoat all work on wood lanterns, and the choice changes both the look and how much weather protection you get.
- Fill nail holes with wood filler, let dry, then sand smooth. Remove dust with a vacuum and damp cloth.
- For paint: use primer or paint with primer built in. Two coats usually cover. One approach mixes latex paint 50/50 with water for a washed look, then adds spar urethane for protection. Another uses chalk-style paint (Plaster of Paris stirred into flat latex), sands to distress, then seals with clear coat. I prefer starting opaque so grain doesn’t show through thin coverage.
- For stain: choose semi-transparent if you want wood grain visible. Sand between coats.
- Outdoors: use a fence or deck finish rated for your exposure. Spar urethane holds up well. Indoors, a protective coat may not be necessary.
- Apply exactly as the can directs—drying time and number of coats matter.
Add the Light and Install the Lantern
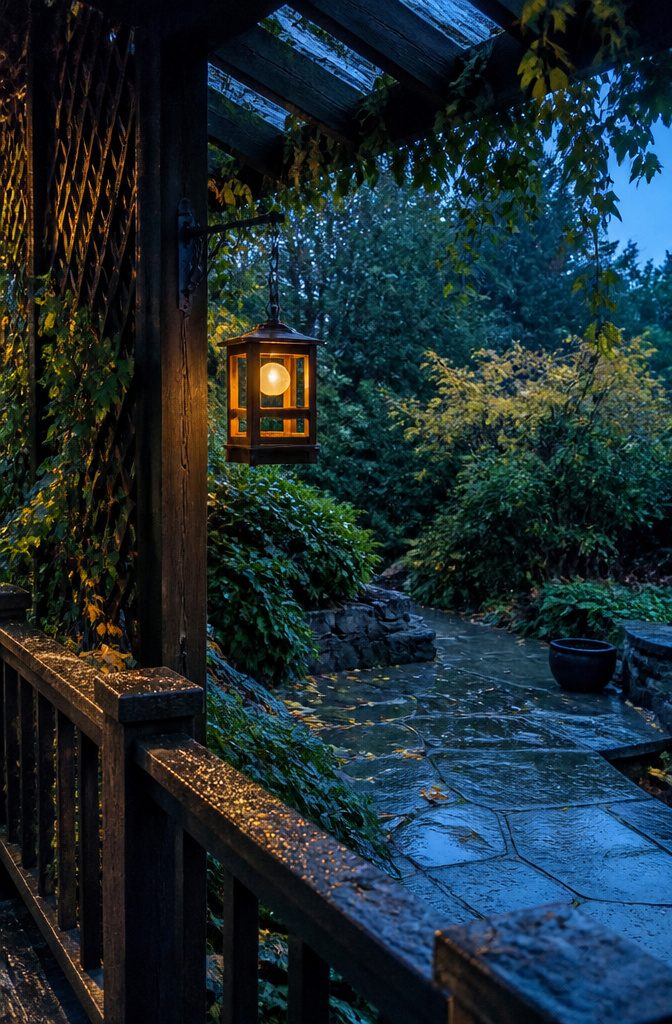
Add the Light and Install the Lantern
An LED candle is the simplest light source for a finished lantern. It drops into the frame without wiring, and you can swap it out when the battery dies.
If you built the lantern with a solid base and plan to keep it indoors or under a covered porch, a real candle works as long as the flame sits well below the top opening and nothing flammable hangs near it.
I would stick with LED for anything you’re hanging from a bracket or placing on a deck where wind might blow paper or fabric into range.
For outdoor lanterns, a solar globe gives you light without running power. Remove the globe from its plastic tube, mark and drill an opening in the top panel that matches the diameter, and check the fit before you hang it.
Attach the lantern to a bracket mounted on a trellis or post using an eye hook screwed into the top.
If you want a finished look inside, add a layer of moss to the base with hot glue. Let the glue dry completely before you move the lantern into place.
Wood Choices and Adapting the Build
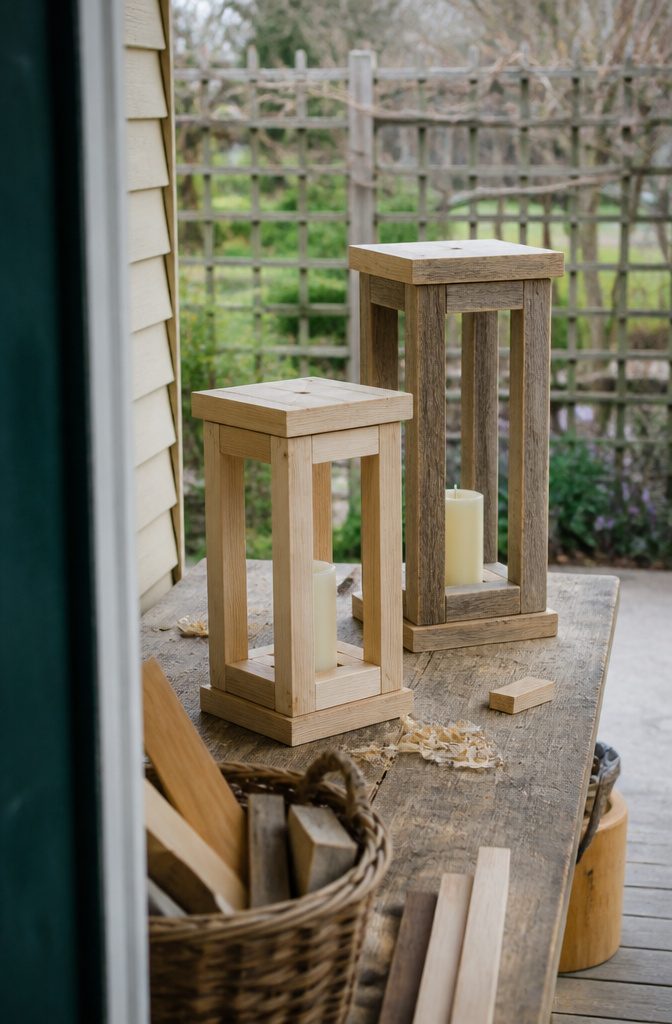
Scrap wood is the first choice I look for, because most lantern builds use it and the material cost drops to zero. The builds use leftover pressure-treated deck board, furring strips, pallet wood and pine offcuts.
One build pulled everything from a trellis project and stayed completely free. Scrap dimensions decide the lantern size, so you adapt the cuts to what you have rather than cutting to a fixed plan.
When you buy new, pine and whitewood are standard. Poplar shows up in one painted build.
If you want to skip matching scraps and need multiple lanterns, one source suggests ripping a 1×8 or 1×12 into ¾-inch strips for the pillar pieces, but warns that ripping thin stock is difficult without table-saw experience.
I would not attempt it on a first build.
Pillar length is adjustable, so you can make the lantern taller or shorter without redrawing the whole design. That flexibility matters when scrap lengths vary or when you want lanterns in two heights for a porch or mantel.
Outdoor Durability and Weather Protection
Outdoor Durability and Weather Protection
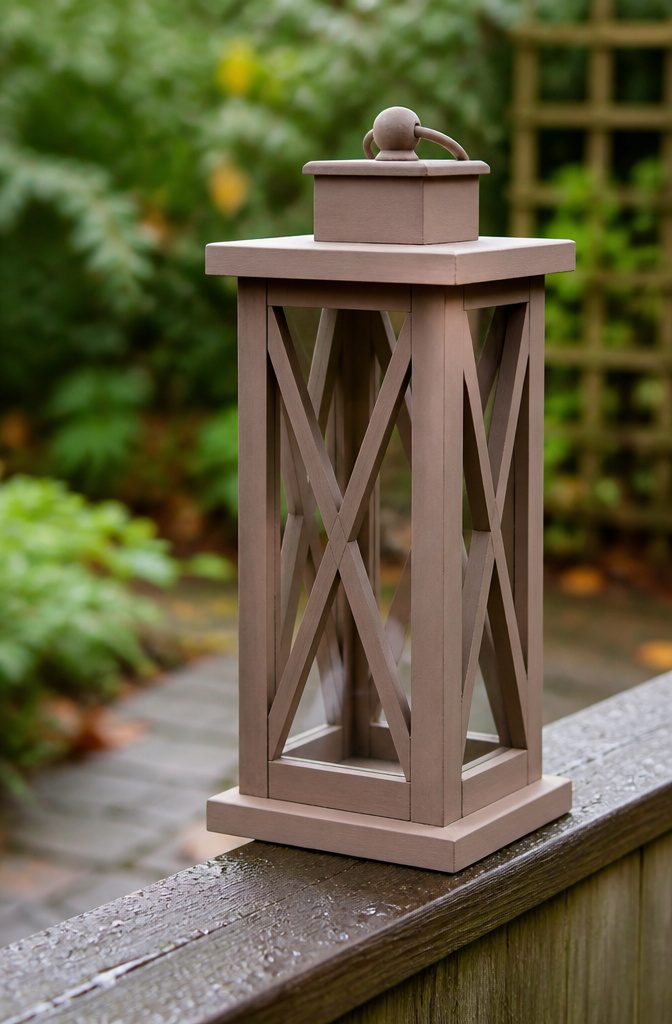
If the lanterns will sit outside, choose an exterior product made for fences or decks and suitable for the exposure they’ll get.
A solid-color or opaque finish covers the wood completely and holds up well where sun and rain hit hardest.
A semi-transparent stain shows the grain but may need recoating more often. I always follow the can’s prep and application instructions exactly, including the number of coats, drying time between coats, and full cure time before the piece goes out.
Spar urethane adds another layer of protection for coastal or very wet climates, though indoors it’s often not needed. The lanterns I’ve seen placed outside have held up season after season when the finish was applied correctly from the start.
Frequently Asked Questions
How much does it cost to make a wood lantern?
If you build from scrap wood, the project can be completely free. New materials run a fraction of retail lantern prices, typically under $20 per lantern depending on size and finish choices.
What materials do I need to make a wood lantern?
You need boards for the base and top (1×6, 1×8, or 1×10 depending on size), ¾-inch square pieces for the vertical frame, wood glue, fasteners (brad nails or screws), and finishing supplies like sandpaper and paint or stain.
An LED candle or other light source completes the build.
What are the dimensions of a wood lantern?
Most builds fall between 12 and 21 inches tall.
A 12-inch version works on side tables, a 15¾-inch lantern balances well on dining tables, and an 18-inch to 21-inch build suits mantels or porch displays. Base width typically ranges from 5½ to 6 inches square.
Can I use a real candle in a wood lantern?
A real candle works if the lantern has a solid base, sits indoors or under cover, and the flame stays well below the top opening with nothing flammable nearby.
LED candles are safer for hanging lanterns or outdoor placements where wind could blow debris into range.
How do I attach a handle to a wood lantern?
Cut ⅜-inch craft rope to about 20 inches (test the length first so it clears the top), glue the ends into metal clasps with strong adhesive, then attach the clasps to eye screws installed in the frame.
A single 1-inch eye hook screwed into the top center works if you only need hanging without a handle.