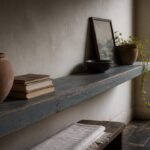
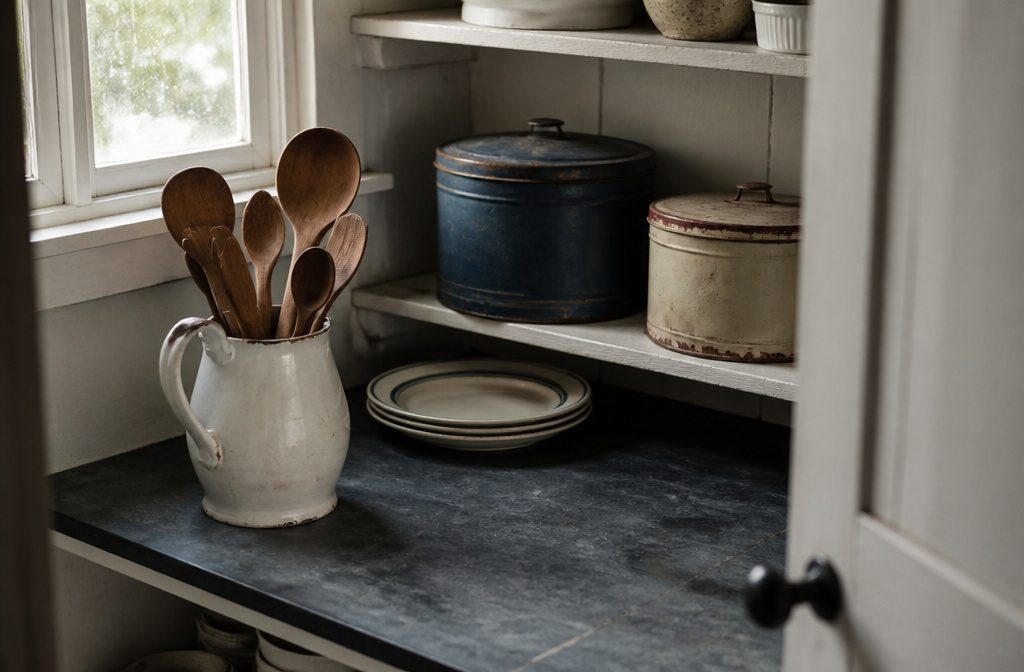
Vintage baking pieces work as display when they hold something, sit on open shelving, or get rotated by season.
The approach changes depending on whether you want daily function or seasonal decoration, and how much room you have for pieces that aren’t in constant use.
A single ironstone pitcher holding utensils earns its counter space; 30 platters stored in boxes don’t.
1. Show Pieces on Open Shelves, Cabinets, Counters, or Furniture
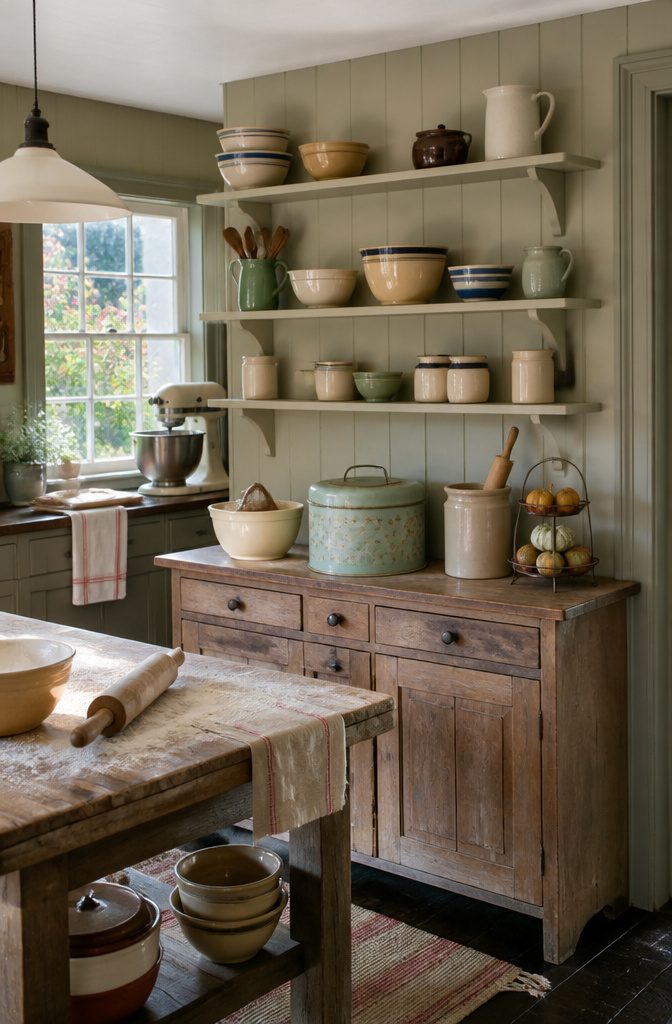
Open shelving lets vintage baking pieces stay part of the daily routine instead of sitting untouched in a cabinet.
When I keep cake carriers, mixing bowls, or butter crocks visible on a shelf or buffet, I reach for them more often.
The same goes for kitchen islands and countertops. A wood rolling pin propped against a crock or a tin cake keeper stacked on the counter feels more lived-in than precious, and that kind of arrangement encourages actual use.
Often stored atop the refrigerator, these prettily patterned pieces now make a charming display on open shelves or above kitchen cabinets.
Midcentury cake carriers with tin bodies and metal rods hold up well to daily handling, so they work if you plan to use them and not just look at them.
Mixing new pieces with older collections keeps the look from tilting too nostalgic. A tiered stand holds fruit, a vintage bowl sits near the mixer, and the arrangement shifts as the season does without feeling locked in place.
2. Group Similar Pieces Into Collections or Vignettes
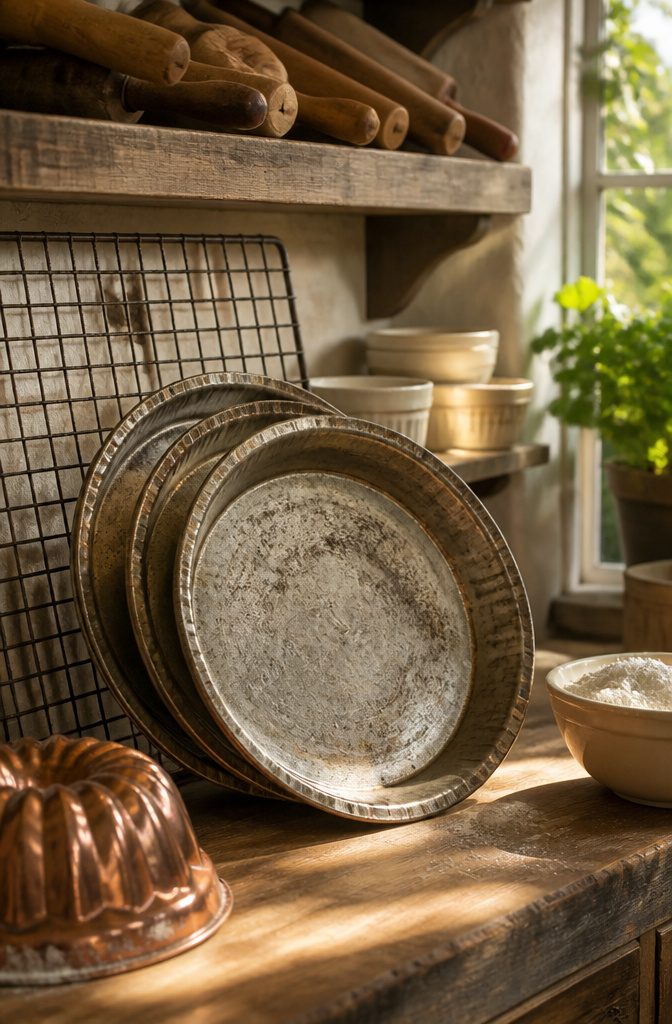
Grouping vintage items by color, material, or function stops a collection from reading as clutter. When rolling pins stand together on one shelf and cream-colored stoneware fills another, the eye registers intention instead of randomness.
I’ve found that even mismatched pieces settle into a coherent arrangement when they share one strong trait—enamelware in pale blue, wooden spoons with turned handles, or copper molds with similar patina.
The tighter the grouping, the more clearly it reads as a vignette. Three pie tins stacked beside a wire cooling rack make a unit; scatter those same pieces across the counter and they disappear into background noise.
Material groupings work especially well when the finish itself carries visual weight: cast iron holds up next to cast iron, and pressed glass looks deliberate beside more pressed glass.
Color groupings suit renters or anyone working with pieces that arrived piecemeal rather than as a set, because the thread becomes the palette instead of provenance.
3. Use a Shadowbox With a Meaningful Background
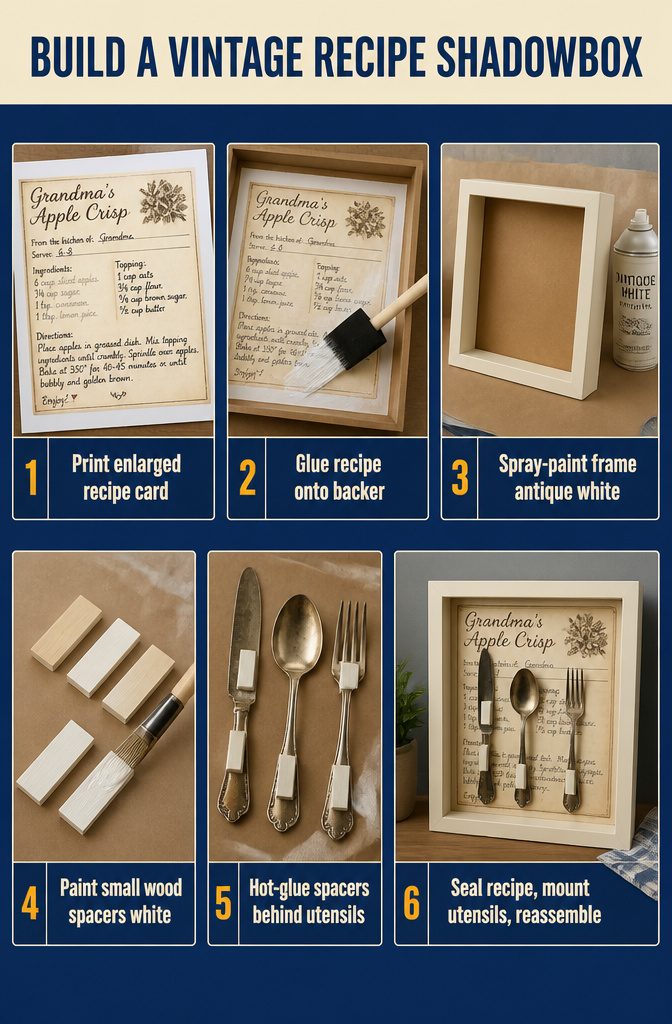
- Print an enlarged recipe card graphic using Octin Vintage font, sized to fit the back of your shadowbox. You can recreate a family recipe this way or take an old recipe card to a copy shop and have them blow it up.
- Spread matte Mod Podge over the backer board that came with the shadowbox using a foam brush, then lay the printed recipe down and smooth out wrinkles. A few wrinkles are fine for a vintage look. Set it aside to dry.
- Spray-paint the shadowbox frame with antique white spray paint while the background dries.
- Paint small pieces of scrap wood white. These will act as spacers to lift the utensils off the background.
- Hot-glue the painted wood spacers to the back of each vintage utensil.
- Once the recipe background has dried, trim the edges and apply a sealing coat of Mod Podge for a little extra shine.
- Arrange the utensils on the background, then hot-glue them into place and reassemble the shadowbox. You can hang it on the wall or prop it on the counter.
4. Hang Items on Walls or Hooks
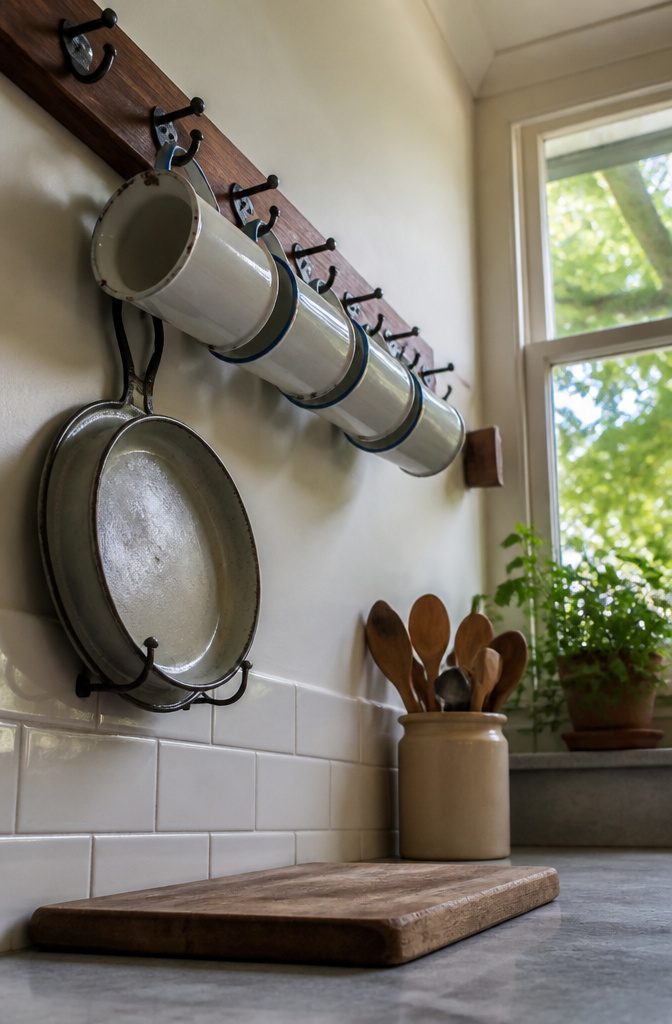
Plates, mugs, baskets, and cookware all gain visibility when you hang them on walls or hooks instead of stacking them on shelves.
A row of vintage enamelware mugs on cup hooks or a wire basket mounted above the stove becomes part of the room’s texture without using counter or cabinet space.
The vertical display keeps pieces at eye level, which matters when the detail that makes them interesting sits on the rim or handle.
I’ve found that flat pieces like pie plates and shallow cake pans work especially well on plate hangers, because the shape reads clearly from across the room.
Heavier cast iron or stoneware needs hardware rated for the weight, and I always check the anchor type before committing to a spot.
You give up easy access. Wall-mounted pieces take two hands to remove, so this works best for items you use occasionally or want visible more than functional.
5. Use Risers, Cake Stands, or Tiered Trays to Add Height
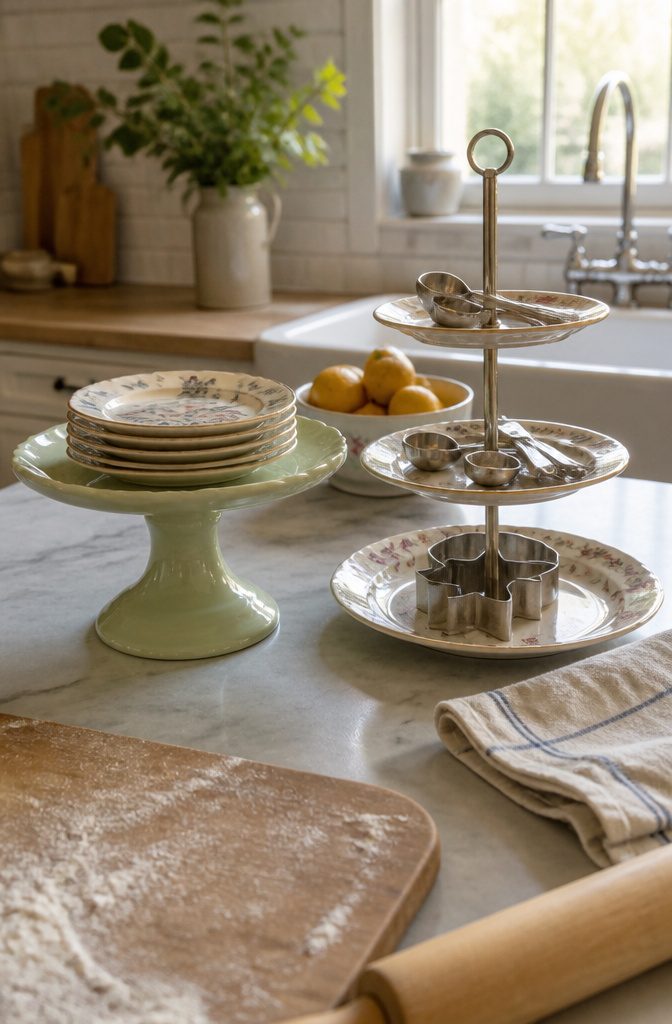
Risers, cake stands, and tiered trays break the flat line that makes a display forgettable. When everything sits at the same height, the pieces in back disappear and the arrangement reads as clutter instead of collection.
Stack a few vintage plates on a cake pedestal and suddenly the whole group has structure. The pedestal lifts the stack into view and gives the display a focal point without crowding the counter.
I use tiered dessert trays the same way, and not just for baked goods.
One client kept hand towels on a three-tier stand next to the sink, which freed up drawer space and kept the towels visible enough that guests actually used them.
The trays work for anything small enough to fit the tiers: measuring spoons, cookie cutters, or a rotating set of seasonal pieces.
The tiers give you three display levels in the footprint of one, and the vertical arrangement keeps the counter from feeling overtaken.
6. Turn Vintage Pieces Into Containers or Holders
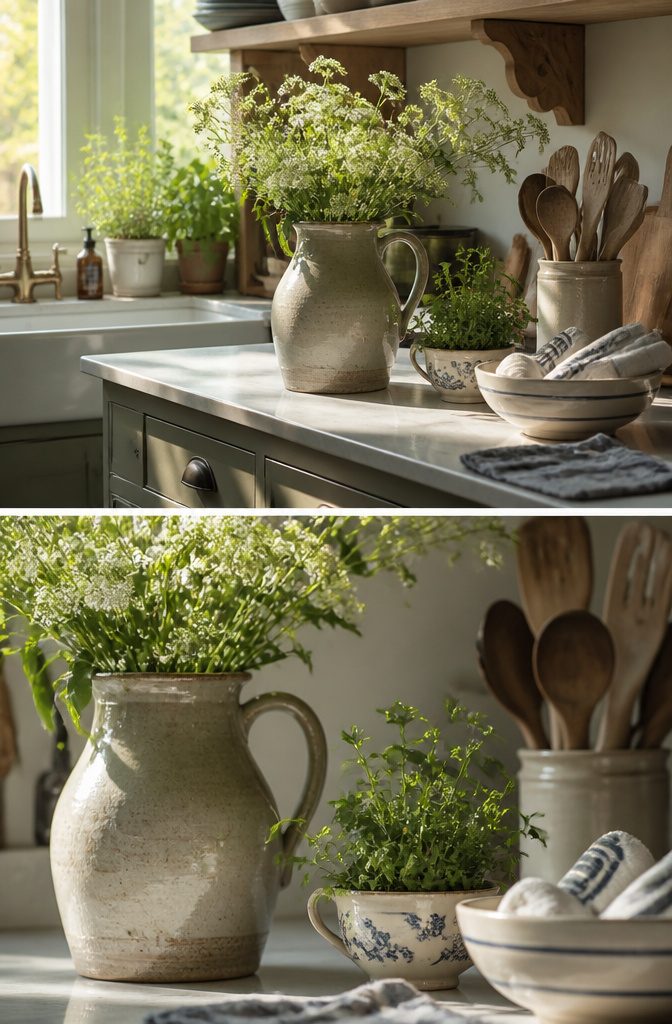
Turn Vintage Pieces Into Containers or Holders
One of the simplest ways to enjoy vintage baking items is to put them to work holding something else.
These pieces already have shape, texture, and presence. Adding flowers, utensils, or plants lets you see them every day without relegating them to a cabinet.
- Vintage pitchers hold fresh flowers, kitchen utensils, or even rolled tea towels. Ironstone, transferware, copper, and stoneware pitchers all work, and each brings a different weight to the same job.
- Teacups make small candleholders when fitted with a tea light. They also work as planters for succulents or herbs if you drop the nursery pot inside without repotting.
- Bowls and soup tureens function as centerpieces when filled with seasonal flowers. I prefer artificial sprigs in smaller bowls and fresh stems in larger tureens, which hold enough water to keep cut flowers going for several days.
Display meets function. The piece earns its counter space by doing something useful, and you get to look at it while it works.
7. Set Out a Single Featured Piece
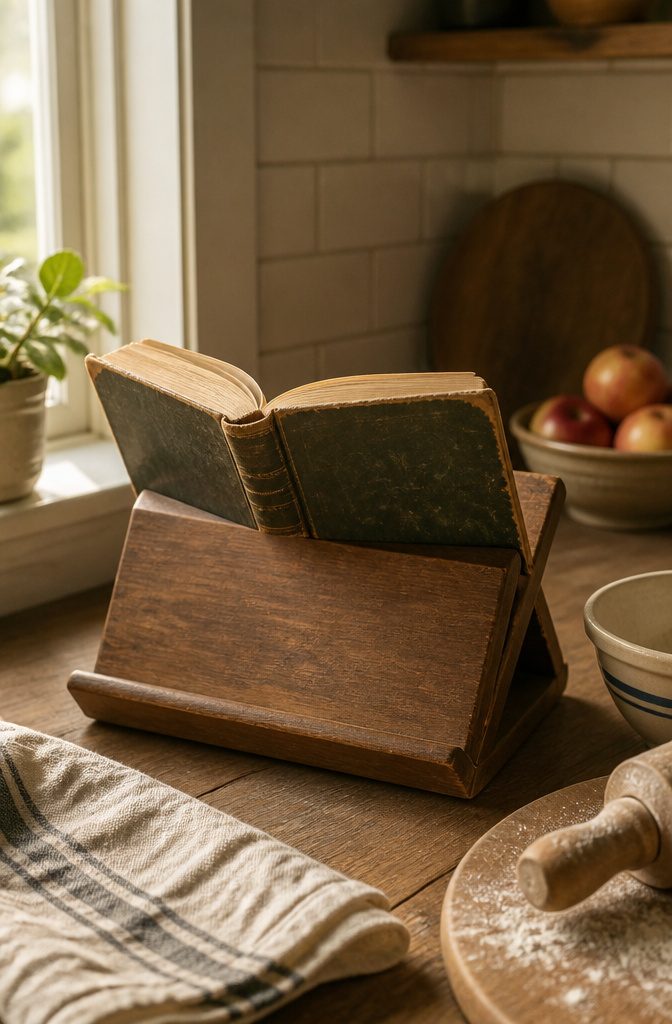
A single piece on a stand pulls more attention than a dozen things lined up on a counter.
An open cookbook works especially well if you set it to a recipe you actually use, because it looks like part of the kitchen rather than staged decor.
A stand with an acrylic shield keeps a handwritten recipe card or a page from Grandma’s notebook safe from splashes while you work.
That protection matters if the piece has sentimental value and you want to use it in reach of the stove or sink.
Cookbooks still get regular use. In 2023, 49% of American adults said they prepare recipes from a cookbook, so keeping one out on a stand isn’t just decoration.
It’s a working tool that happens to look good while it sits there. If the book is vintage, leave it closed and show the cover instead, especially if the binding or illustration has age to it.
8. Use Repurposed Furniture or Containers for Storage and Display
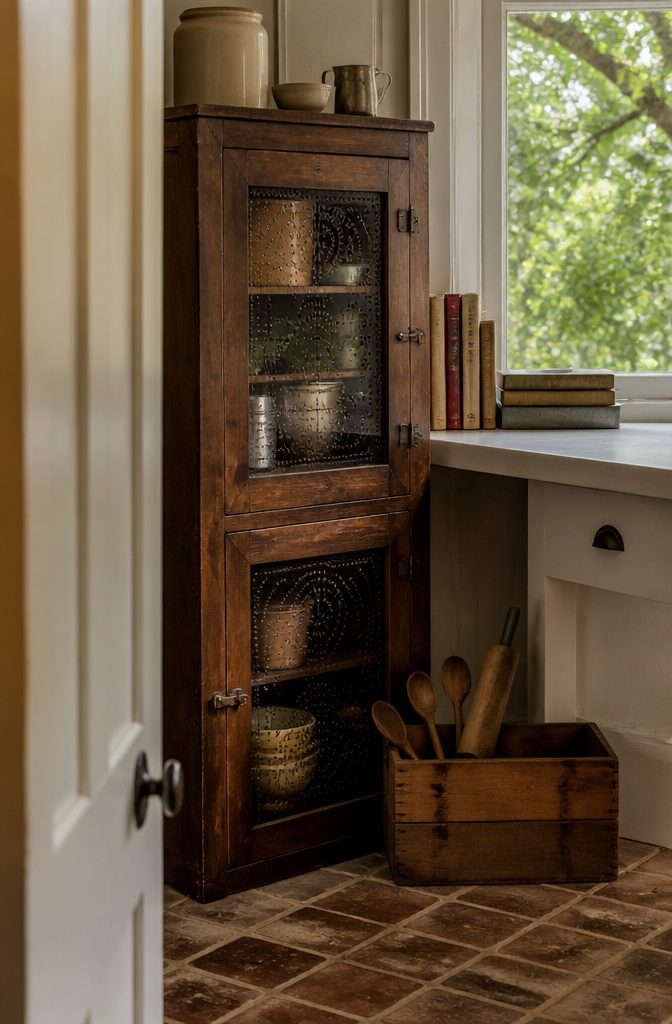
A pie safe gives you storage, display, and a conversation piece all at once.
The punched-tin panels let you see what’s inside without opening the doors, so you can display vintage tins, old mixing bowls, or cookbooks arranged upright with a few covers facing out.
You can stack some books and stand others to vary the height, and the whole unit carries enough character that it anchors a corner without needing much else around it.
A wooden crate handles smaller collections just as well and slides out of the way when you need the counter.
Store cookbooks upright with spines forward, or lean a few covers out as a display if the bindings are worth showing. An old toolbox or metal tray works the same way for rolling pins, wooden spoons, or cookie cutters.
The appeal is that repurposed pieces keep collections organized and visible without looking like you lined everything up for inspection. The wear and patina do some of the work, so the arrangement can stay simple and still feel finished.
9. Rotate Displays for Seasons or Occasions
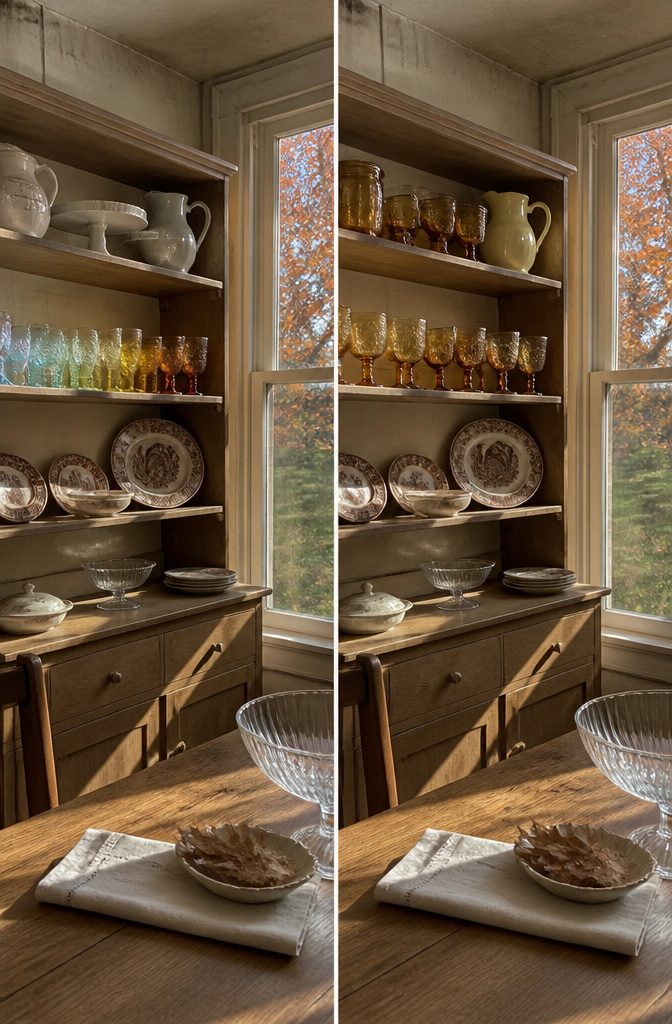
I bring out different pieces through the year, and the rotation keeps the collection from feeling static. Pastel glassware in spring, amber tones in autumn, jewel colors during the holidays.
The same cabinet or shelf reads completely different when the palette shifts with the season. Arranging vintage glassware by color makes the swap easy, because you can pull a whole group at once rather than picking through mixed pieces.
Vintage dishes work the same way in seasonal vignettes around the house. I keep brown transferware out most of the year, but turkey plates come forward at Thanksgiving and become part of the tablescape.
Butter pats, cake stands, and decorative plates move in and out of the corner cabinet depending on what the occasion calls for.
The pieces that stay packed between uses are still part of the collection, they just wait their turn instead of competing for attention all at once.
Thrifting and Judging Possible Purchases
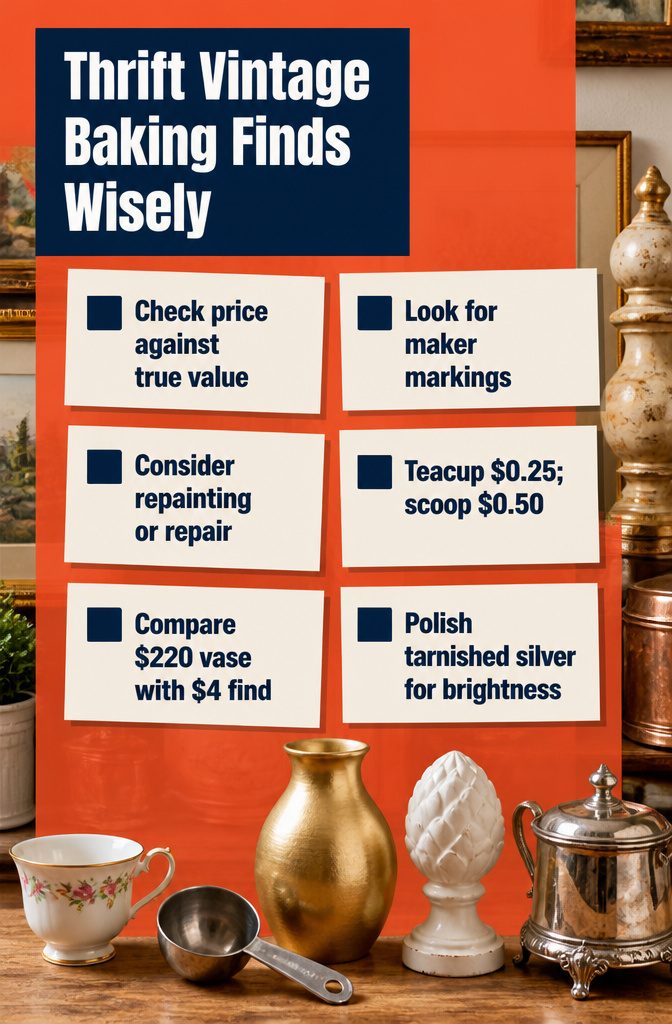
I check every potential piece before buying, and the first question is whether the price is fair for what the piece actually is. Not every thrifted item earns its spot just because it’s old.
I look for maker markings to figure out if something is vintage or a reproduction, and I ask whether it can be repainted, repaired, or used for something else entirely.
A yard-sale teacup at $0.25 or a measuring scoop at $0.50 is almost always worth grabbing. A $5.00 Bob Timberlake print or a $2.00 canvas can anchor a whole vignette.
The real wins come when you spot the shape of something expensive and find it thrifted for next to nothing.
A $220.00 vase at a high-end shop might show up as a $4.00 thrifted piece that just needs a coat of gold paint.
An artichoke finial priced at $167.00 can be replicated with a thrifted version and white spray paint. Tarnished silver pieces polish up fast and add brightness to a display without the aged patina overwhelming the rest of the arrangement.
Choosing What to Keep and How Much to Display
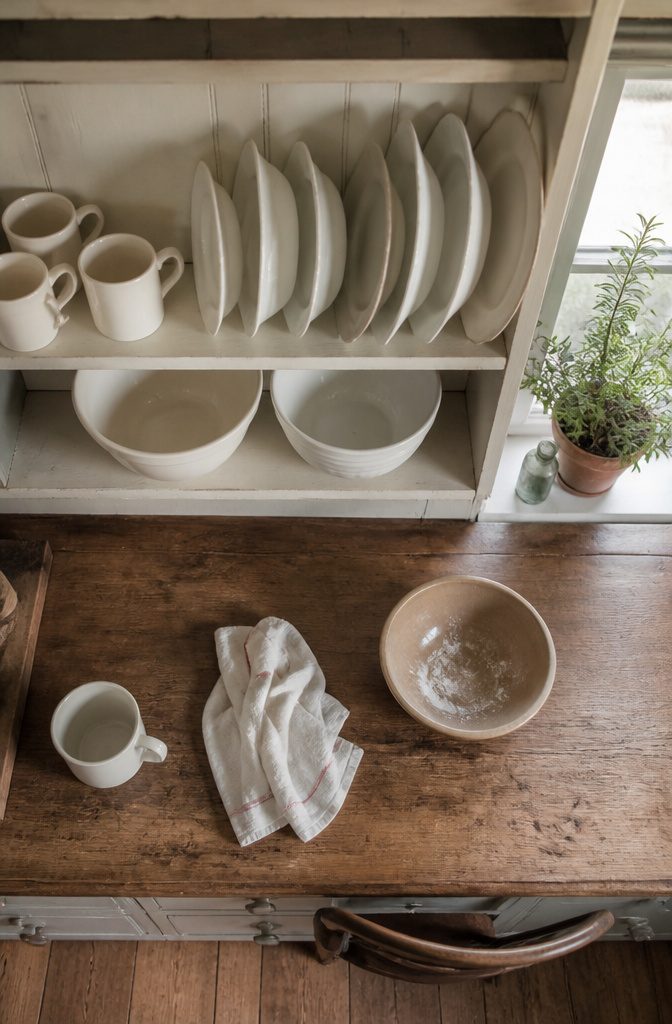
A large collection feels impressive when you start, but only the pieces you truly love earn space in the home you actually live in.
I had over 100 ironstone platters at one point, stored in boxes and tucked behind furniture, and I kept about 10 when it came time to move.
That was enough to display in cabinets or rotate through vignettes without the rest sitting idle.
The ironstone mug collection went from 30 down to 10 or 12 for the same reason: past a certain number, you stop seeing individual pieces and start managing inventory.
Pairing down a vintage baking collection means being honest about what you use, what you display, and what just takes up room.
A few favorite platters or mixing bowls arranged on open shelving look intentional. Thirty of them look like a storage problem someone forgot to solve.
Frequently Asked Questions
What is a vintage collection?
A vintage collection is a group of similar objects gathered over time that reflects personal interests, history, or style.
Examples include antique glassware, china, crocks, or baking items. Displaying these pieces allows homeowners to bring character into everyday spaces while telling a story through objects that matter to them.
How do I know if a vintage item is a good deal?
Check whether the price is fair for what the piece actually is, and look for maker markings to tell vintage from reproduction.
Ask whether it can be repainted, repaired, or repurposed for another use. A teacup at $0.25 or a measuring scoop at $0.50 is almost always worth buying, but not every $5 item earns its price.
Can vintage baking items be updated with paint?
Yes, thrifted baking items can be repainted to resemble expensive decor from high-end shops.
A $4 thrifted vase with gold paint can look like a $220 piece, and white spray paint can turn a basic thrifted item into something that looks like a $167 decorative finial. The shape matters more than the original finish.