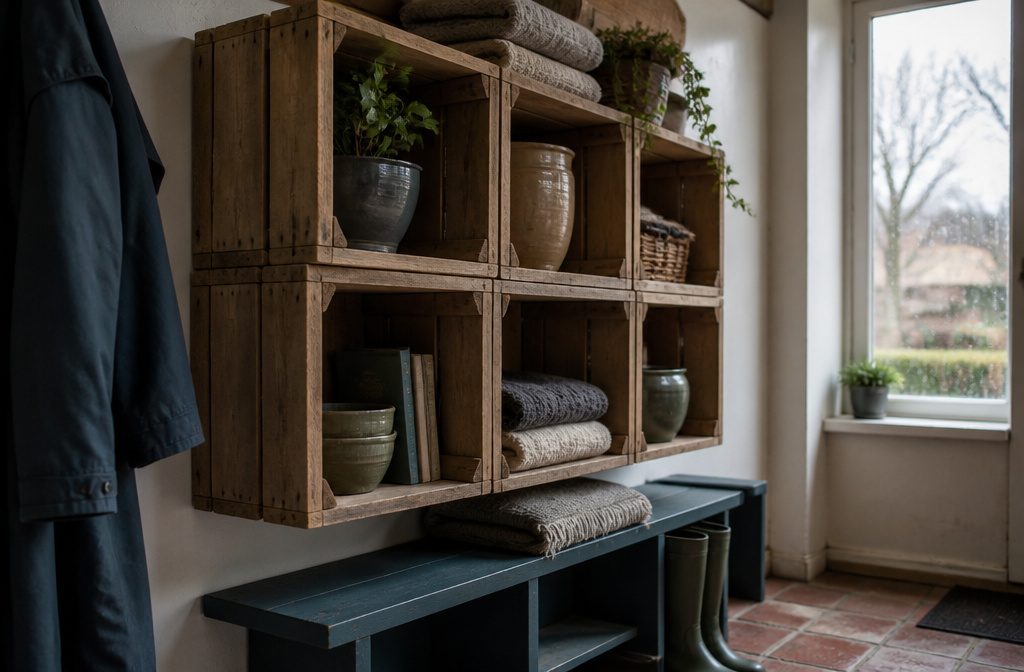
Six to twelve wooden crates cost $50 to $120 and take an afternoon to sand, join and mount.
The stage that causes problems is joining: most builders either fasten too loosely and end up with a wobbly stack, or skip anchoring to the wall entirely.
Standard crates run 12 to 18 inches per side, and the slats flex under weight unless you line heavy items over the solid end framing.
1. Choose Your Crates and Plan the Layout
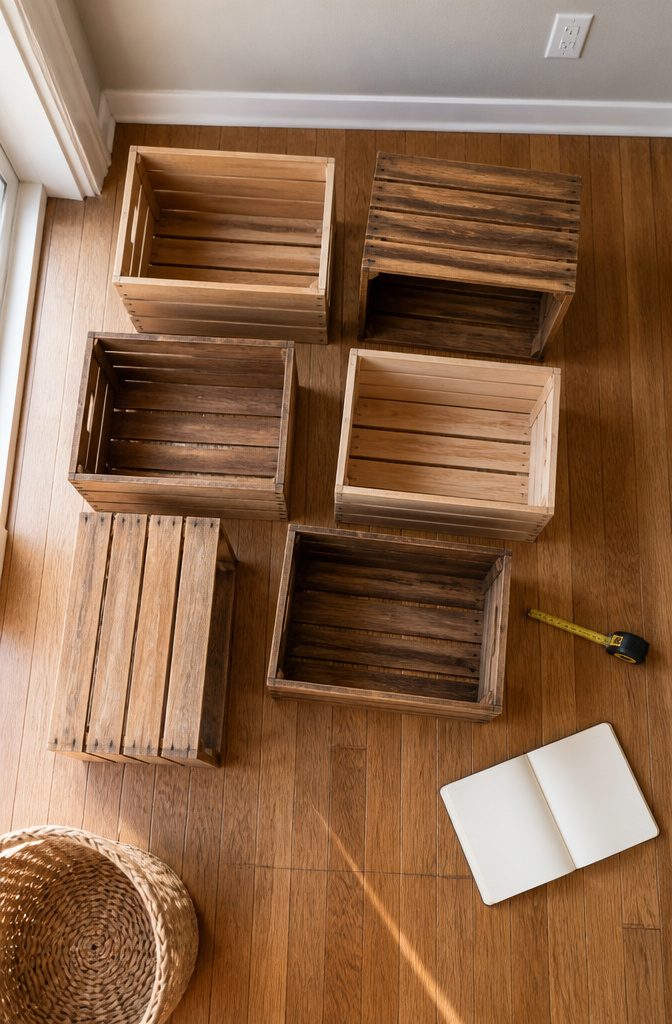
I measure the wall or corner before I buy anything, because crates are rigid and real rooms rarely offer neat multiples of 18 inches.
A stack that looks balanced in your head can leave an awkward two-inch gap or block a light switch once the crates arrive.
Standard wooden crates run 12 to 18 inches per side, with the most common size around 12.5 by 17.75 by 9.5 inches deep.
You’ll find them at craft stores for $4 to $12 each, sometimes closer to $10 when buying several at once. Six crates usually cover a small bookshelf footprint; nine or twelve fill a larger wall.
Before joining anything, I set the crates on the floor in different arrangements.
Some face forward for display, others turn sideways so both the front and back openings hold items. Testing orientations now shows whether the layout actually works for what you plan to store.
Check each crate for warped boards, cracks along the slats, or corners that don’t sit square. A twisted frame won’t stack cleanly, and splinters become a problem the first time you reach inside for a book.
2. Sand and Finish the Wood
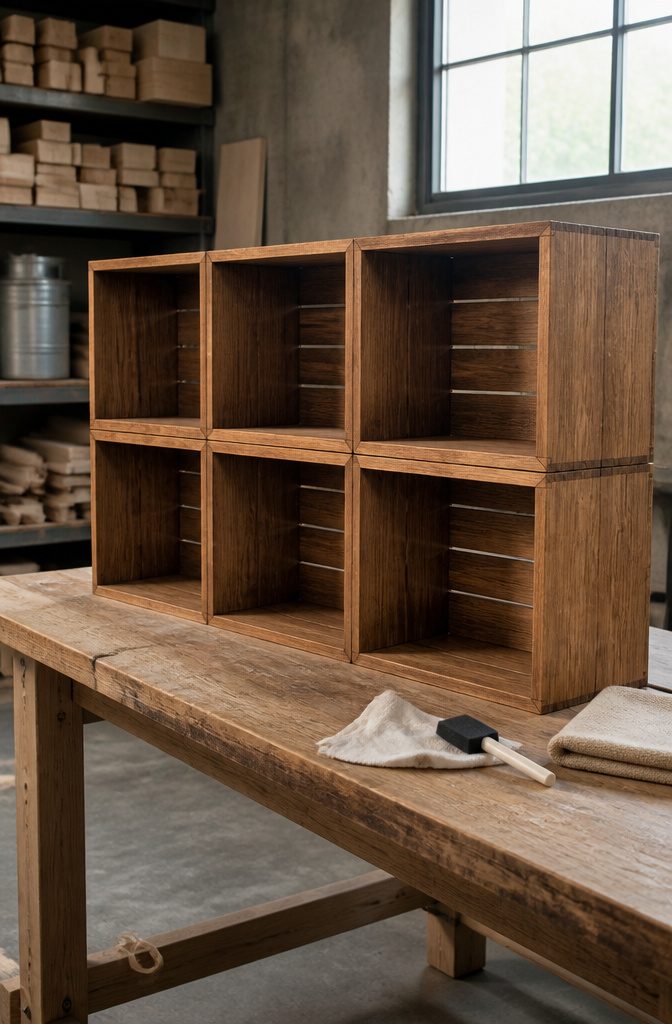
Once the crates are joined, sand the rough areas before you finish the wood. The insides tend to be rougher than the visible faces, so I spend most of the time there.
You’re not aiming for glass-smooth, just knocking down splinters and fibers that would snag fabric or catch dust later. Wipe off the dust with a dry rag or tack cloth before you stain.
For stain, I like Minwax Provincial or Weathered Oak depending on the tone you want.
Brush it on with a foam sponge brush, work it into the corners, then wipe the surface with a clean rag. The foam brushes tend to fall apart after a crate or two, so keep extras.
Wait about 8 hours before you apply a topcoat. A lint-free rag works better than a brush for the clear coat, and satin varathane gives you protection without the glossy look.
Some people paint the crates or spray the hardware instead, and others skip finishing entirely if they want the raw distressed look.
3. Join the Crates Together
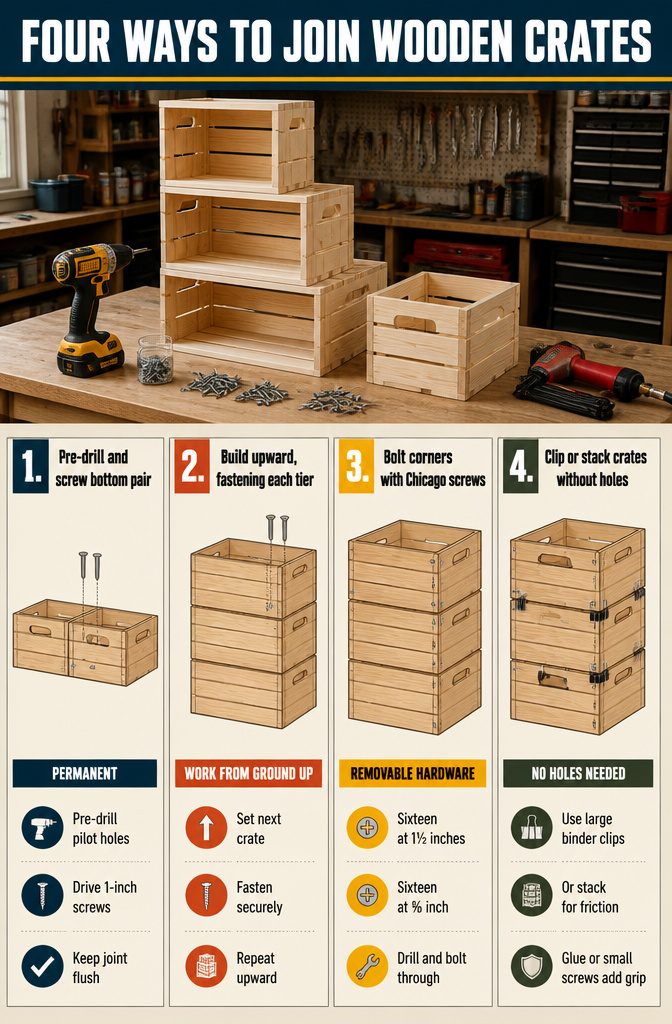
The decision splits at permanence. Pre-drill pilot holes and drive 1-inch screws through the crate sides if the shelf is staying put; start at the bottom pair, hold the joint flush, and add screws anywhere the connection feels loose.
The thicker end pieces take 1-inch brad nails without the bit walking, and angling the nailer keeps tips from breaking through the far side. Work from the ground up so each tier supports the next while you fasten it.
Chicago screws give you clean hardware joints at the corners: sixteen at 1½ inches, sixteen at ⅝ inch, drilled and bolted through.
The setup comes apart when you move. Large binder clips do the same with no holes at all, which renters appreciate.
Loose stacking skips fasteners entirely and banks on friction, though a bead of glue or a few small screws between crates keeps the stack from shifting when you pull a book off the middle shelf.
4. Anchor the Shelf to the Wall
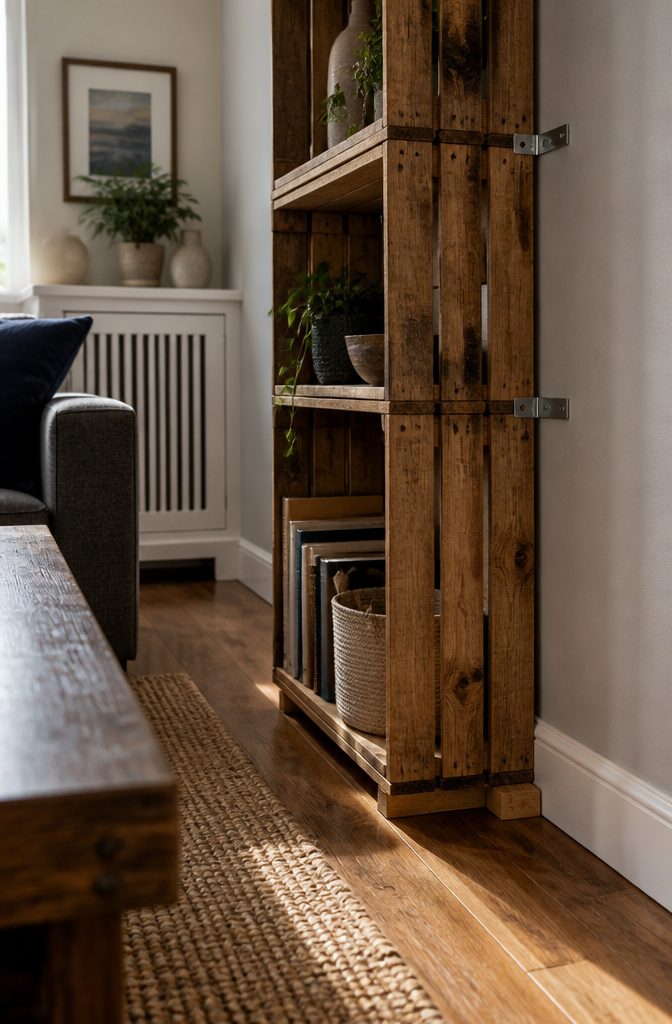
Securing the shelf to the wall is recommended by most builds, especially in homes with children. The simplest method is nailing through the inside of the crate directly into wall studs.
If baseboards prevent a flush fit, add a small spacer block between the crate and wall, then nail through the spacer into the studs. Alternatively, use a corner bracket fastened to both the crate frame and the wall.
If you skip anchoring, avoid heavily loading the top crates. An unsecured stack tips forward when weight shifts high.
For taller configurations, anchor both the upper tier and a middle tier to keep the assembly flush against the wall and prevent outward bowing as you add and remove items over time.
5. Load and Arrange Your Shelves
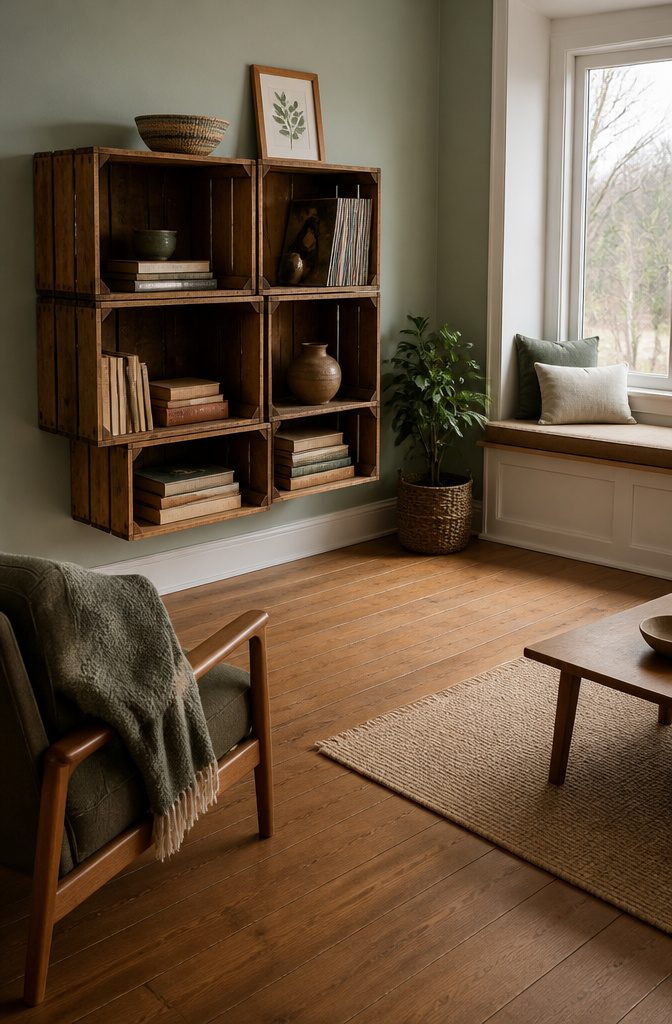
Once the crates are joined and mounted, the way you load them changes how well they hold up.
I place heavier items on the lower tiers so the weight presses straight down through the frame rather than stressing the fasteners higher up.
Books, boxed games and stacked puzzles belong near the bottom, where the structure is strongest. Medium-weight items like vinyl records or ceramic vases sit mid-level, and lighter objects like decorative bowls or framed photos go on the top rows.
Alignment matters more than most people expect. When you set books or other heavy objects on a crate shelf, line the spines up over the solid end framing rather than centering them on the slat gaps.
The slats between the frame members flex under concentrated weight, and over time that flex can warp the wood or pop the joints. Toys, small games and paperbacks are light enough to sit anywhere without trouble.
Configurations That Fit Different Spaces
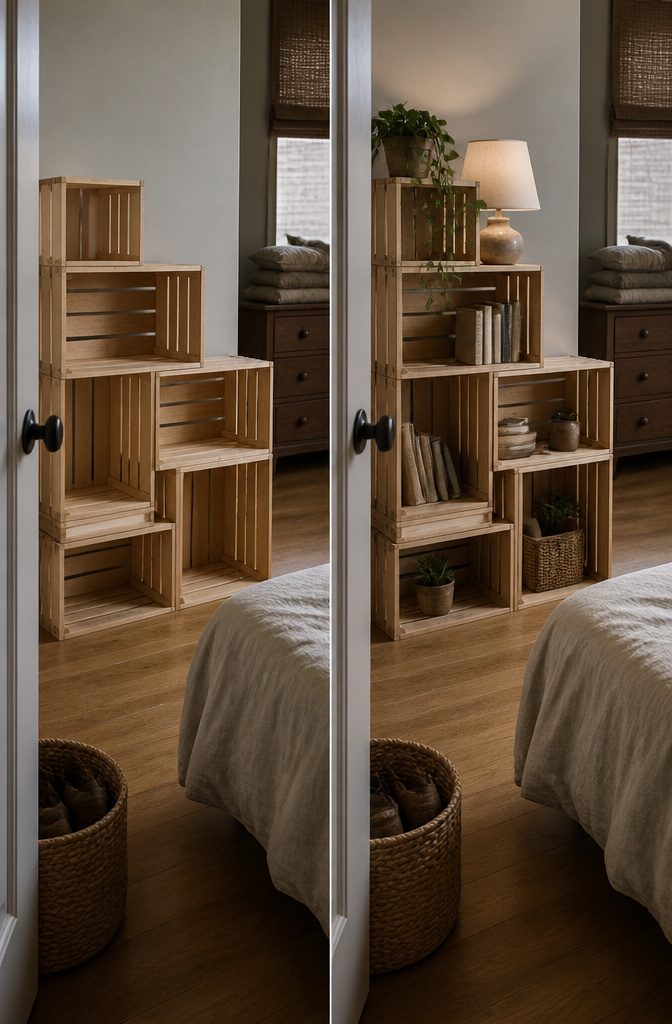
Crates stack in ways that fit almost any wall, corner or room divider. The four-crate setup with a central cubby gives you visible storage on both sides, and if you don’t like the gap in the middle, just restack them.
I’ve pulled that move twice in the same week when the first arrangement didn’t clear a baseboard heater.
Other configurations worth trying:
- Staggered, brick-like offsets that spread weight across multiple lower crates instead of stacking straight columns
- Asymmetrical steps or pyramid shapes that leave open upper ledges for plants or small lamps
- Mixed orientations—some crates facing out, some turned sideways or backward to hide cords or hold equipment
- A crate wall tall enough to define a bedroom area in a studio apartment while adding shoe storage along the floor
These arrangements work in bedrooms, offices, craft rooms and living spaces. The layout flexibility means you can fit the shelf to the wall you have, not the other way around.
How to Distribute Weight Across the Shelves
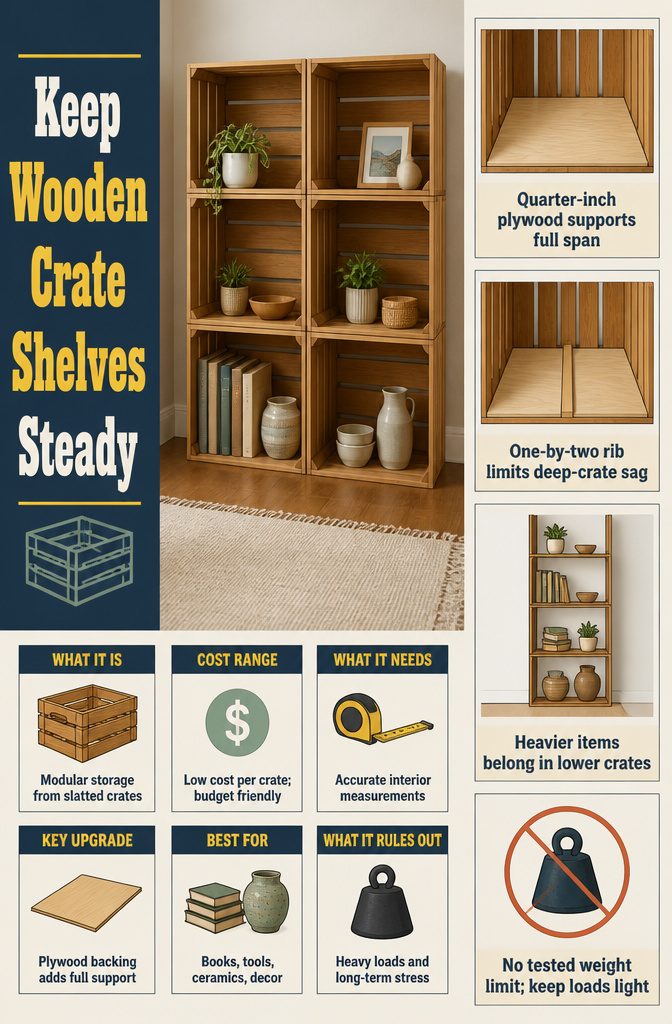
Slatted crate bottoms will flex under anything heavier than a stack of paperbacks, and I’ve found that a fitted plywood backing is the simplest fix.
You can measure the interior of each crate, cut a quarter-inch sheet to match, and drop it in before you start loading. That adds support across the entire span without changing how the shelf looks from the front.
If you’re working with deeper crates or plan to store something genuinely heavy, running a support rib down the center — a strip of one-by-two, glued and tacked in place — keeps the bottom from sagging over time.
The same logic applies to where you load weight.
Heavier items go on the lower crates, lighter ones above. That keeps the center of gravity low and reduces stress on whatever’s holding the stack to the wall.
I tend to put books, small tools or ceramics near the bottom and reserve the upper rows for things that won’t test the structure.
None of the build guides I read offered a tested weight limit, so treating the system as light-duty storage is the safer call.
Frequently Asked Questions
How do you make a bookshelf out of wooden crates?
Arrange the crates in your preferred configuration, testing different orientations before you commit.
Fasten them together with screws, nails, or Chicago screws if you want the unit to stay assembled, or skip fasteners and stack them loose if you prefer flexibility.
Anchor the finished shelf to wall studs to prevent tipping, especially in homes with children.
Where should I put a wooden crate bookshelf in my home?
Wooden crate shelves work in bedrooms, offices, craft rooms, living spaces, and studio apartments where they can define separate areas while adding storage.
Corners, walls with baseboards, and room dividers are all good candidates. Pick a spot that lets you load the shelves without blocking switches or vents.
How much weight can wooden crate shelves hold?
Crate shelves work for light items like books and decor, but nobody has published tested weight limits for them.
Place heavier items like books and ceramics on the lower tiers where the frame is strongest, and keep the upper rows for lighter objects like decorative bowls or framed photos.
A fitted plywood backing inside each crate will stop the slatted bottom from flexing under weight.